How to Import and Link Agenda Images
Updated February 24, 2023
To Import and link Agenda Images
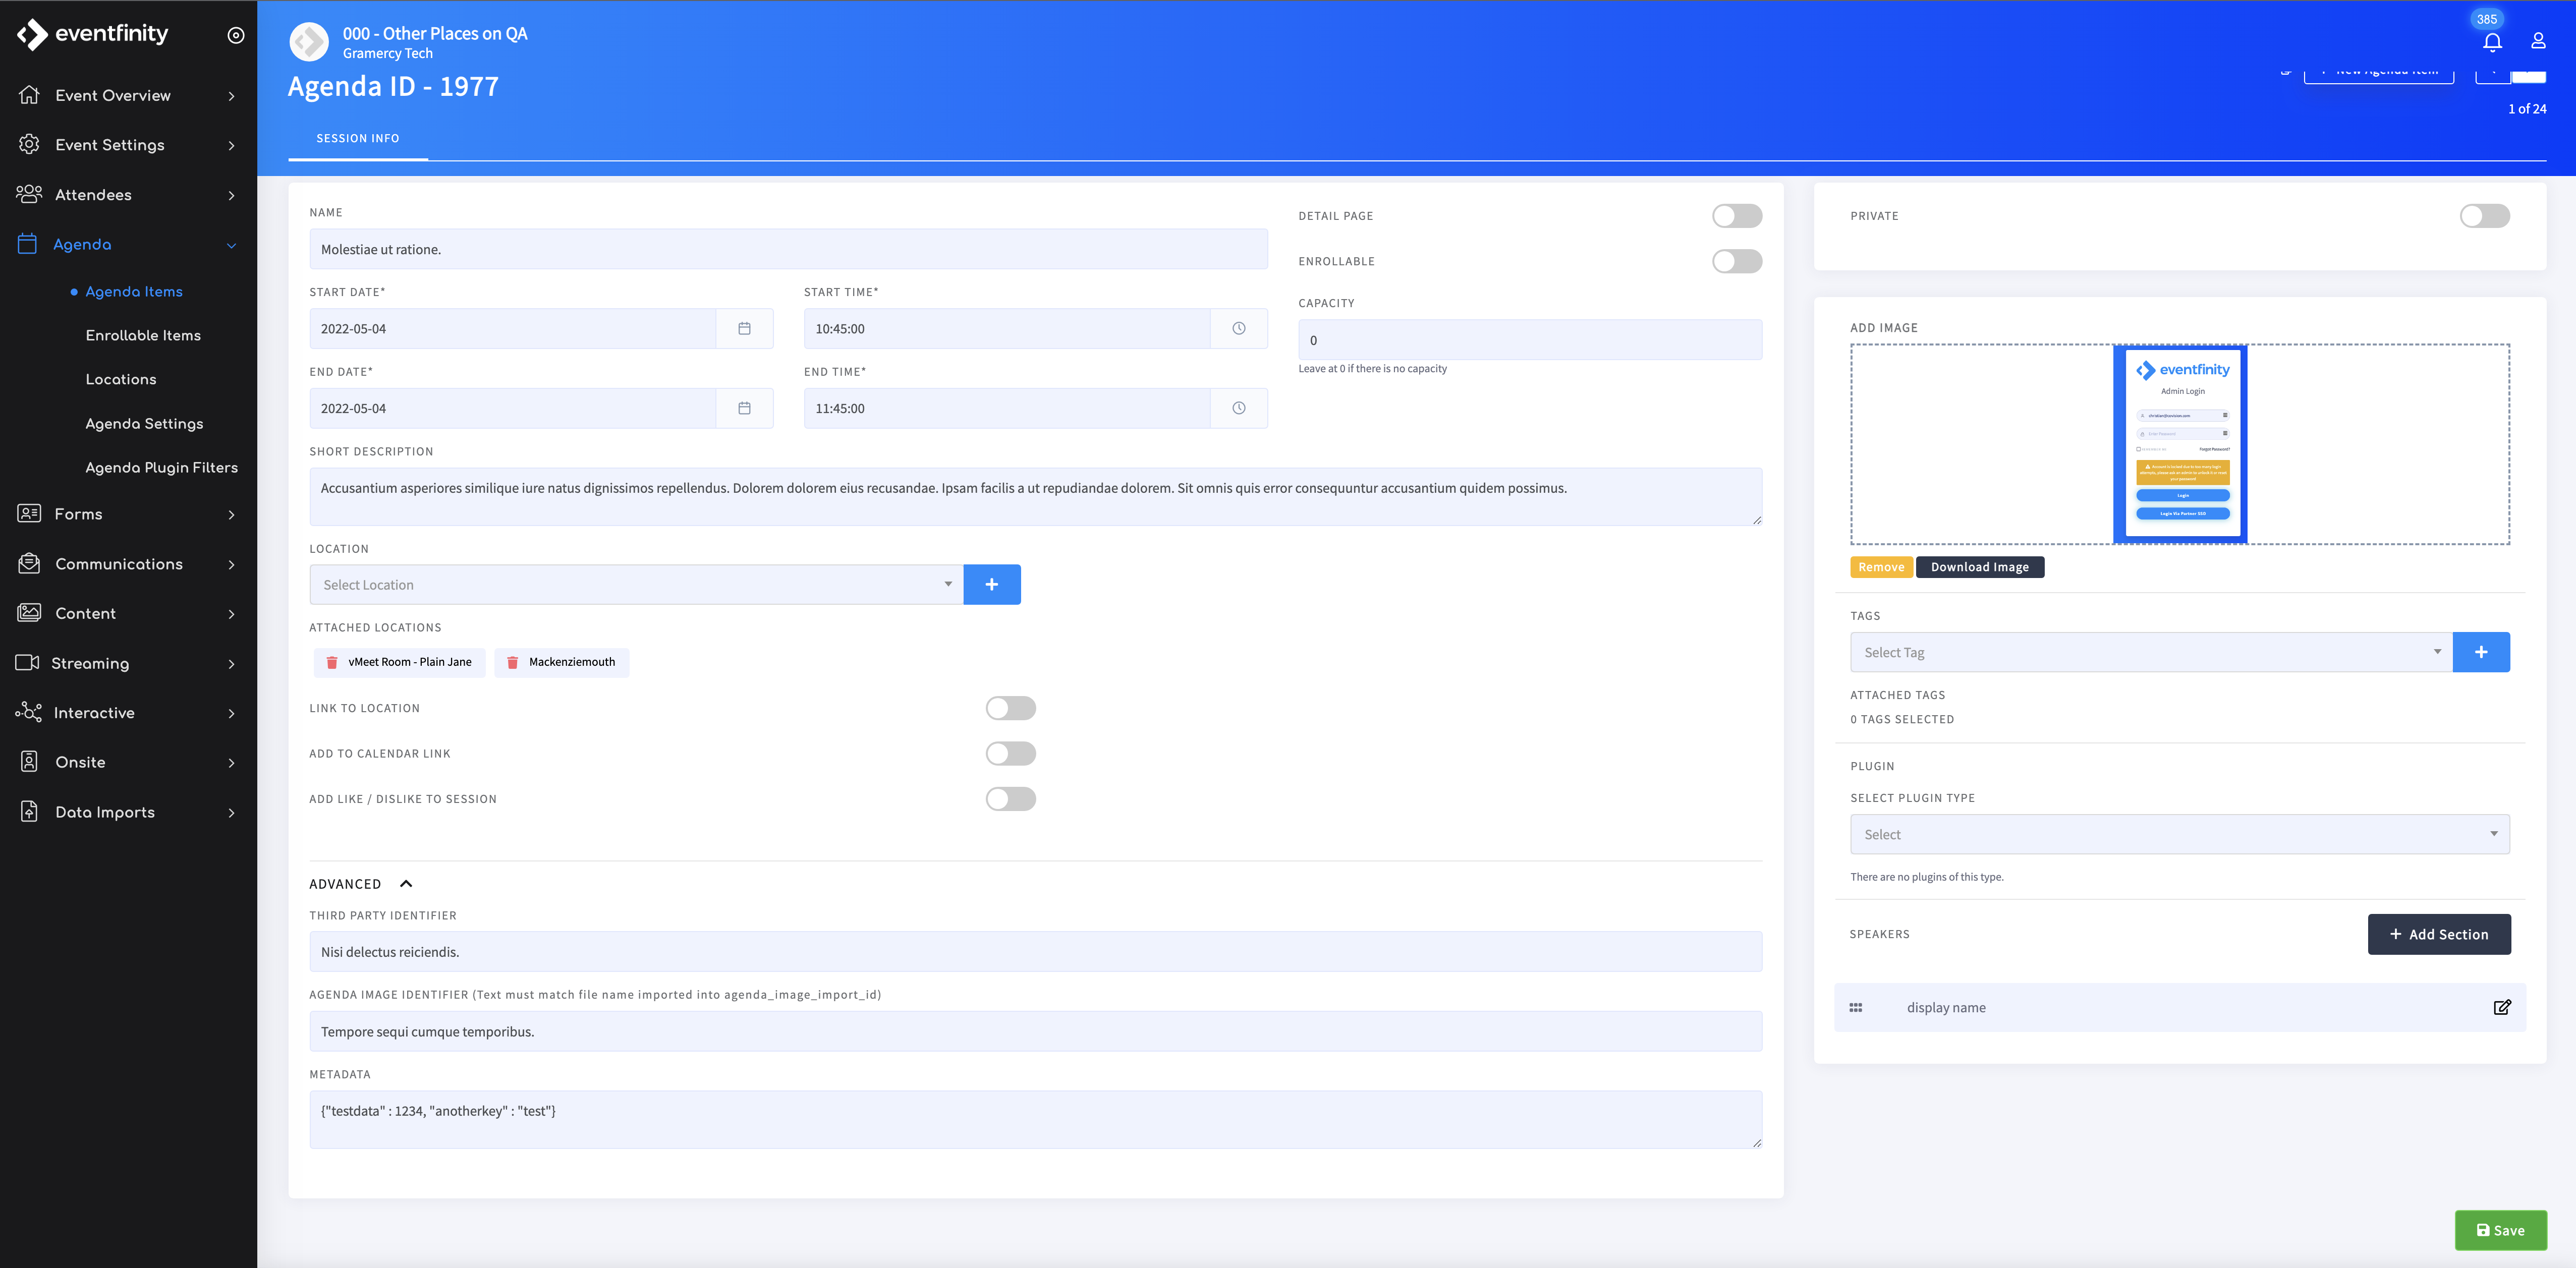
- First, admins must setup Agenda Data in the event. To do so, update the "Agenda Image Identifier" field (found on the agenda edit page under the Advanced section) as the image's file name without the extension.
For example, if you wanted to link a file named `welcome_photo.png` to an agenda item, you would update that agenda items's agenda_image_import_id field to have the value of `welcome_photo`.


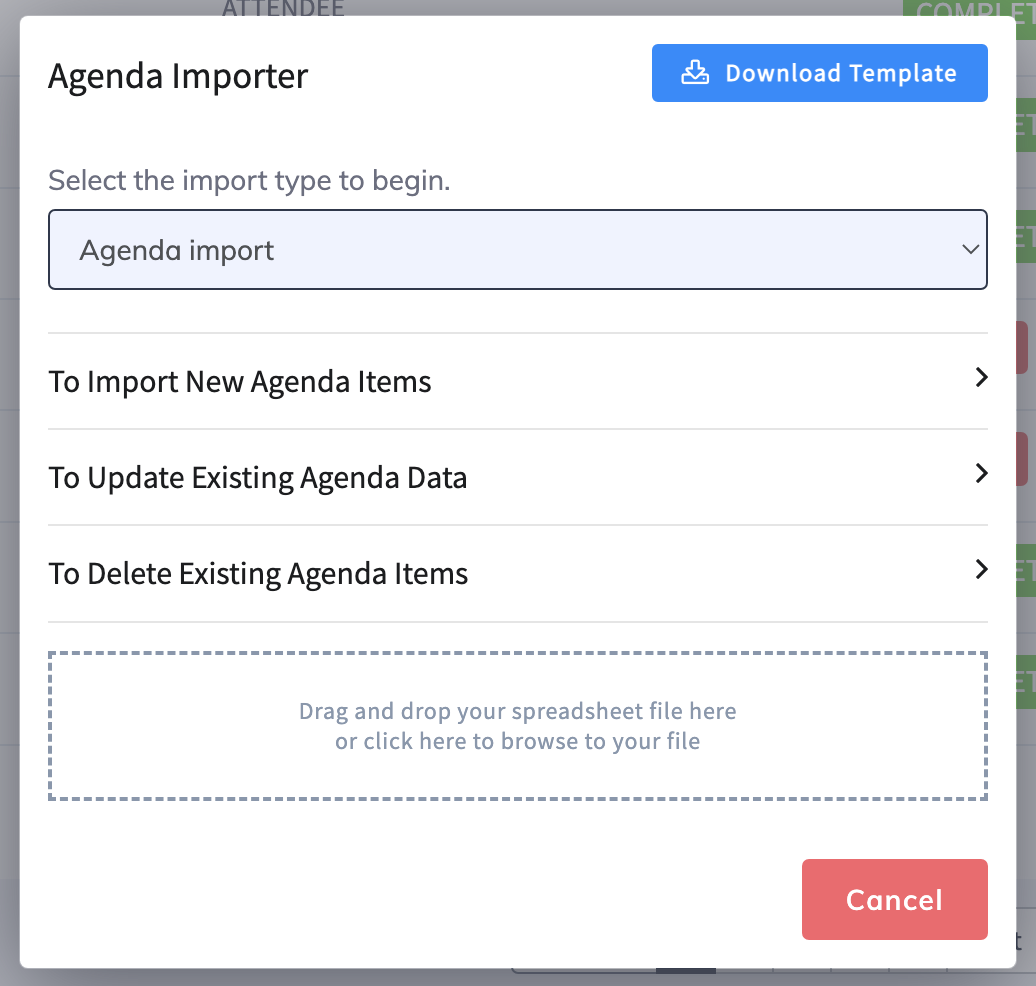
The "Agenda Image Identifier" field can also be updated via Agenda Imports

2. After the agenda item data is set, create a flat zip file of all the images. Please be sure to only include images that are png, jpg or jpeg. A flat zip file is a zip file that contains no folders heirarchy. To make a flat zip file, select the images you want to upload on your computer and then right click to select the option to compress them. Do not compress the folder containing the image files.
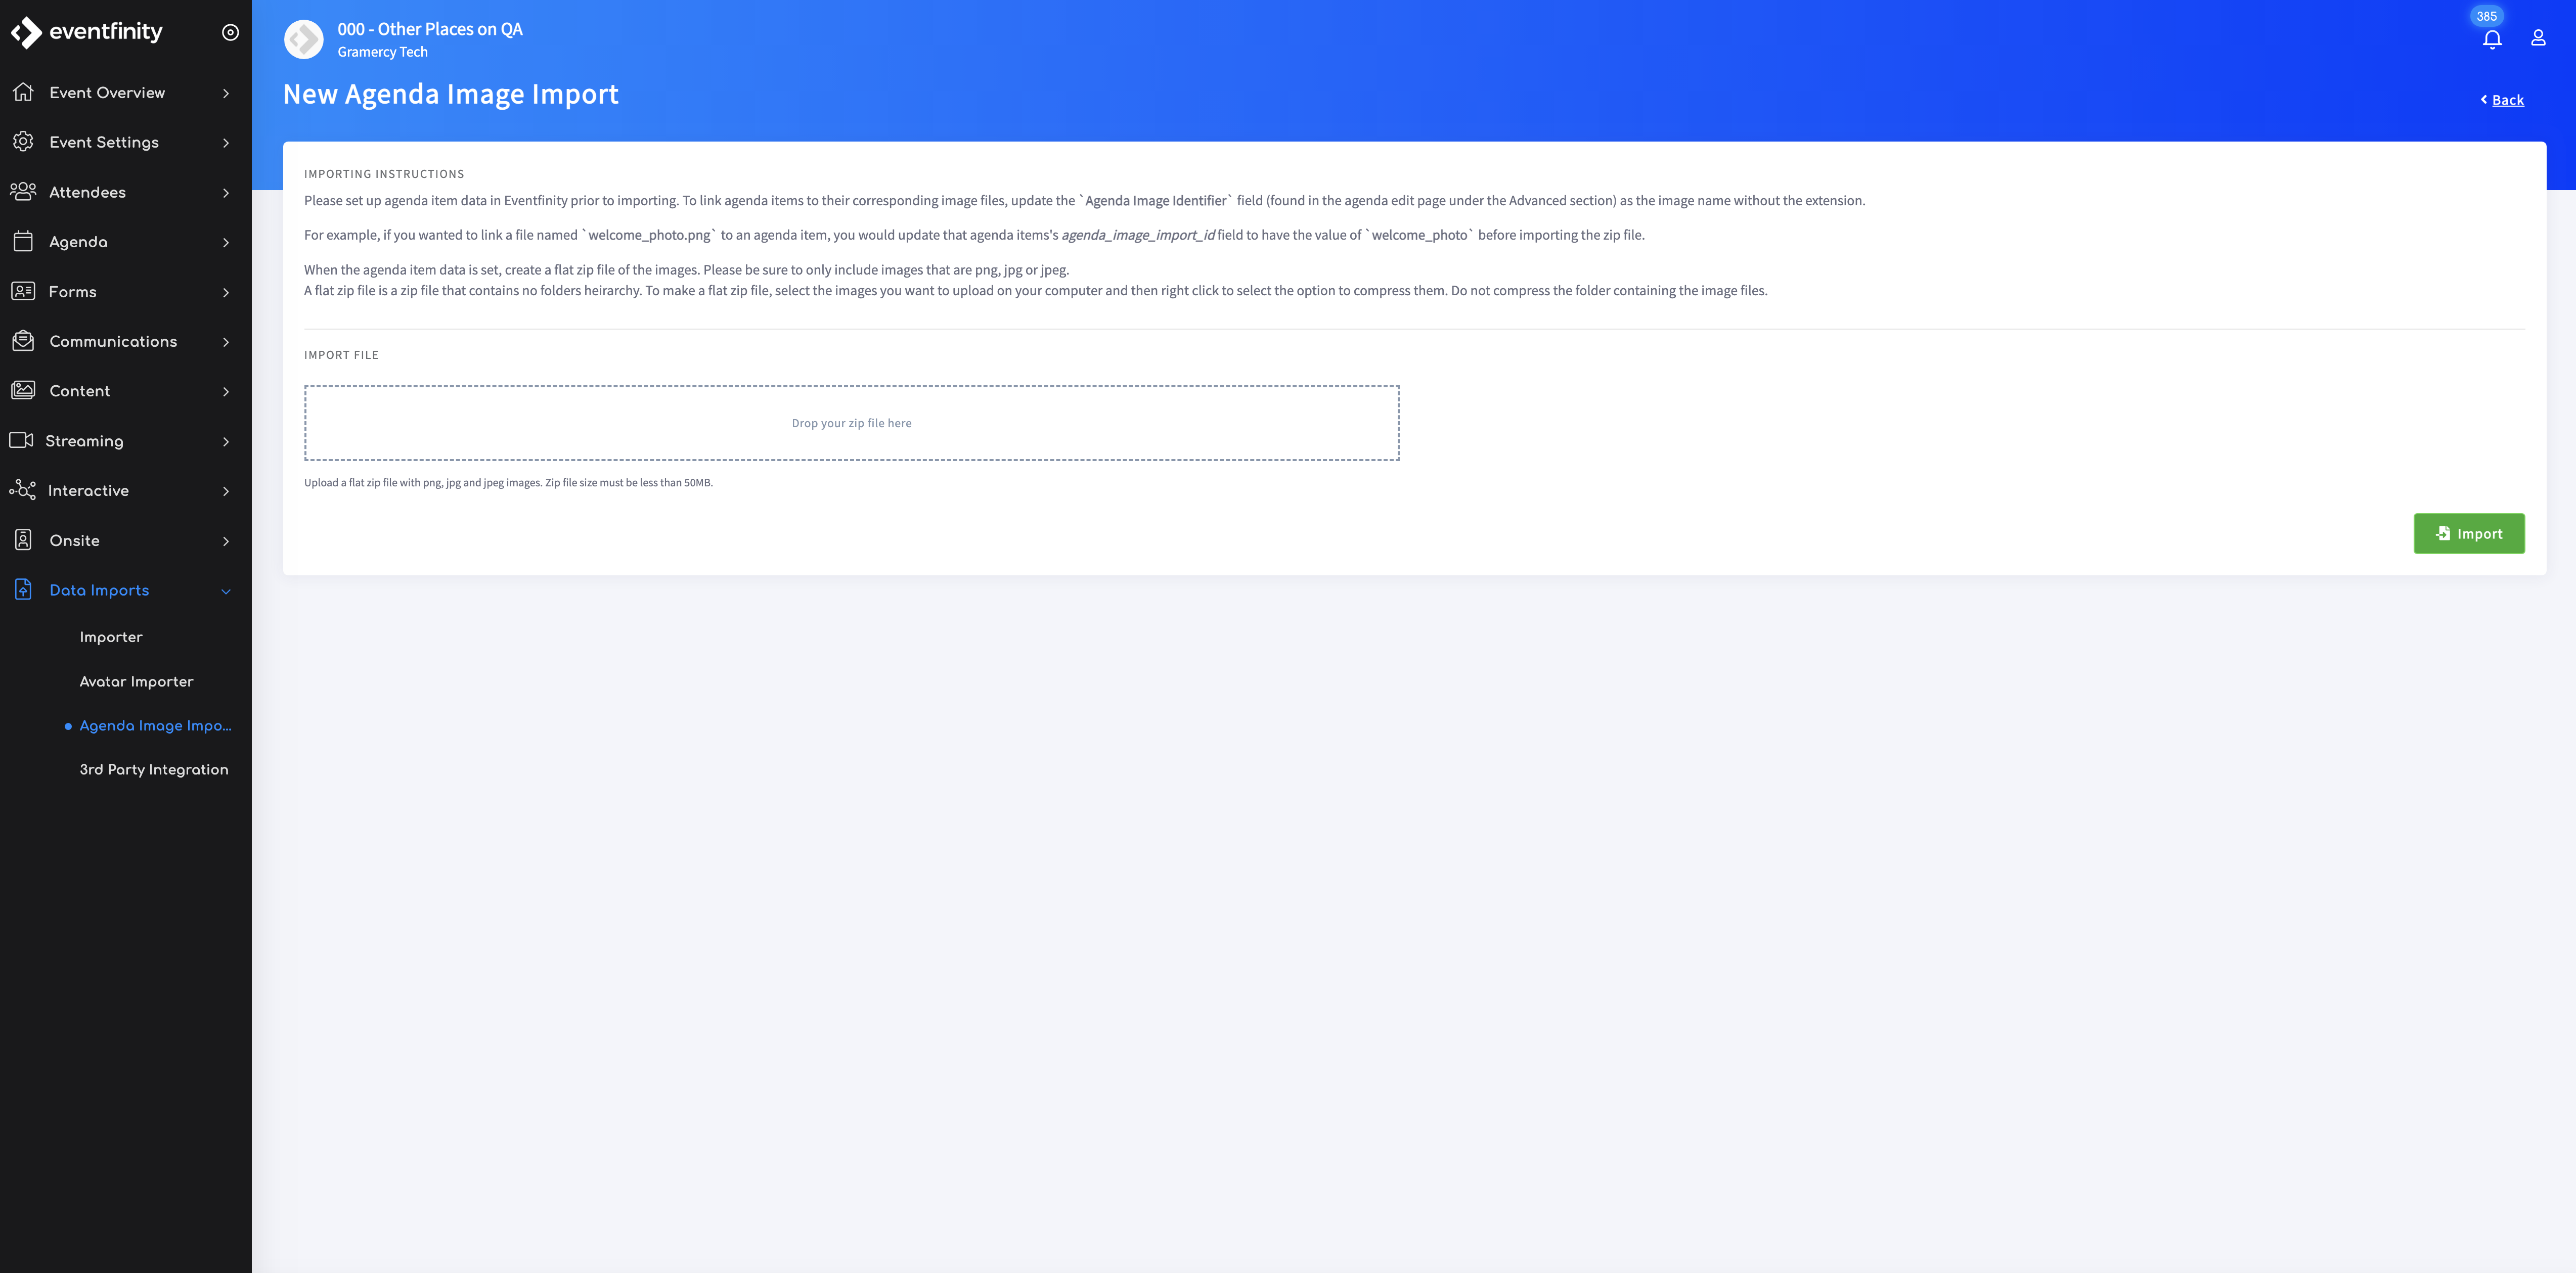
3. When the flat zip is ready, it can be imported to your event via Dashboard > Data Imports > Agenda Image Importer

NOTES
- The process to import and link agenda images is very similar to the process to import and link attendee avatars
- File names for images must all be unique
- If a new image is added, the entire flat zip incuding the new images must be imported
