Setting up Organizational SSO for Super Admins
February 26, 2024
Overview
Enabling Single Sign On (SSO) for an event requires support from an organizational super admin and/or a member of the product team working with the account manager. There are two different types of SSO protocols we offer, Security Assertion Markup Language (SAML2) or Open Authorization (OAuth2) service. The account manager should work with the client to identify which protocol is needed before beginning the setup.
How to Setup
1. Open the organization using the edit button
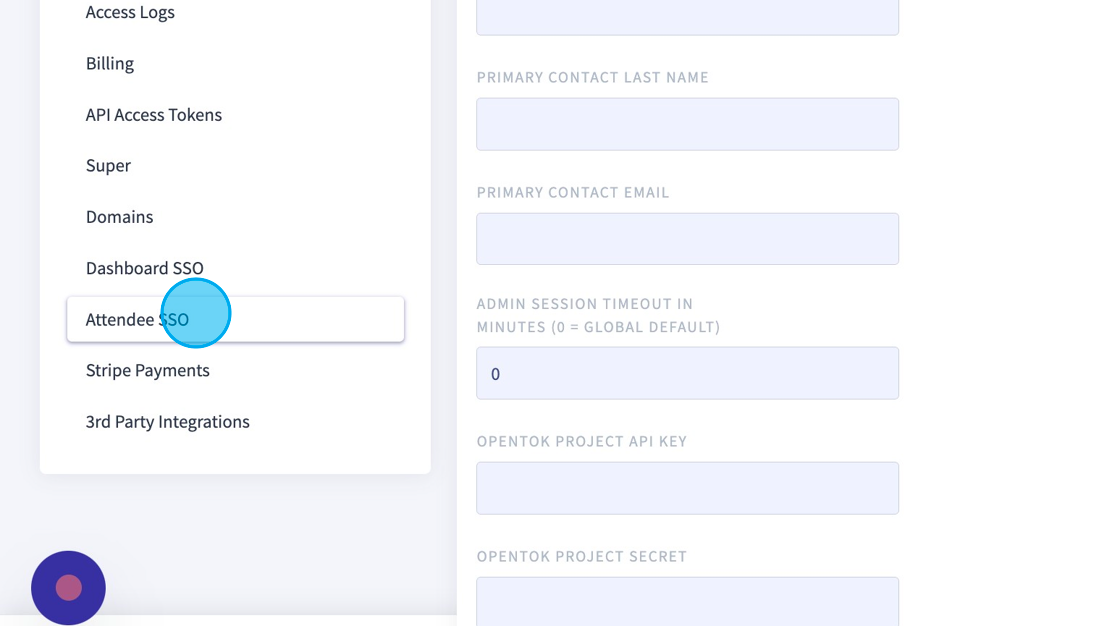
2. Click "Attendee SSO"
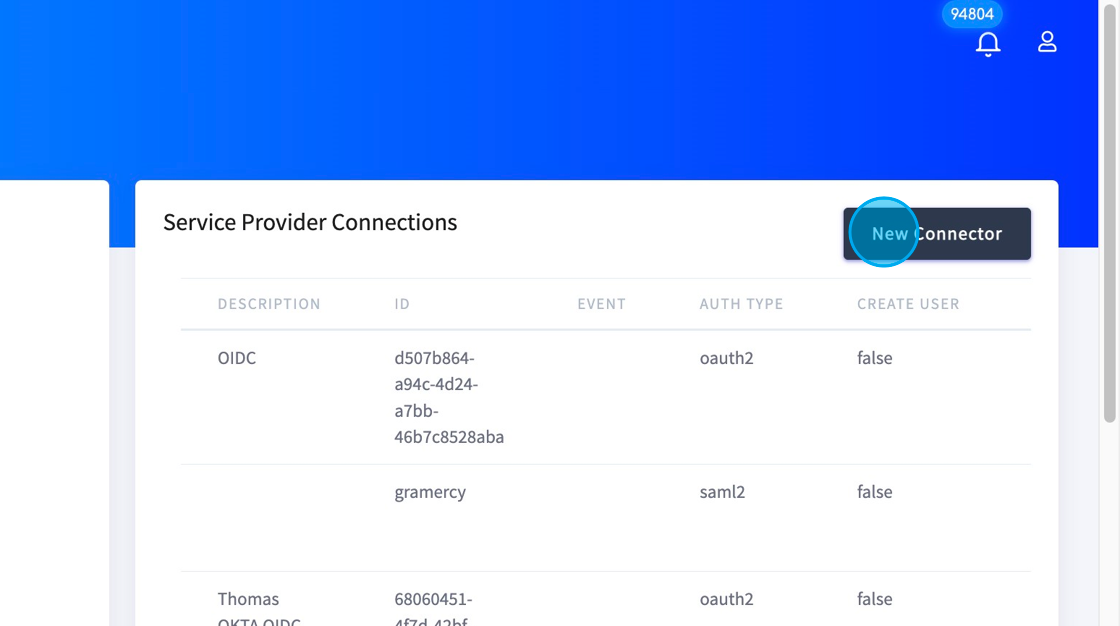
3. Click "New Connector"
4. Name the Connections with the "Description" field.
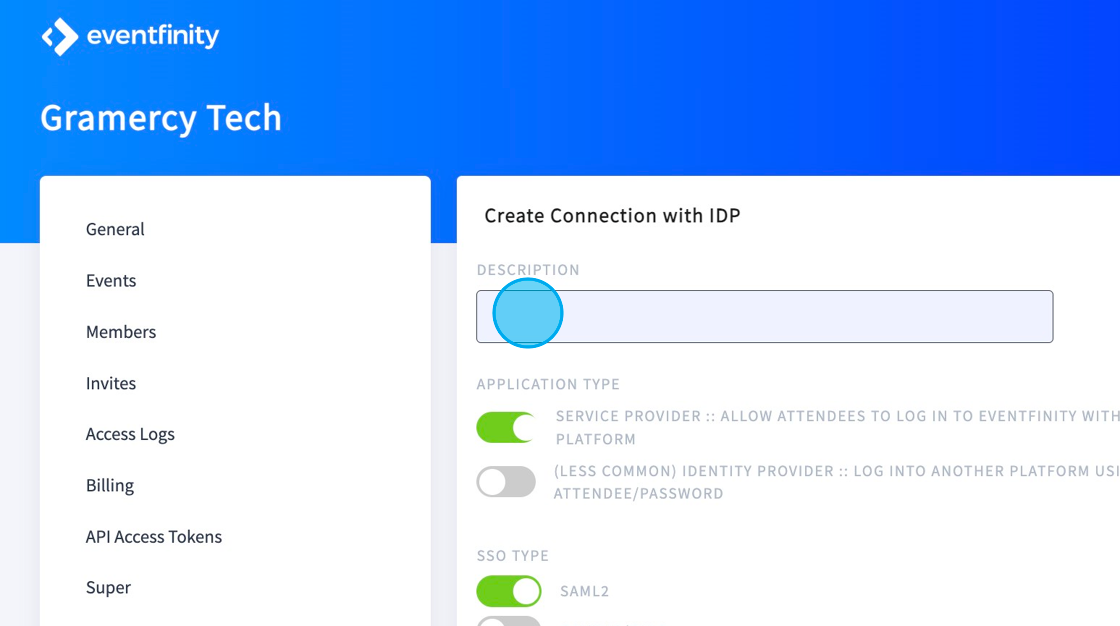
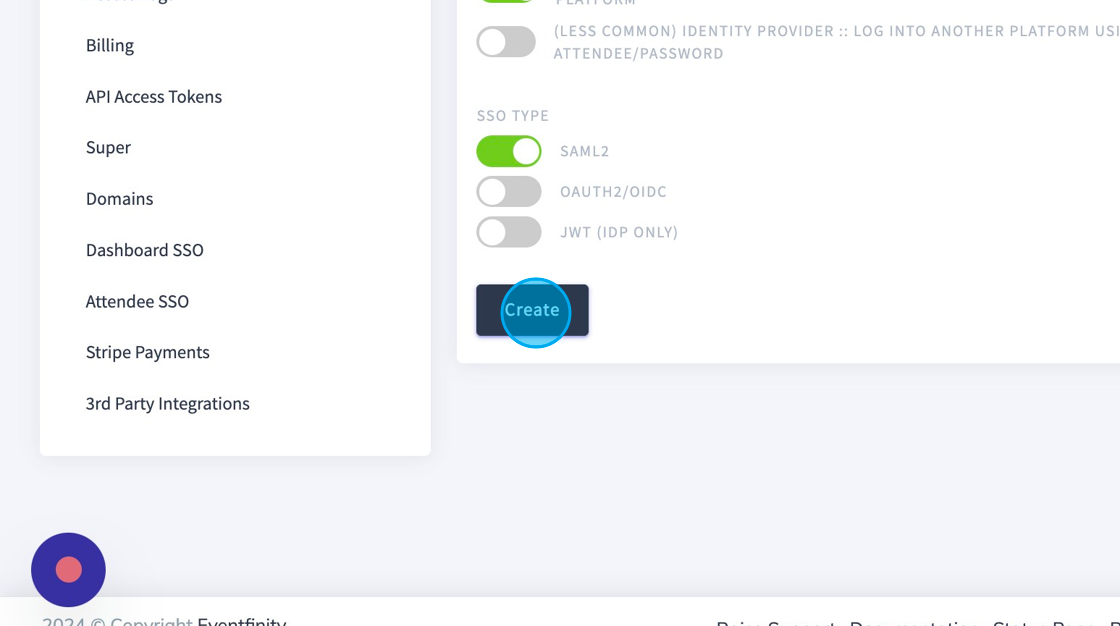
5. Make sure the “Application Type” is “Service Provider”
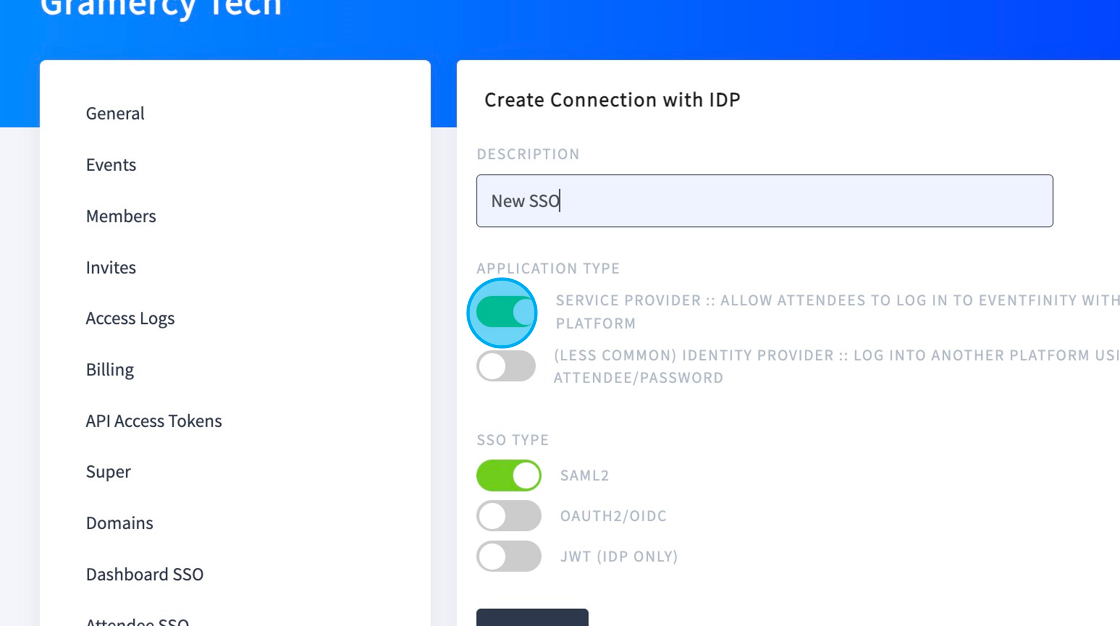
6. Select either “SAML2” or “OAUTH2” for the “SSO Type” depending on what the client is requesting. Do not select JWT.
7. Click “Create”
8. Copy the new Metadata URL and send it to the client.
9. This URL will contain all the necessary information needed by the client to set up the SSO integration on their end.
10. The client will configure the SSO in their directory service or application.
11. Once the client has set up, they should return the following to us in another XML doc or URL:
SAML2
- IDP Identity
- IDP Certificate
- IDP SSO URL
OAUTH2
- Client ID
- Client Secret
- Client Authorization URL
- Client Access Token URL
- OAuth Scopes (Optional)
12. The organizational admin will update these three fields in the SSO settings and the client is ready for testing.
How to Add SSO to an Event URL
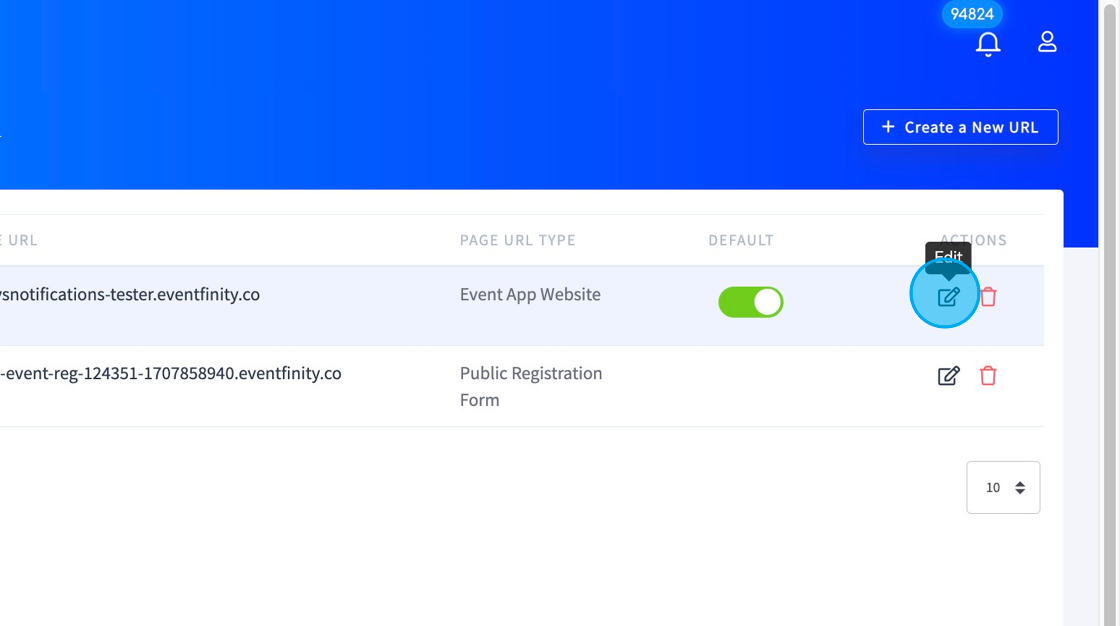
1. Go to edit your "Event URL" in your event
2. Edit your URL
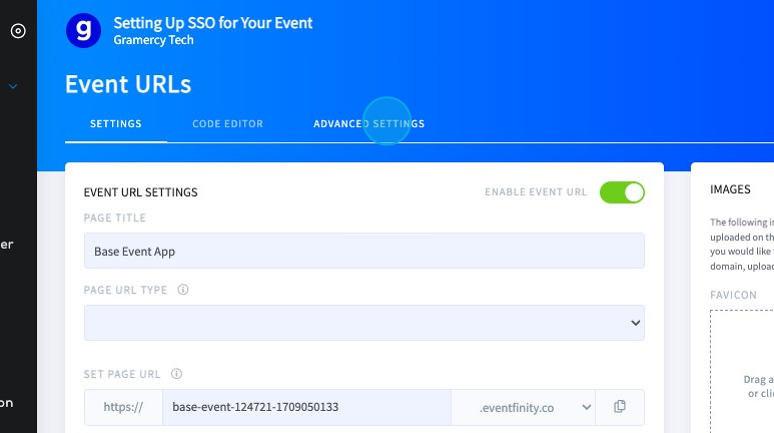
3. Click "ADVANCED SETTINGS"
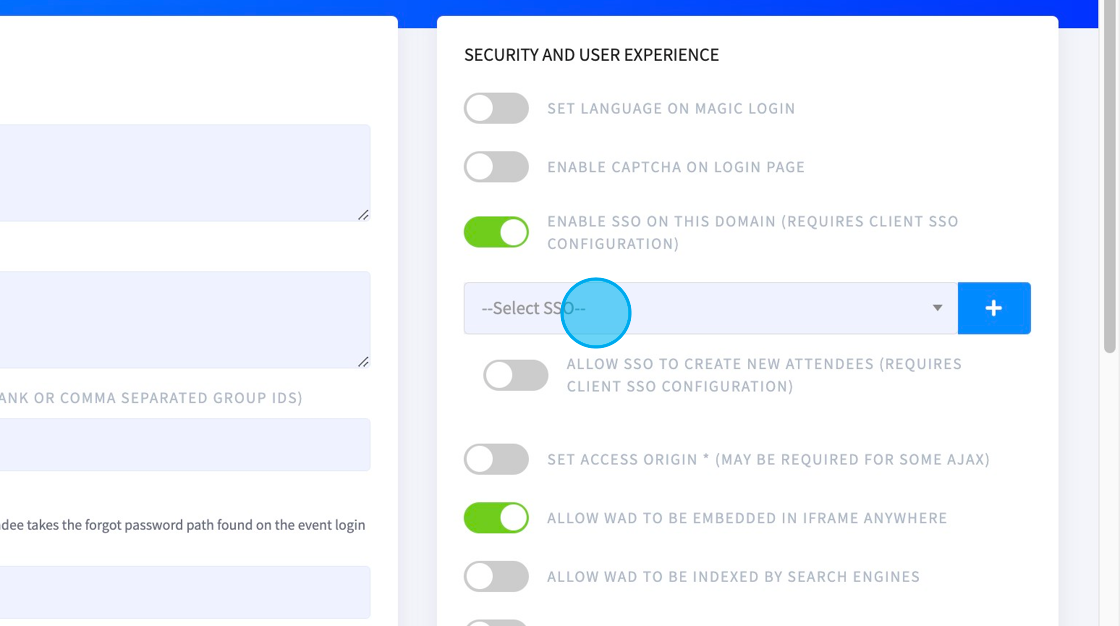
4. On the right side, toggle on “ENABLE SSO”
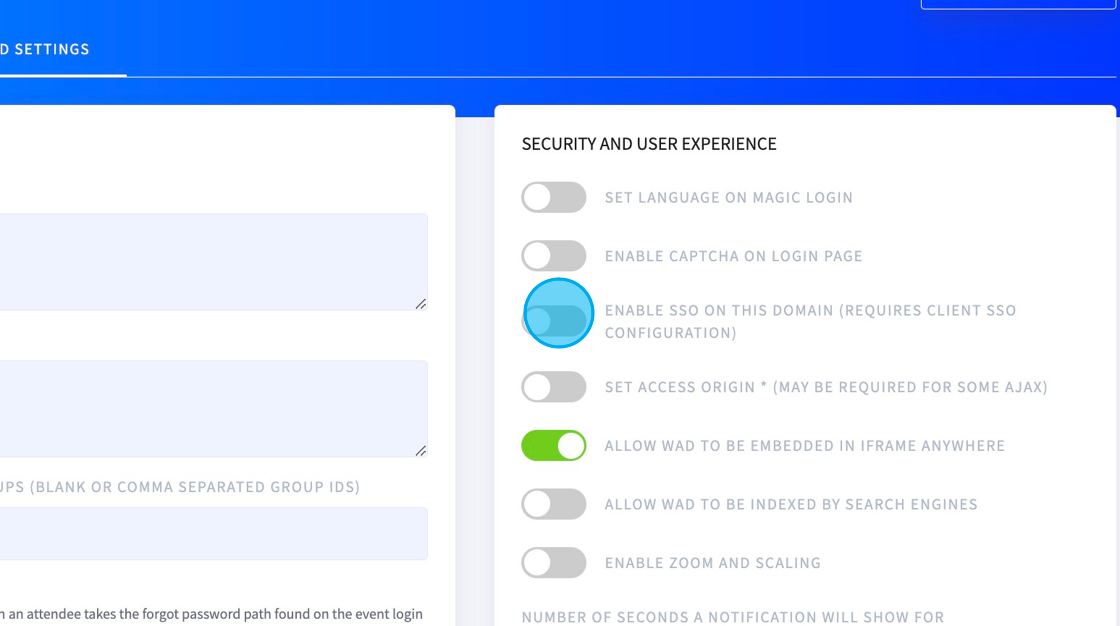
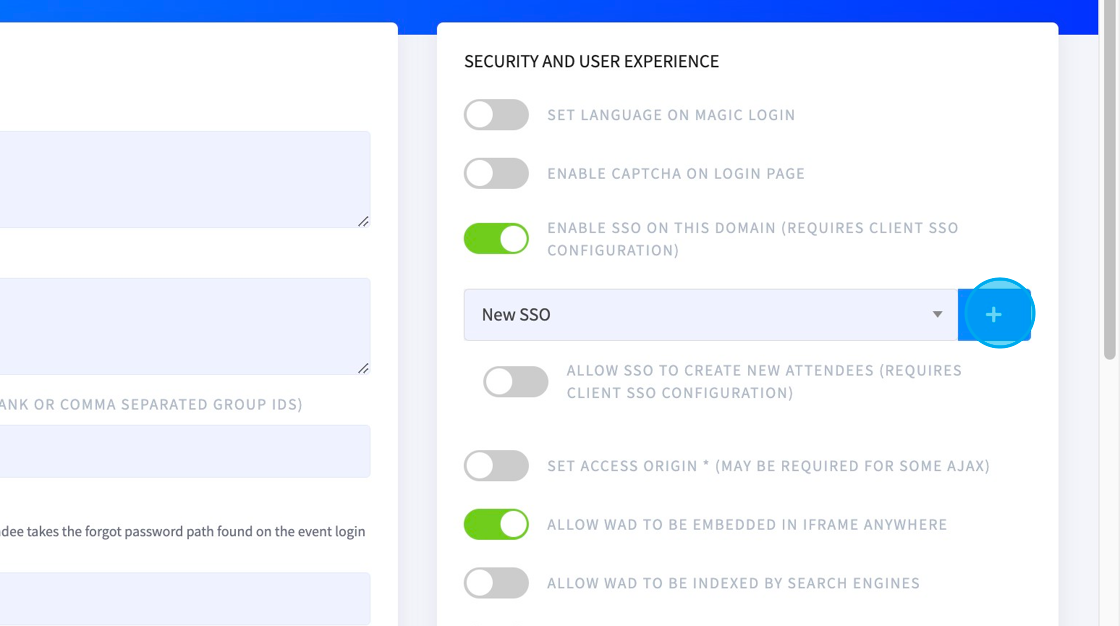
5. Select your SSO from the drop-down list.
6. Add the SSO using the + button and Save.
7. This will add a button under the email and password fields of the event page where attendees can now click to SSO. The button label text can be updated in the organization SSO edit page from the setup steps above.
We recommend getting a test user from the client to ensure the SSO connection has been successfully made.