Gramercy Tech Scans Quick Start
Created May 1, 2024
Overview
The GT Scans App is a sophisticated kiosk application that transforms your iPhone or iPad into a powerful attendee management tool. The app scans QR codes to ensure seamless event access control, enable hassle-free registration, and expedite check-ins. GT Scans streamlines your event operations, making every attendee’s journey seamless and memorable.
Status Scanner Uses
The status scanner serves multiple purposes. Readers can be used for event access control, recording attendance by location, profile updates and confirmation, and more. The GT Scans app is used exclusively for QR code scanning.
| Used to | Example |
| Limit locations access | Use to scan for permission to gain access to a location or enrollable |
| Count attendance/capacity | See how many attendees are in an event/session, enrollable, or visited a location |
| Change attendee field value | Update a wavier field from not acknowledged to acknowledged |
| Print reconcile | Track how many badges have been printed |
GT Scan App Download
The Gramercy Tech Scans app is available for iOS devices in the Apple App Store. It is designed to run with iOS version 16.4 and above.
Environments
The app is available for development testing and the AWS and IO production environments. The app is set to run in the AWS environment by default.
Changing Environments
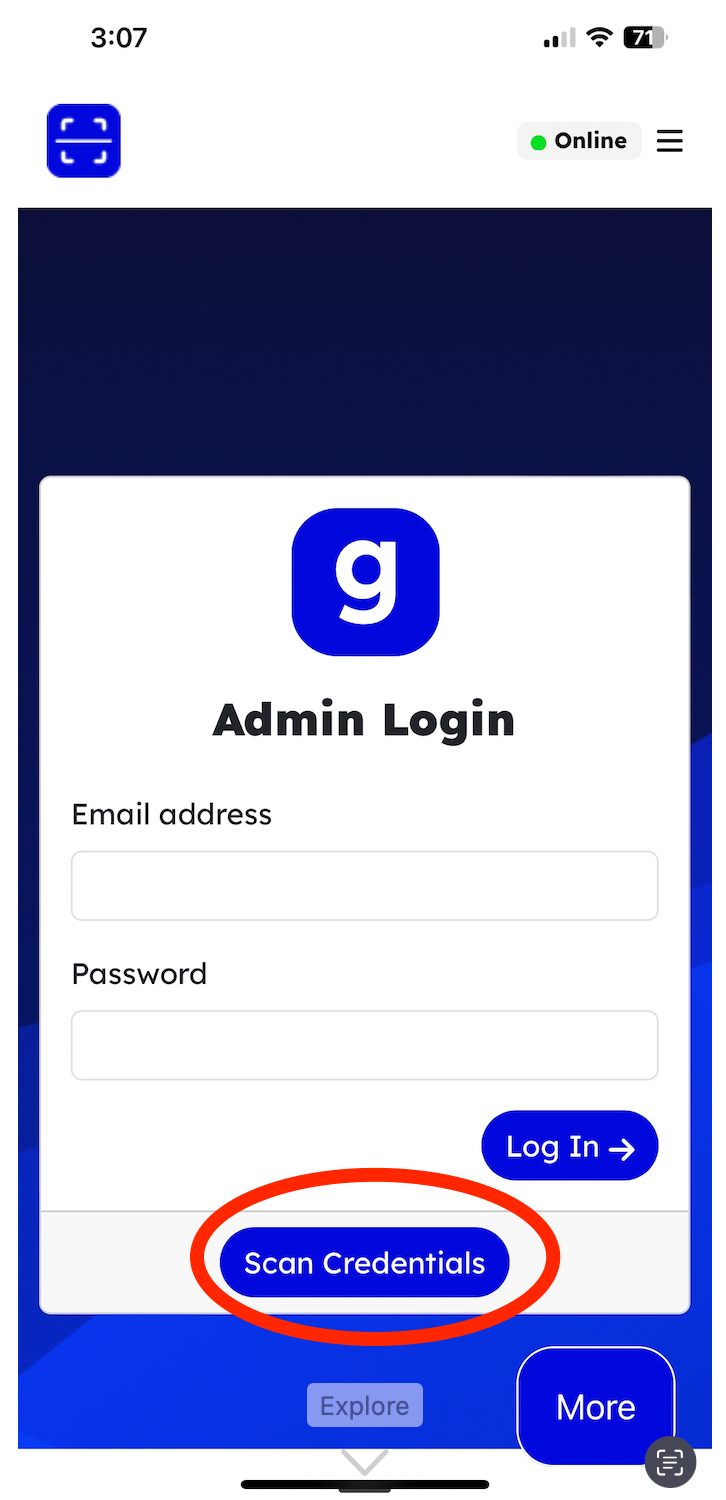
1. Open the app to the login page and select “Scan Credentials”
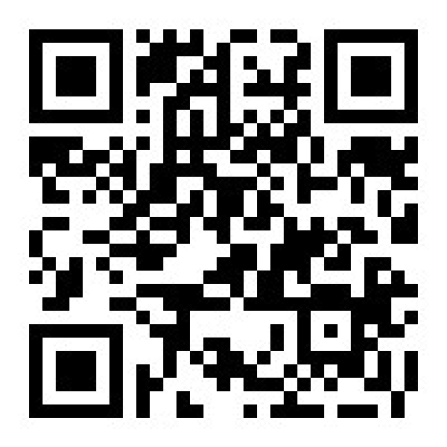
2. Scan this QR Code
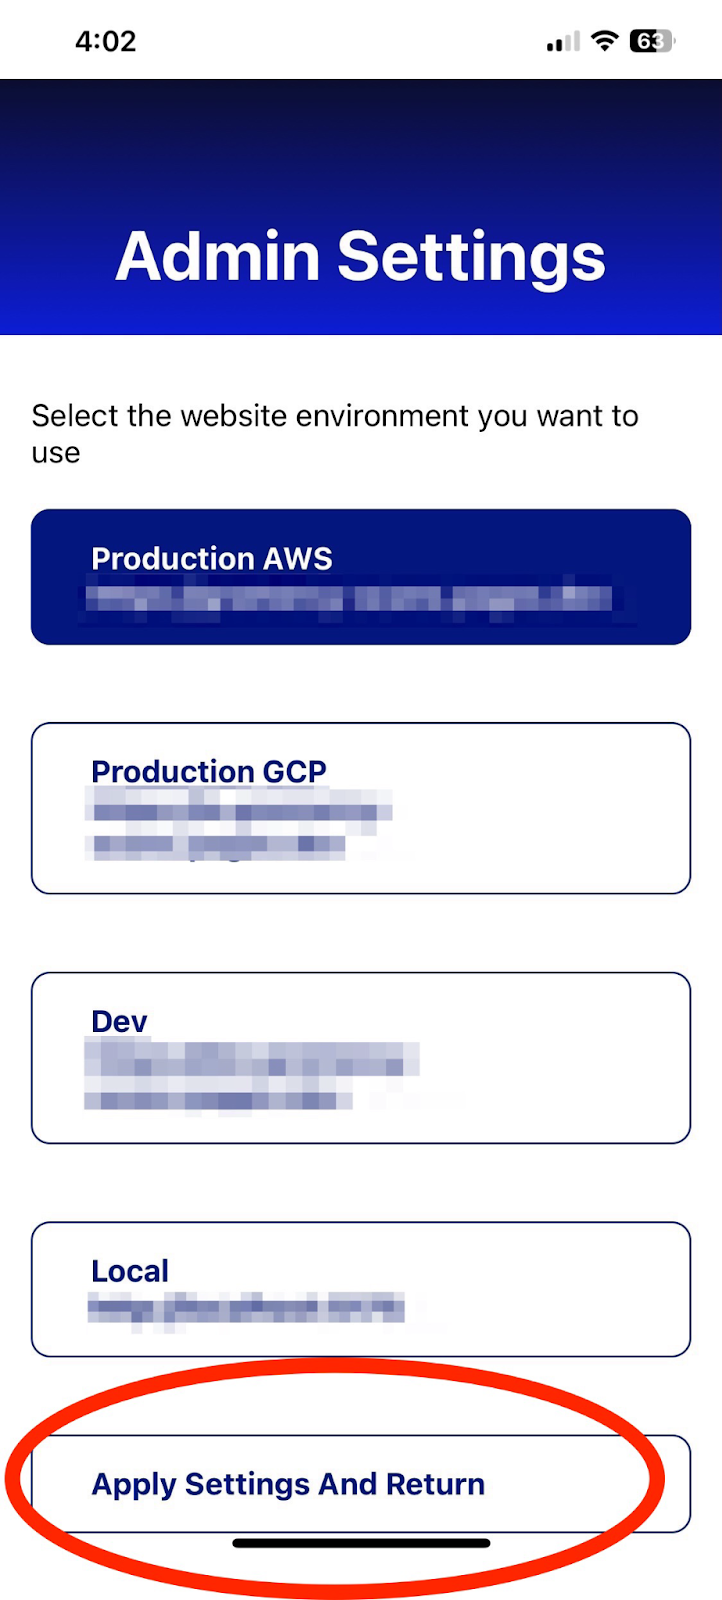
3. Select your environment and then select “Apply Settings and Return”
Creating Admin QR Codes for Express Login
Setting up individual admin accounts to expedite device logins for events with multiple devices is common practice. This is particularly helpful for events when tracking battery life is crucial. To streamline this process, the app can be configured to log in with a unique admin QR Code.
How to Create
1. Log in to https://gramercy-scans.pages.dev/ from a web browser
2. Append the url by adding “qrs” (Note: You must be logged in to append the URL)
https://gramercy-scans.pages.dev/qrs
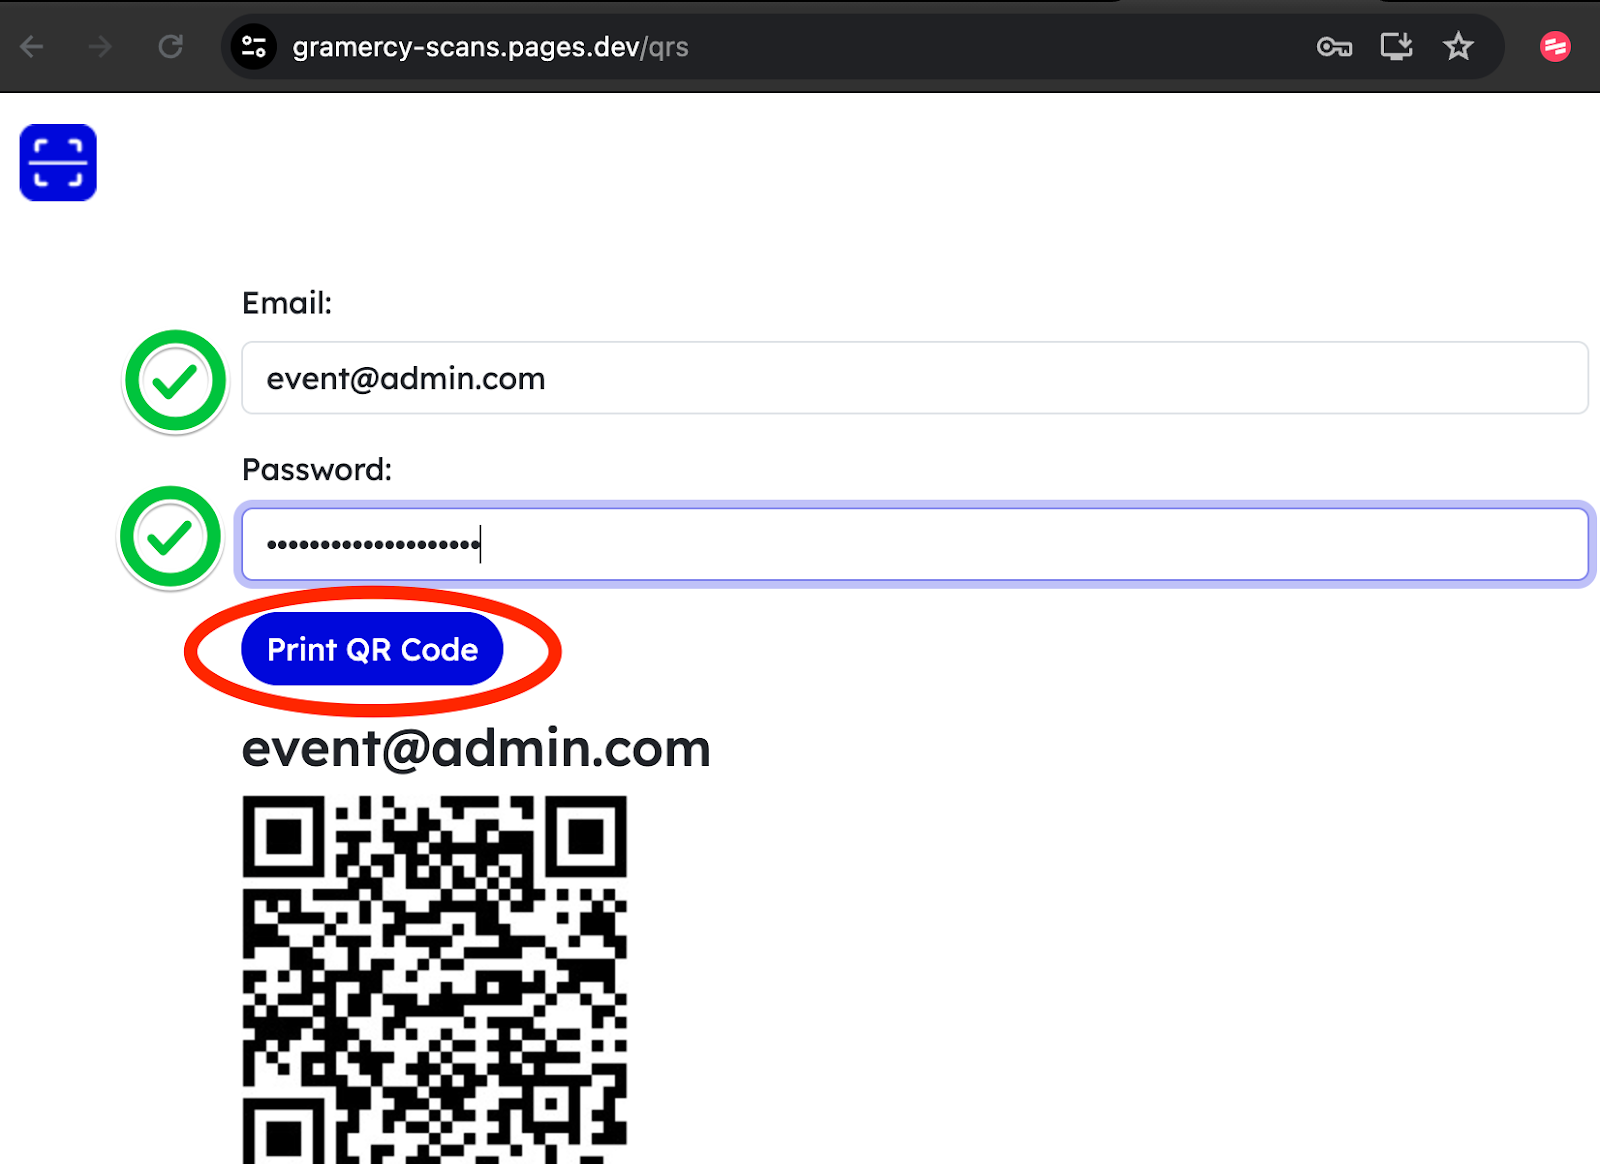
3. Enter admin email address and password
4. QR code will save as the email of the admin
5. Click Print QR Code to print or save the barcode as a PDF
Status Scanner Reader Setup in Dashboard
Before you begin setting up your reader, having a location already set up is a recommended best practice. Likewise, if you will be using groups, it is recommended that your groups be created before creating your reader.
Reader Options for GT Scans Status Readers
There are several options for status scanner reader types. Some of these options can only be used with the Gramercy Tech Check-in App while running in kiosk mode. The options below are compatible with the GT Scans App.
- ENABLE READER: Makes reader available for use
- TEST MODE: Used to ensure the reader is working as expected. Scans made while in test mode do not permanently write data to attendee records
- REQUIRE SIGNATURE: Typically used for group distribution of badges
- ALLOW CASE-BY-CASE APPROVAL: Used when an attendee is denied, but is granted special access
- ENABLE NOTES: Used to take notes for the attendee
- ENABLE HELP BUTTON: Used to connect the reader to a project Slack channel
Creating a Reader
There are multiple scenarios and options to create a status scan reader. This example will create a status scanner for access control to an event location limited to a specific group. Following best practices, the location and group have already been created.
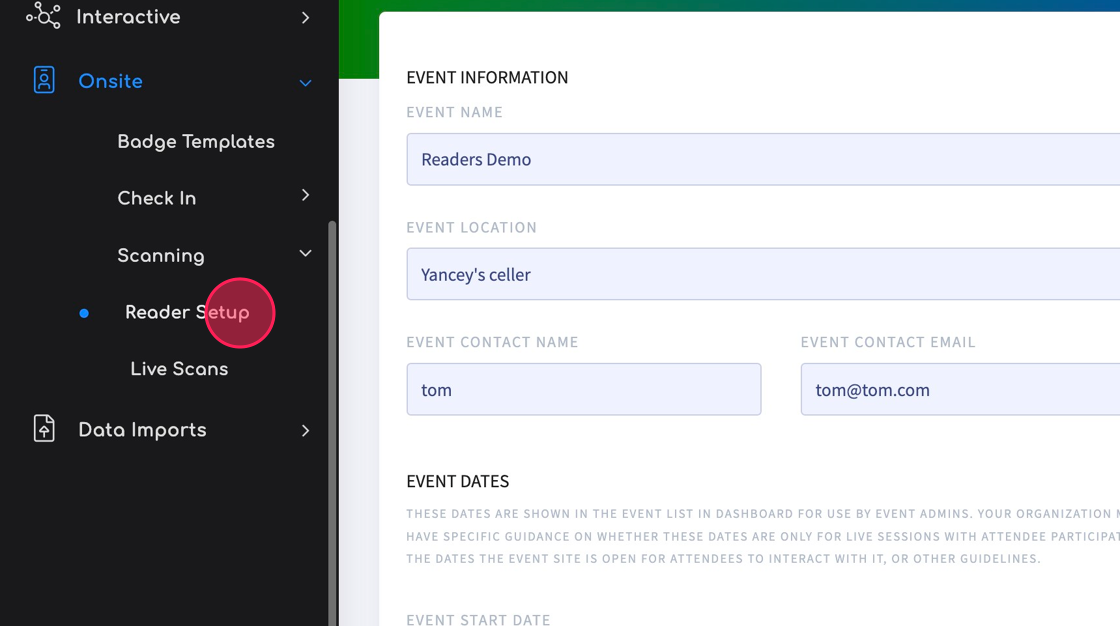
1. Click “Onsite | Scanning | Reader Setup”
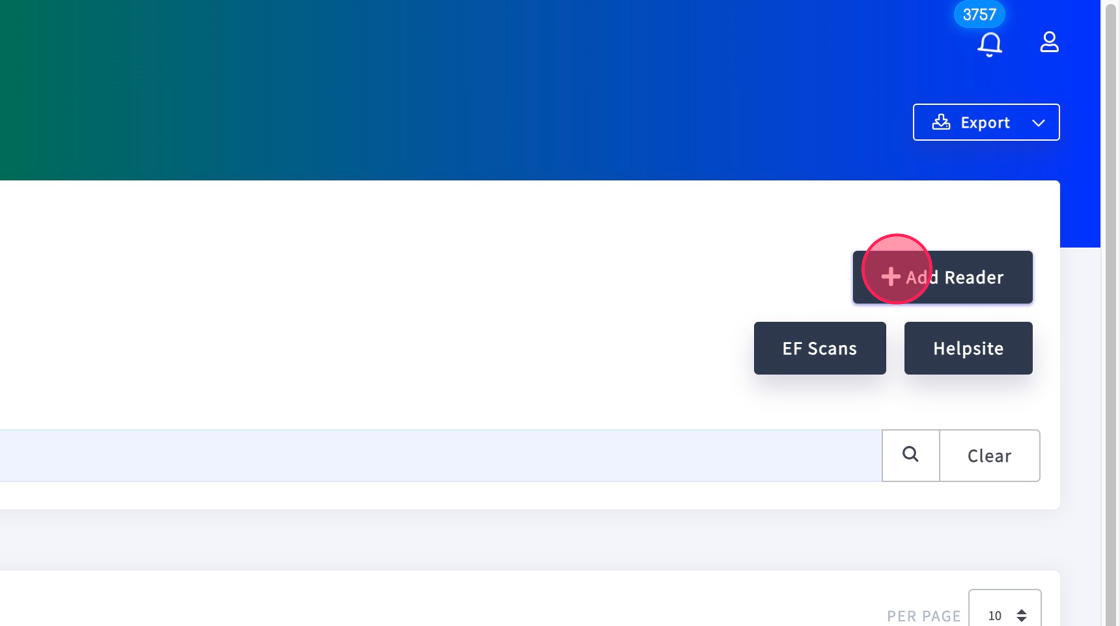
2. Click “+ Add Reader”
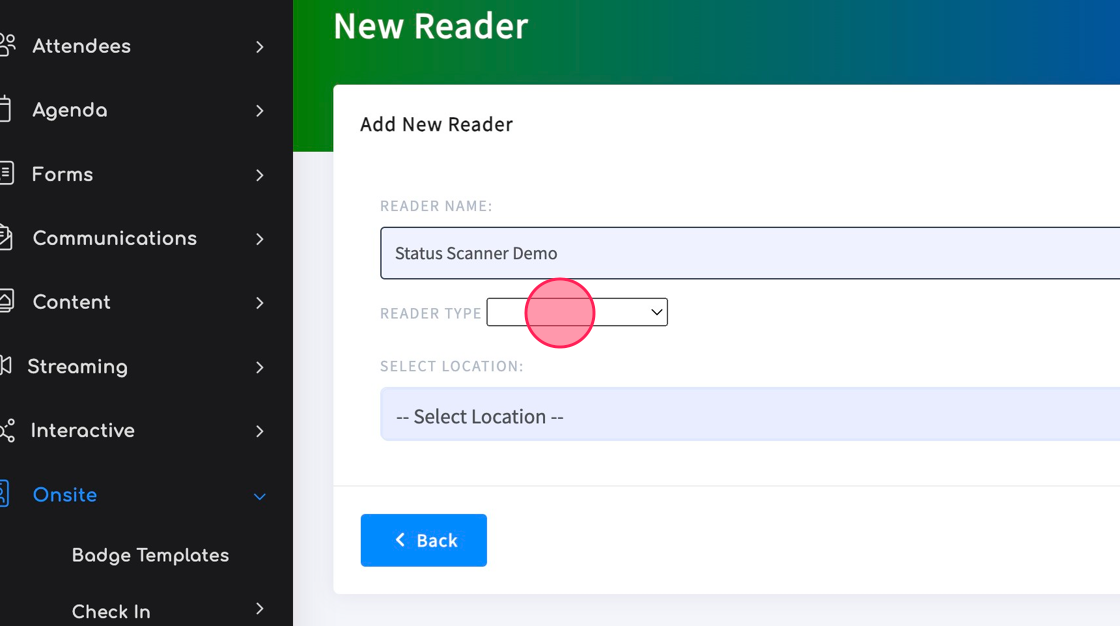
3. Add the “READER NAME”
4. Click the “READER TYPE” and select “Status Scanner”
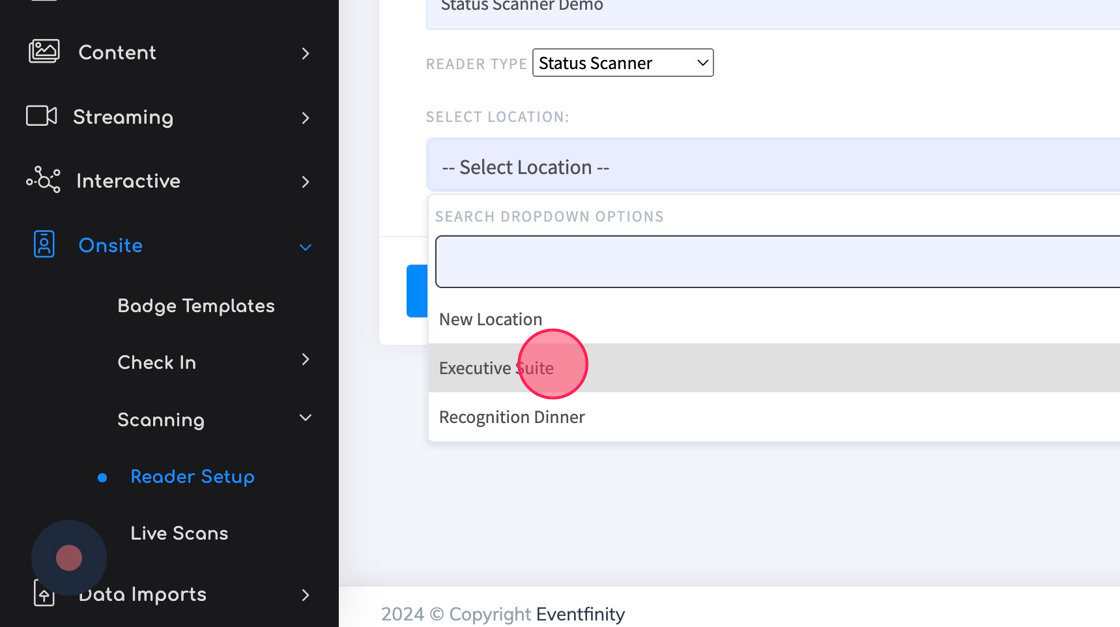
5. Click the “SELECT LOCATION” dropdown and select your location or create a new location if needed.
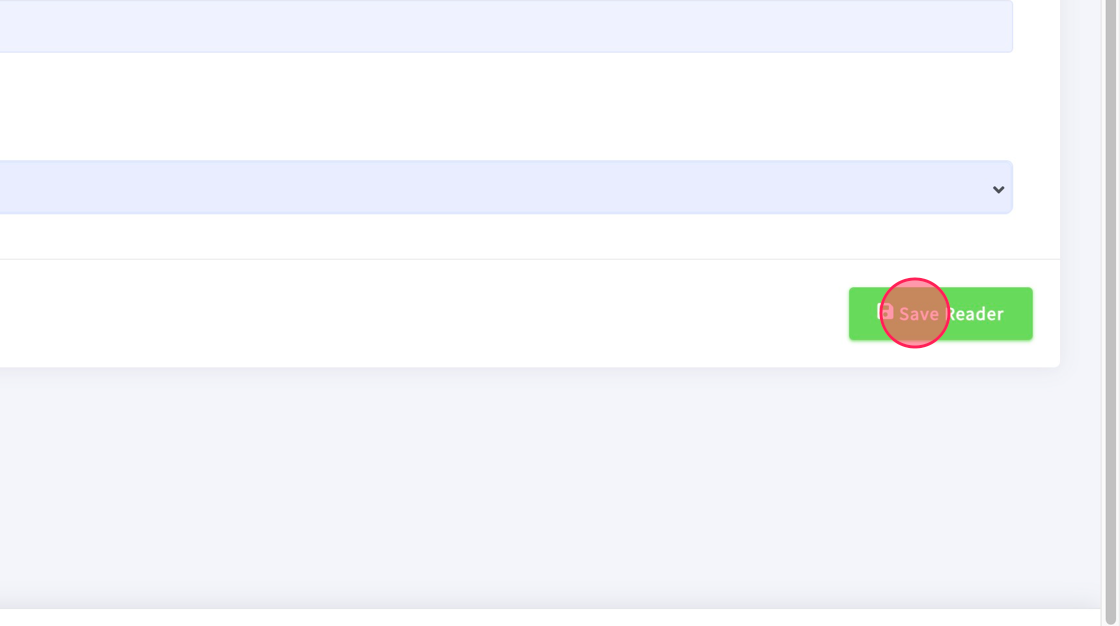
6. Click "Save Reader"
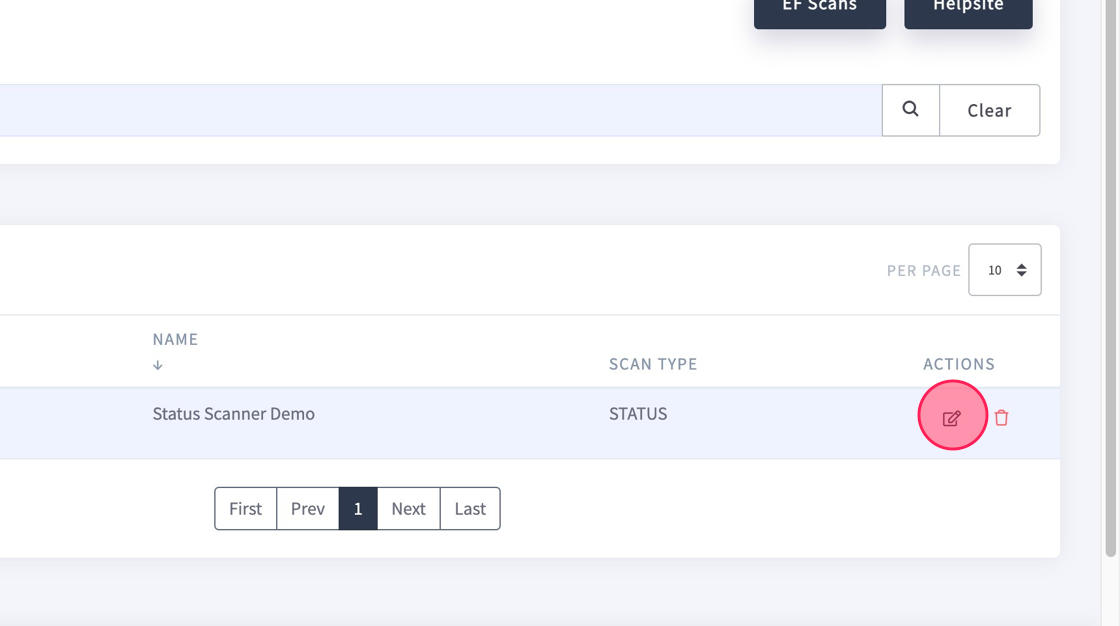
7. This returns you back to the main reader pages. From there, select the edit icon under “ACTIONS”
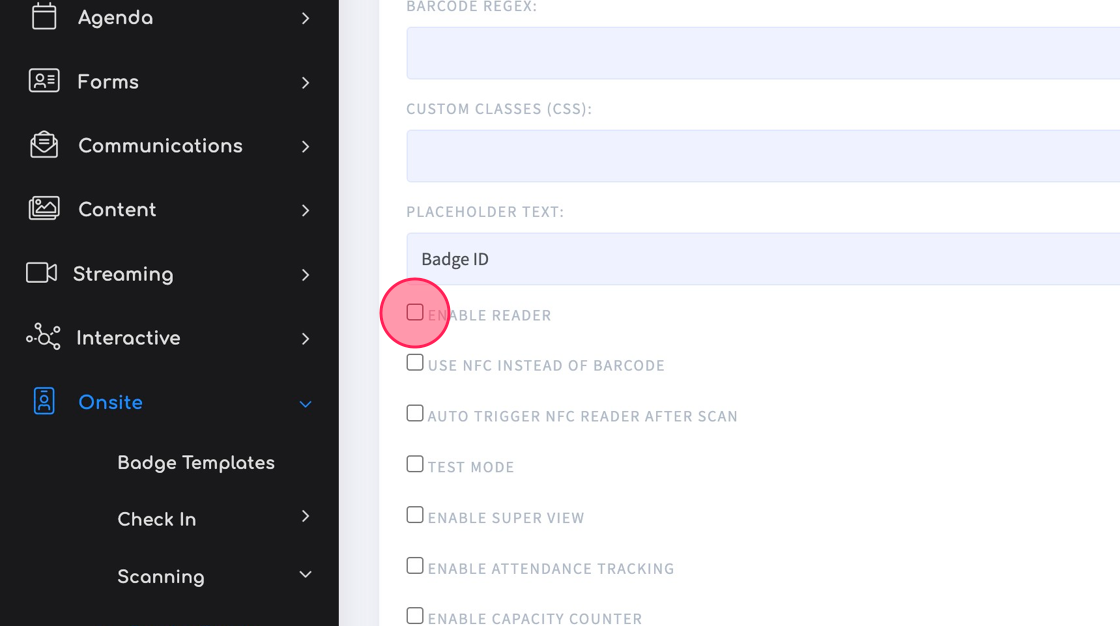
8. Check "Enable Reader."
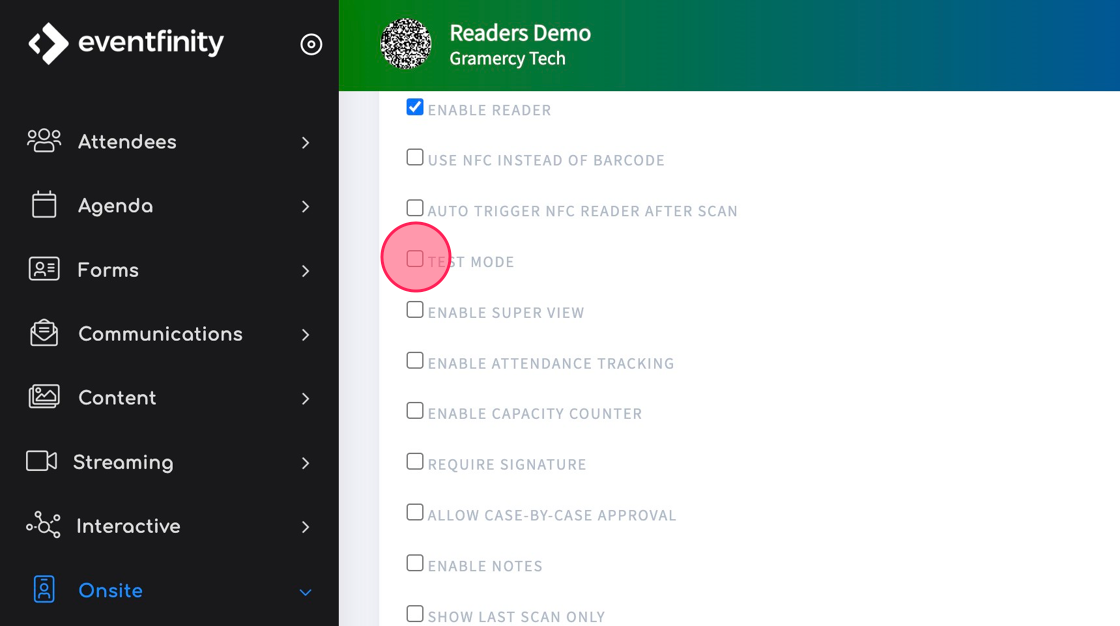
9. Check "Test Mode”.
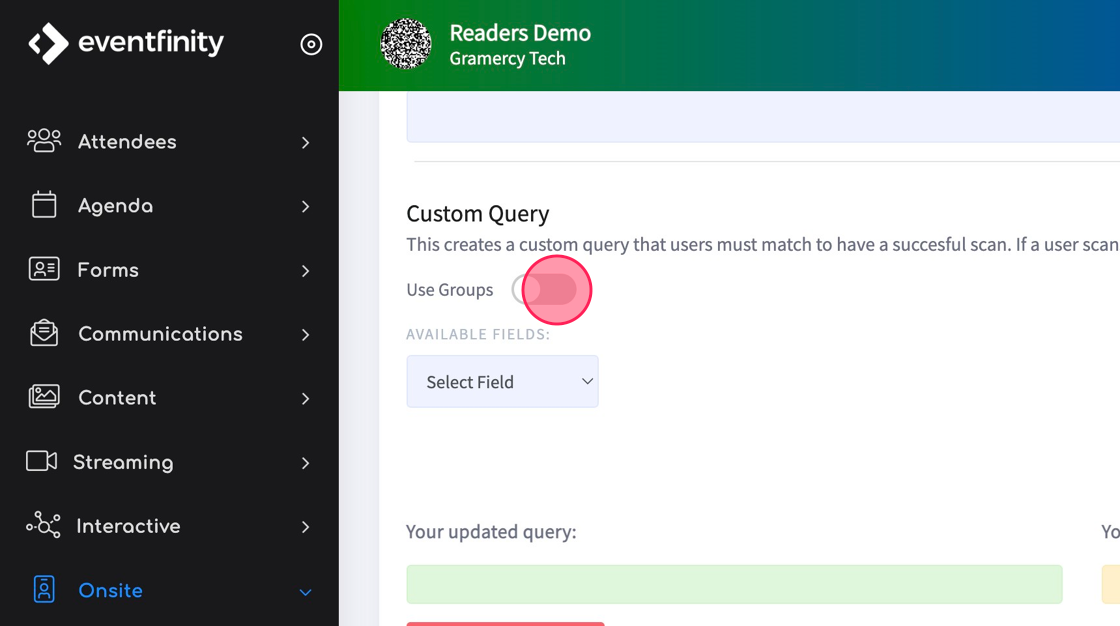
10. To use groups, toggle on “Use Groups”.
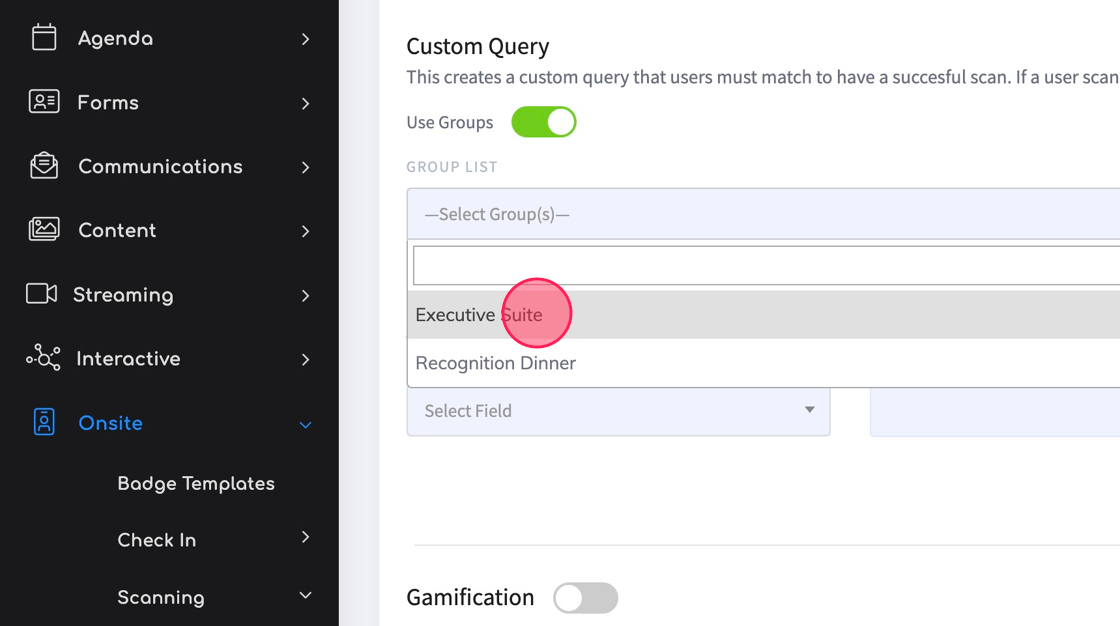
11. Click "—Select Group(s)—" select your group.
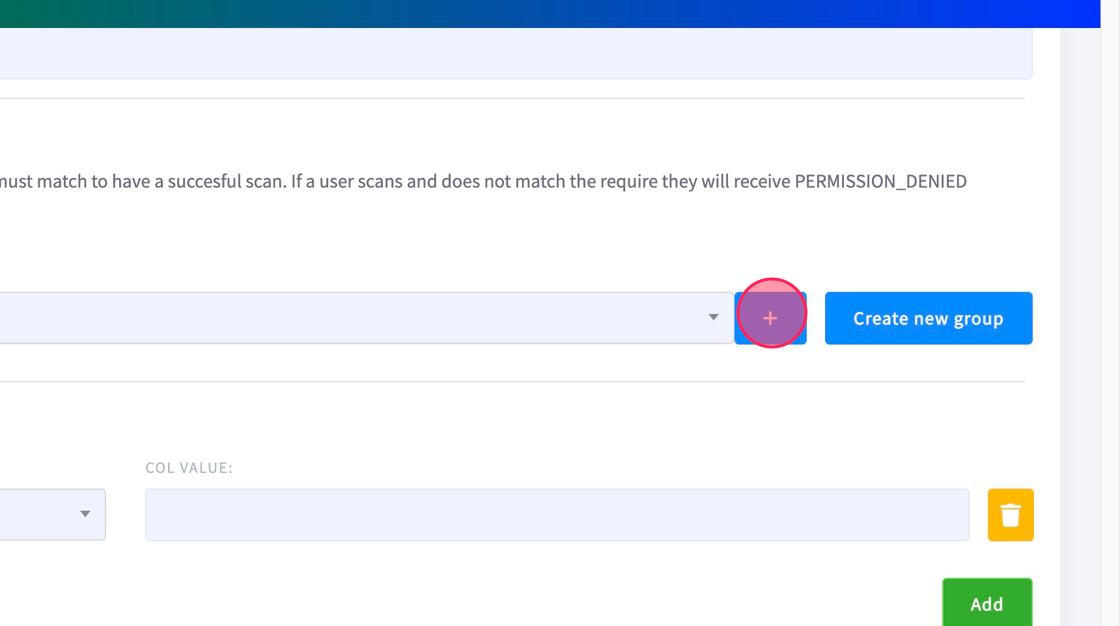
12. Click the plus icon (+) to add the group.
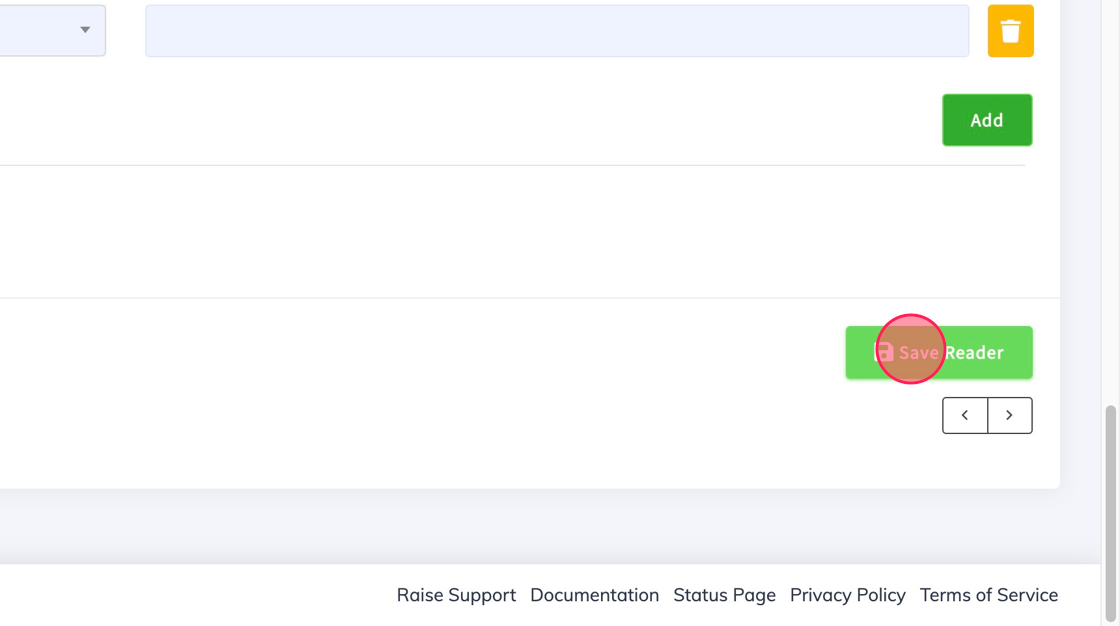
13. Click "Save Reader".
Scan using the GT Scans App
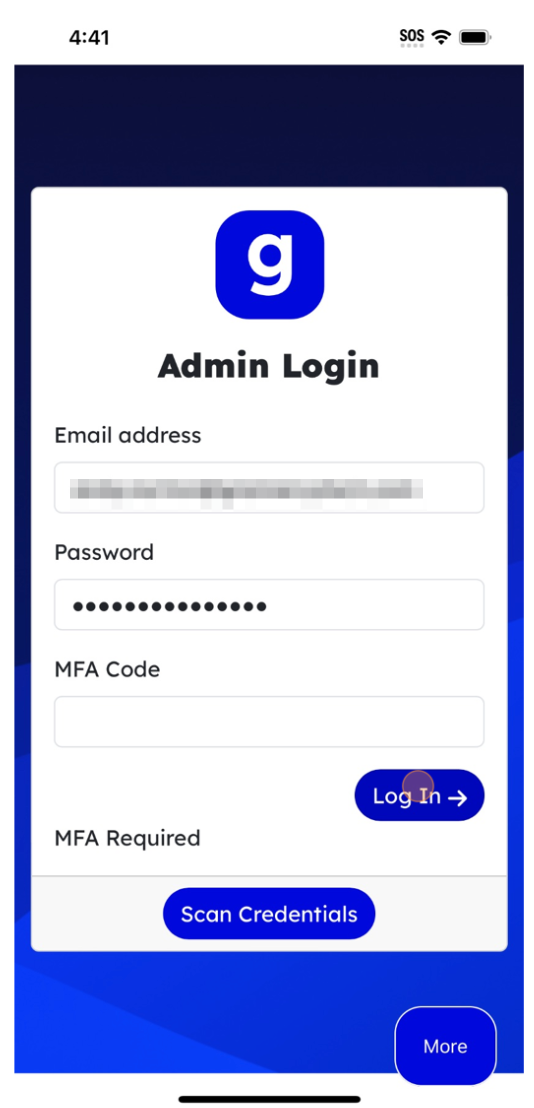
1. Log In or "Scan Credentials" to use an admin QR code.
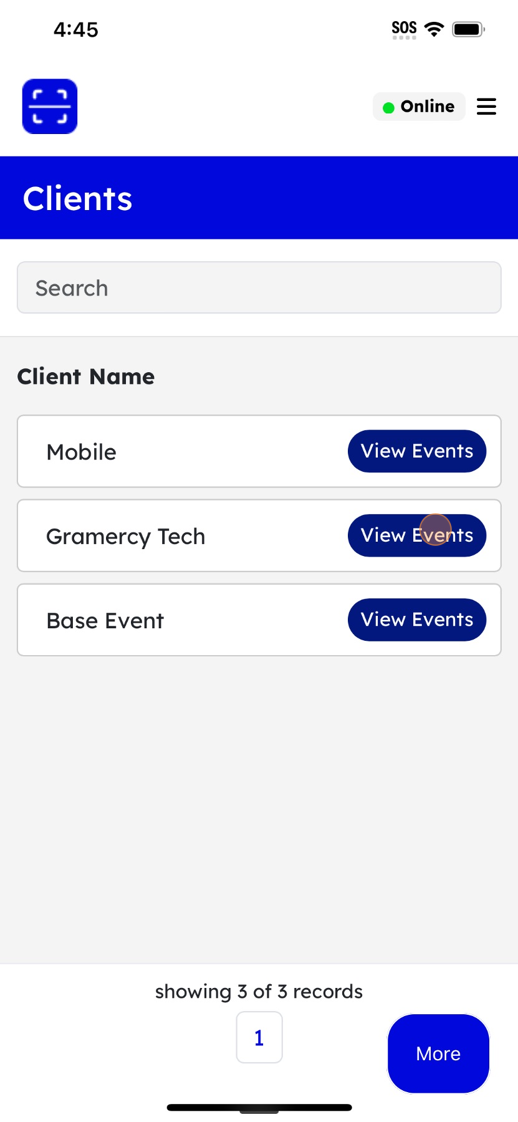
2. Select your Client. The client is the event's organization.
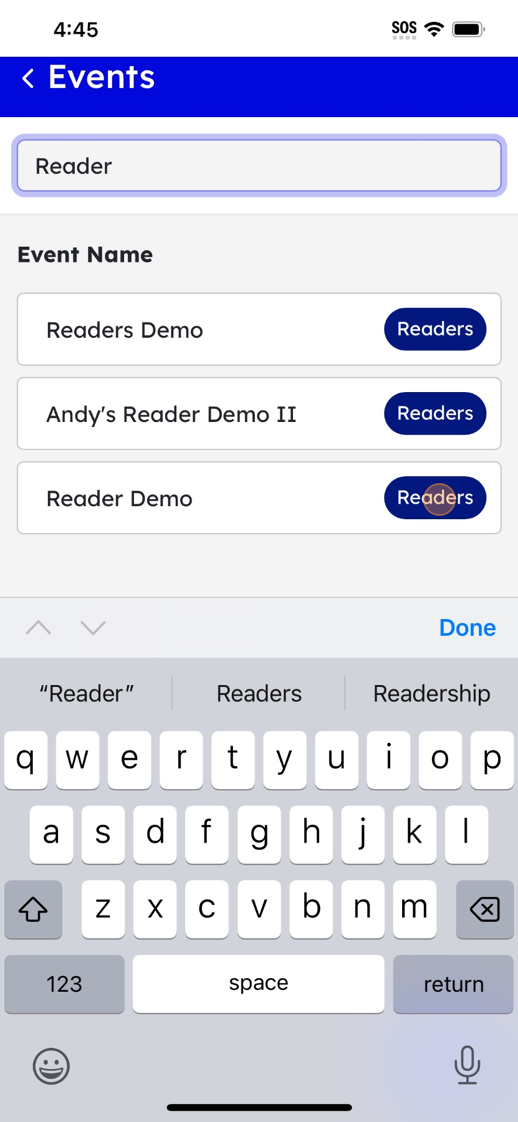
3. Next search for your event and then tap your event to open.
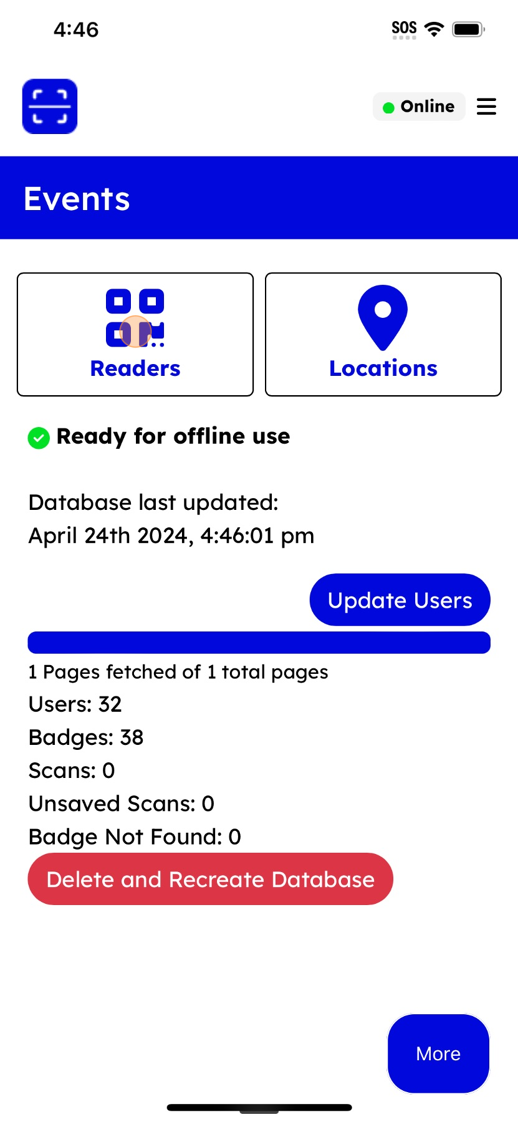
4. This opens the event overview page. Tap "Readers" icon to see a list of all readers in your event. (Note: This admin has access to three Eventfinity events that mention reader demo in the name.)
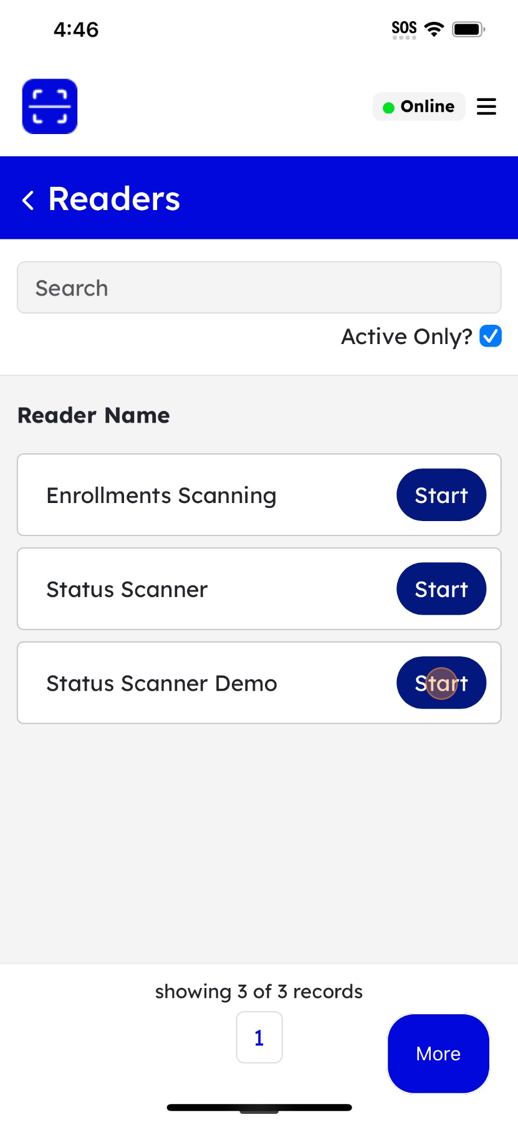
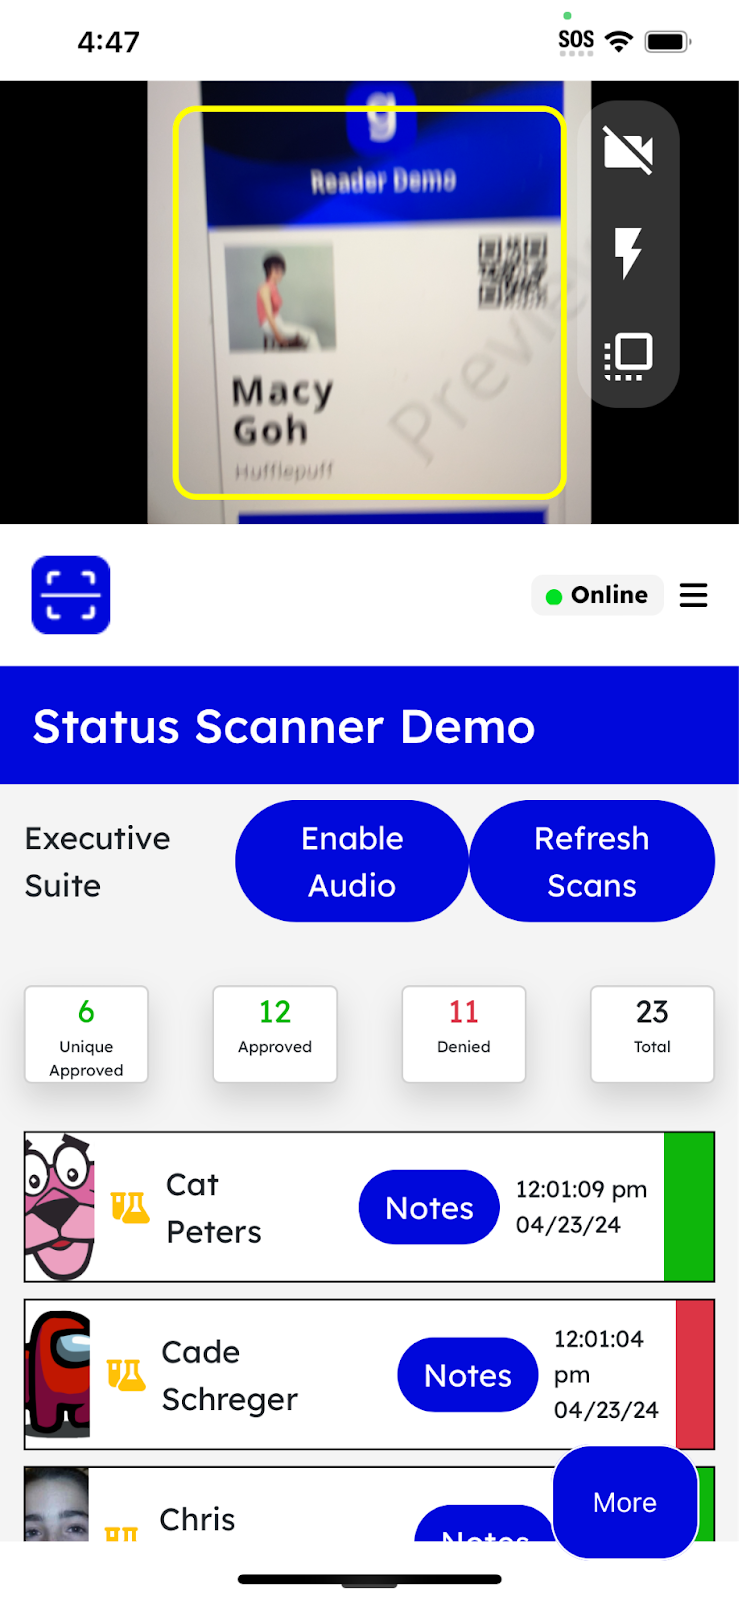
5. On the list of readers for the event, tap “Start” for the reader you wish to use.
6. If asked for camera permission, grant permission, begin scanning, and take notes if your reader has enabled that option.
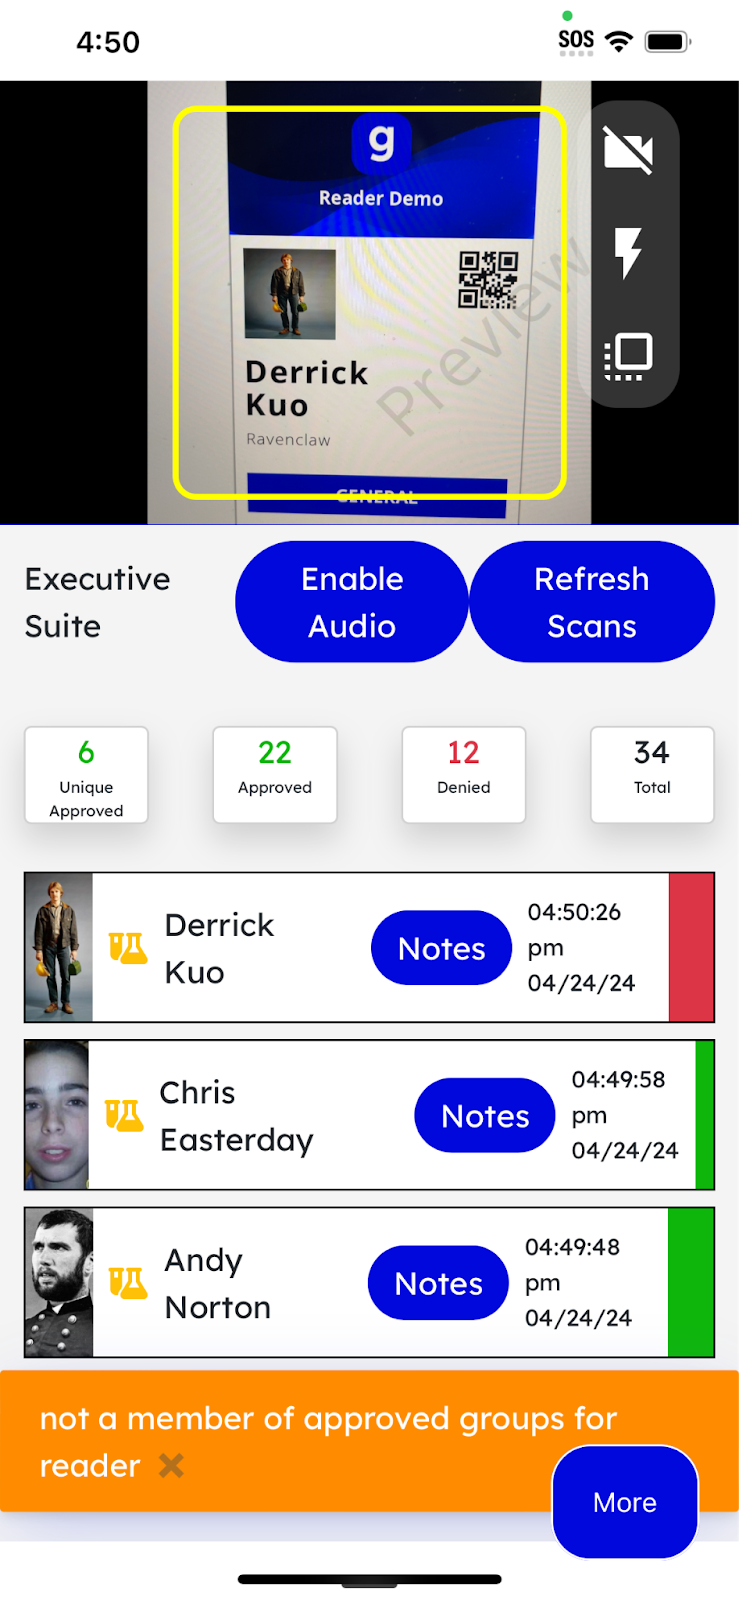
7. When someone is denied access, they will be flagged with a red status bar to the right of their name, along with a brief popup description of why the attendee was denied.
8. Continue this process until the scanning session concludes.

