Attendance Scanner Setup
Published May 10, 2024
Overview
Readers can be used for event access control, recording attendance by location, profile updates and confirmation, and more. This is accomplished by scanning QR or bar codes and paired NFC/RFID tags. The status scanner is a primary type of reader that serves multiple purposes. Readers can be used for event access control, recording attendance by location, profile updates, and confirmation
Reader Setup Options
When configuring a reader, there are several options to choose from. Certain options may be contingent upon the type of reader selected or other choices made during setup.
| Status Reader Options | Description |
| ENABLE READER | Makes reader available for use |
| USE NFC INSTEAD OF BARCODE | Used when attendees will scan a NFC tag via a NFC reader |
| AUTO TRIGGER NFC READER AFTER SCAN | Ensures the tag is read and pushed through automatically without having to hit enter |
| TEST MODE | Enable to test readers to ensure the reader is working as expected without writing data to the event |
| ENABLE SUPER VIEW | Allows you to pull up all the pages of a certain location at once to monitor the scans |
| ENABLE ATTENDANCE TRACKING | Track who has scanned into that reader |
| ENABLE LIVE ATTENDANCE | Breaks group into entrance and exit scans |
| ATTENDANCE GROUP IDS (PIPE DELIMITED) | For targeting specific groups. Groups are separated by the vertical bar/pipe key. |
| ENABLE CAPACITY COUNTER | Give the total granted access in the top menu |
| REQUIRE SIGNATURE | Typically used for group distribution of badges |
| ALLOW CASE-BY-CASE APPROVAL | Used when an attendee is denied, but is granted special access |
| ENABLE NOTES | Used to take notes for the attendee |
| SHOW LAST SCAN ONLY | Shows only the last scan |
| SINGLE SCAN MODE | Can only scan as approved once |
| SCAN TIMEOUT | How long the reader will be open with no scan activity, typically left to zero |
| ENABLE HELP BUTTON | Used to connect the reader to a project Slack channel |
| ENABLE CUSTOM SECONDARY DISPLAY | Connect a secondary display |
Setting up a Reader in Dashboard
Setting up a Reader in Dashboard
Attendance Scanner Example
There are multiple configuration options for reader setup. If you are scanning for a particular location or limiting the scans for a specific group, it is recommended to create the group and location before making the reader. For this example, we will set up a simple Attendance Scanner type that will change a custom field to yes to indicate attendance in a session.
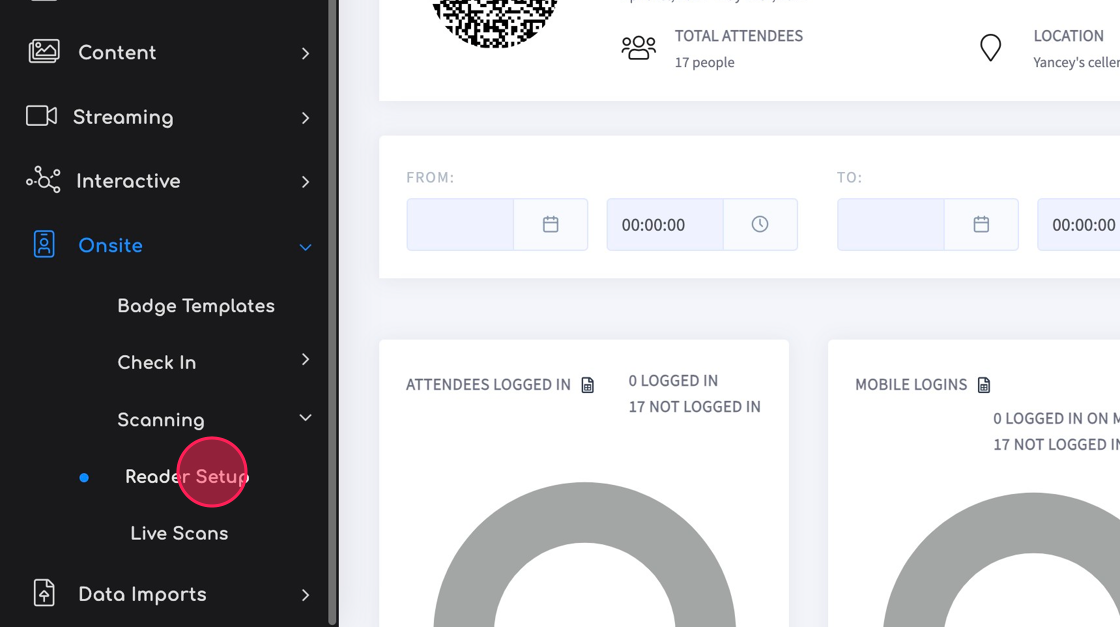
1. From the "Onsite Menu, click "Scanning", and then "Reader Setup"
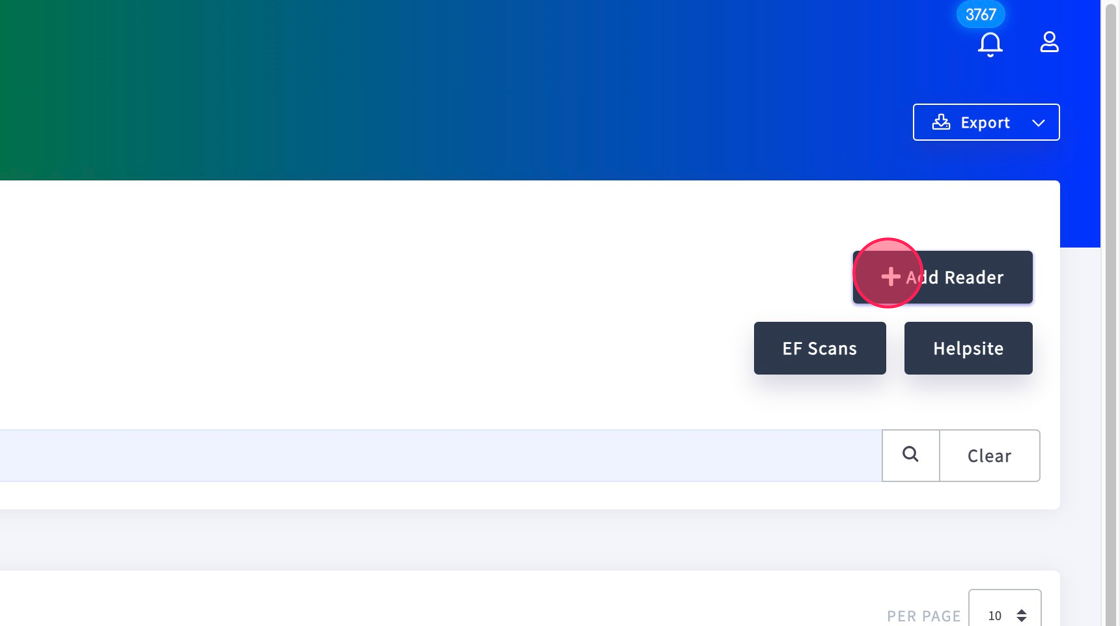
2. Click "+ Add Reader"
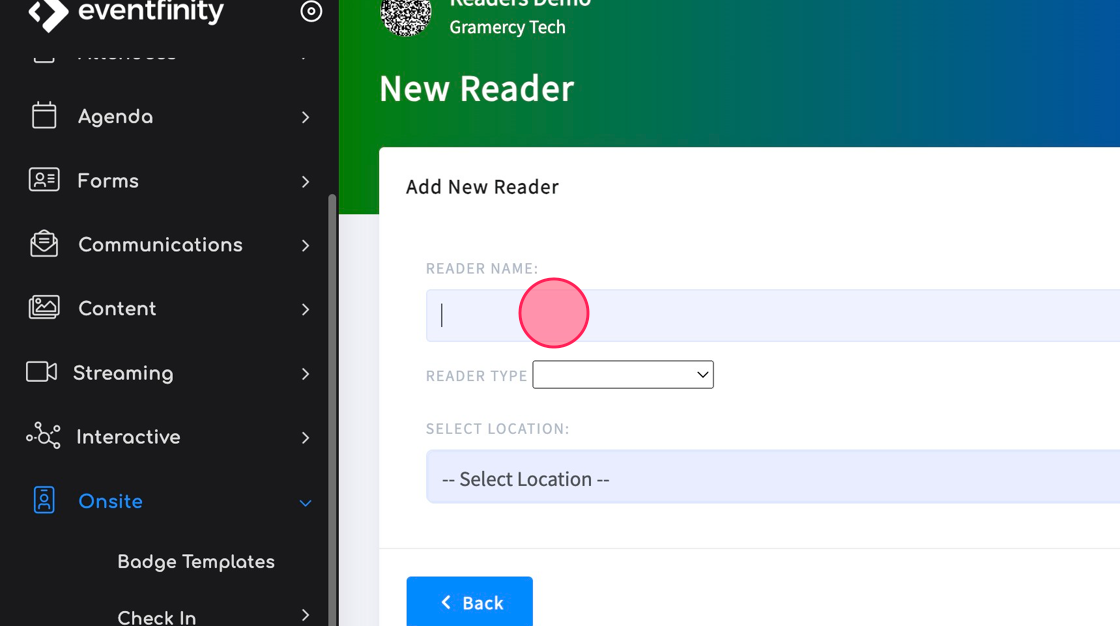
3. Name your reader
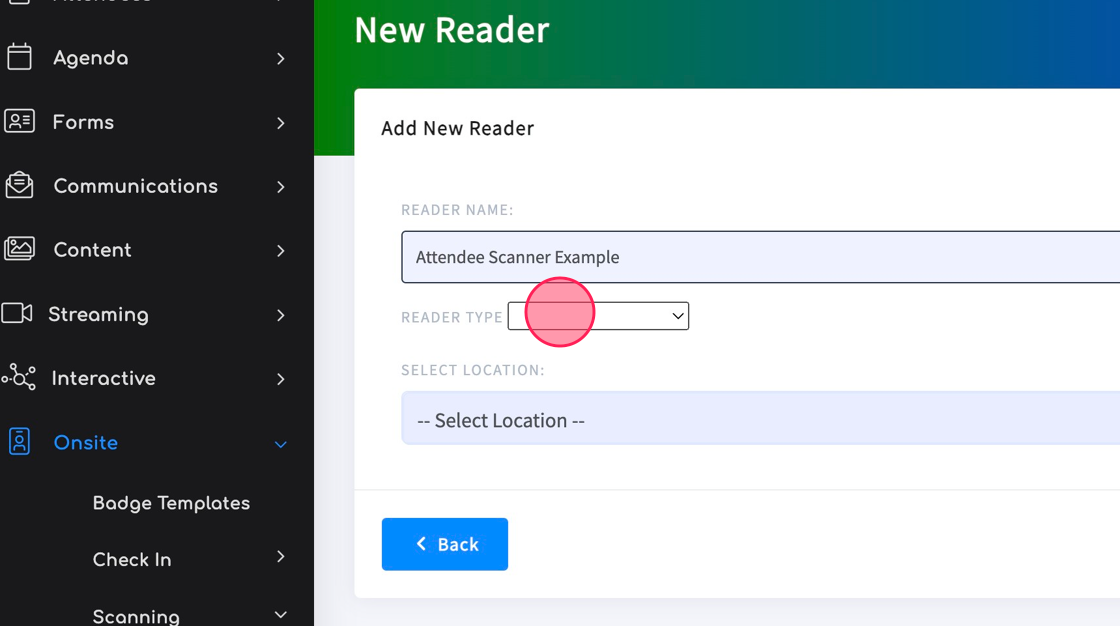
4. Click the "Reader Type" dropdown and select "Attendance Scanner"
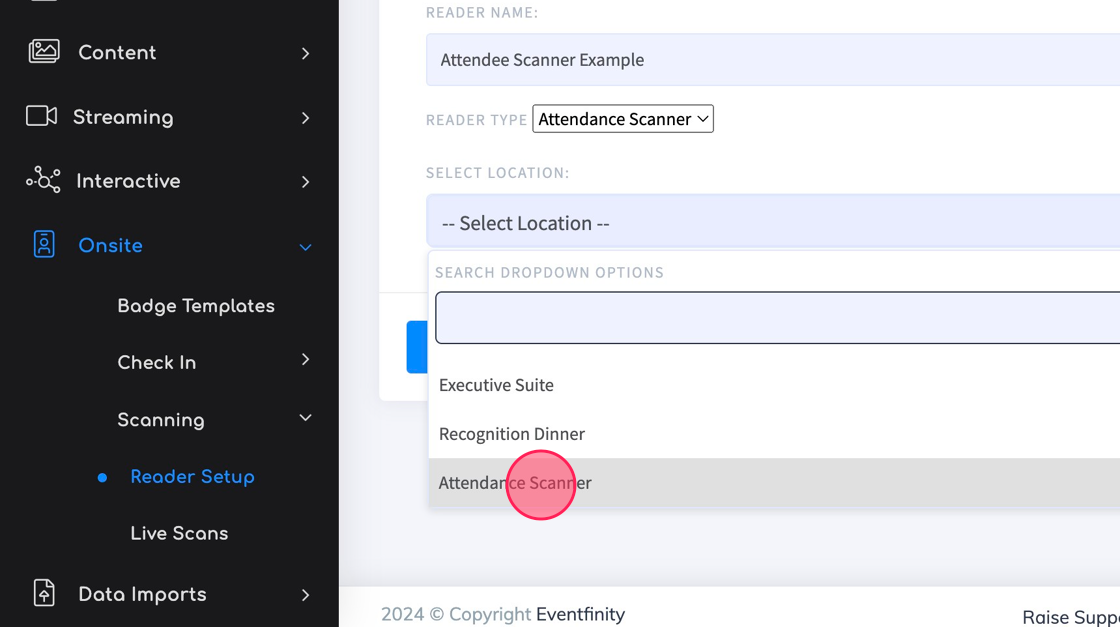
5. Click the "Select Location" dropdown and choose an existing location or create a new location
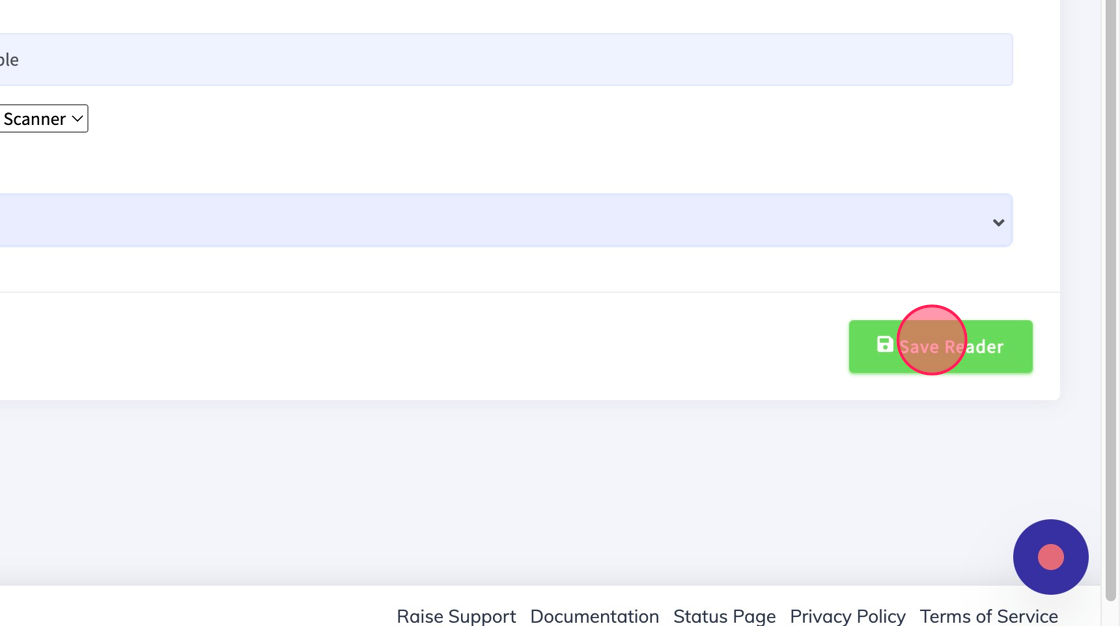
6. Click "Save Reader"
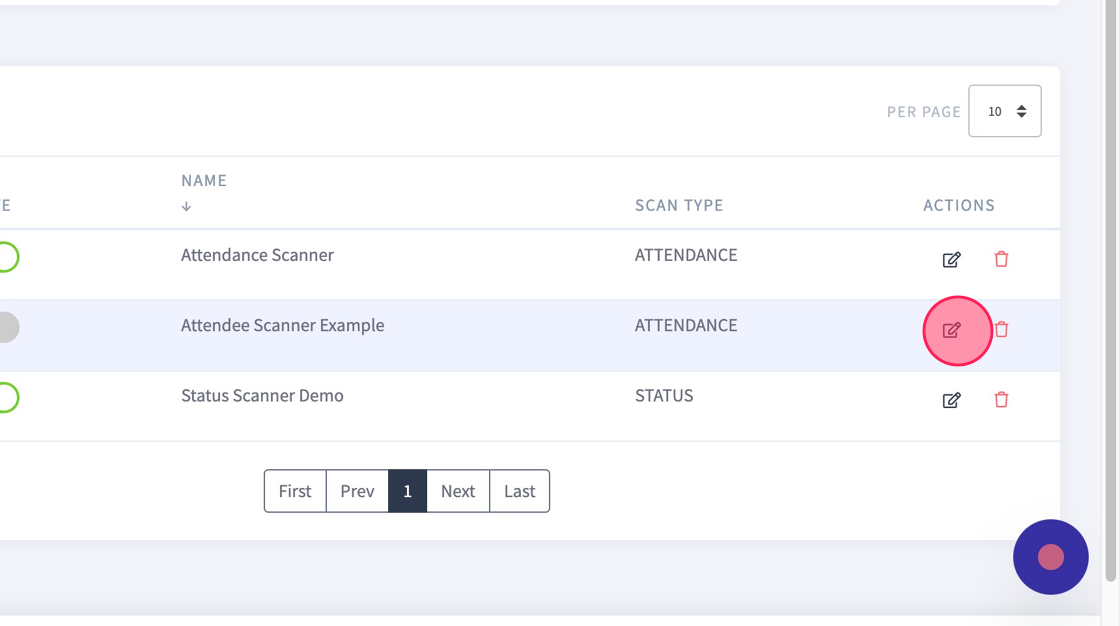
7. You will be returned to the Reader list page. Click the edit icon under "Actions"
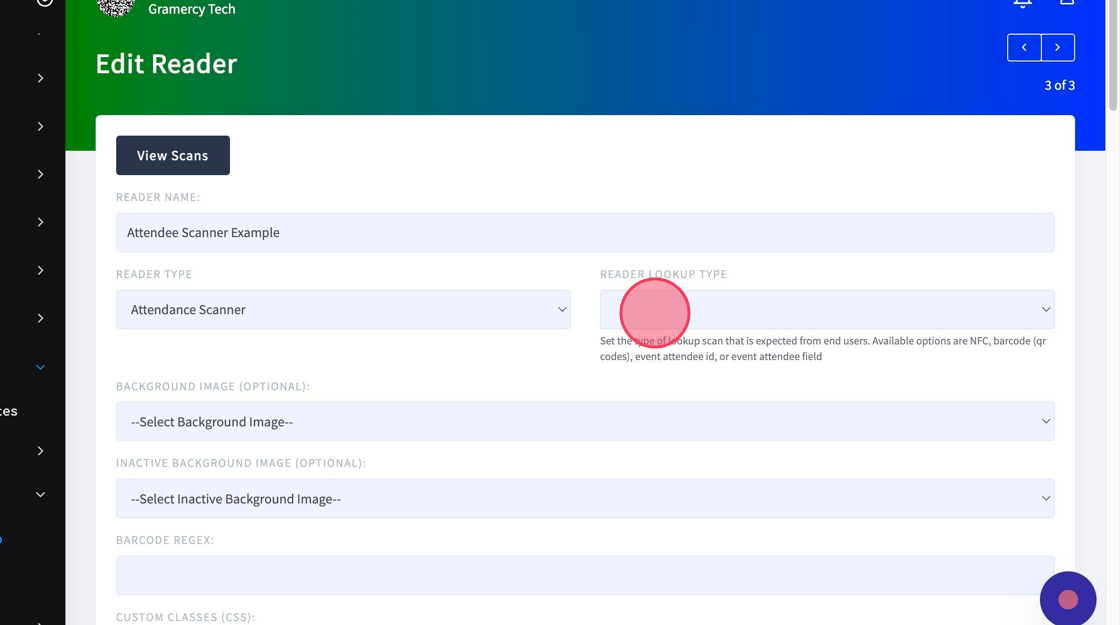
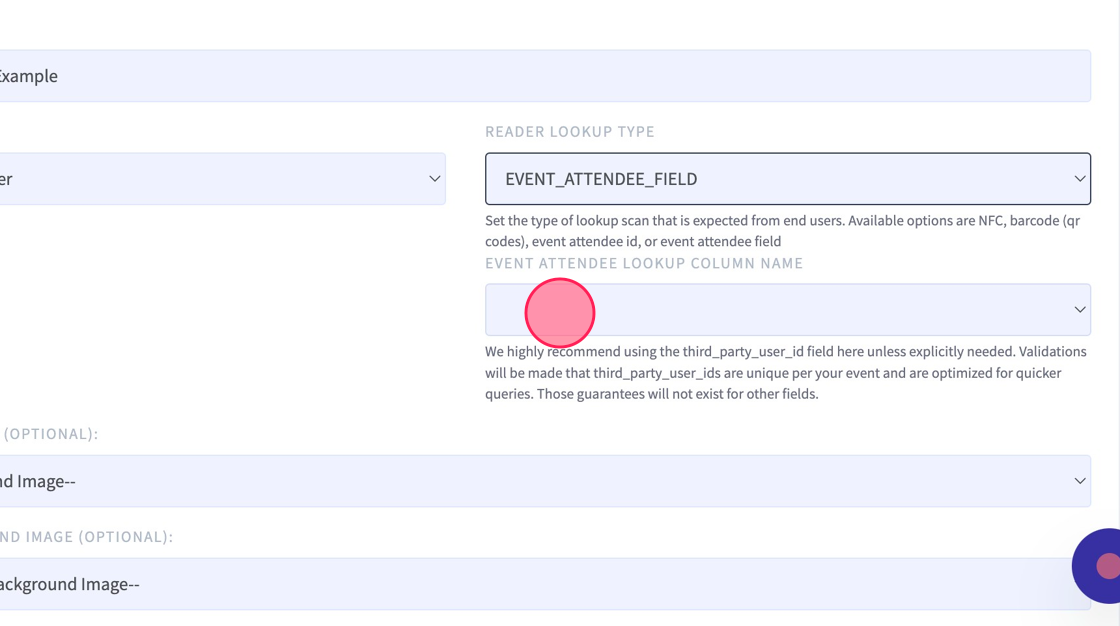
8. Click the "Reader Lookup Type" dropdown and select "EVENT_ATTENDEE_FIELD"
9. Click the "Event Attendee Lookup Column Name" dropdown and select your field. The most common field is "event_attendee_id". This field must be included in the QR code you are scanning.
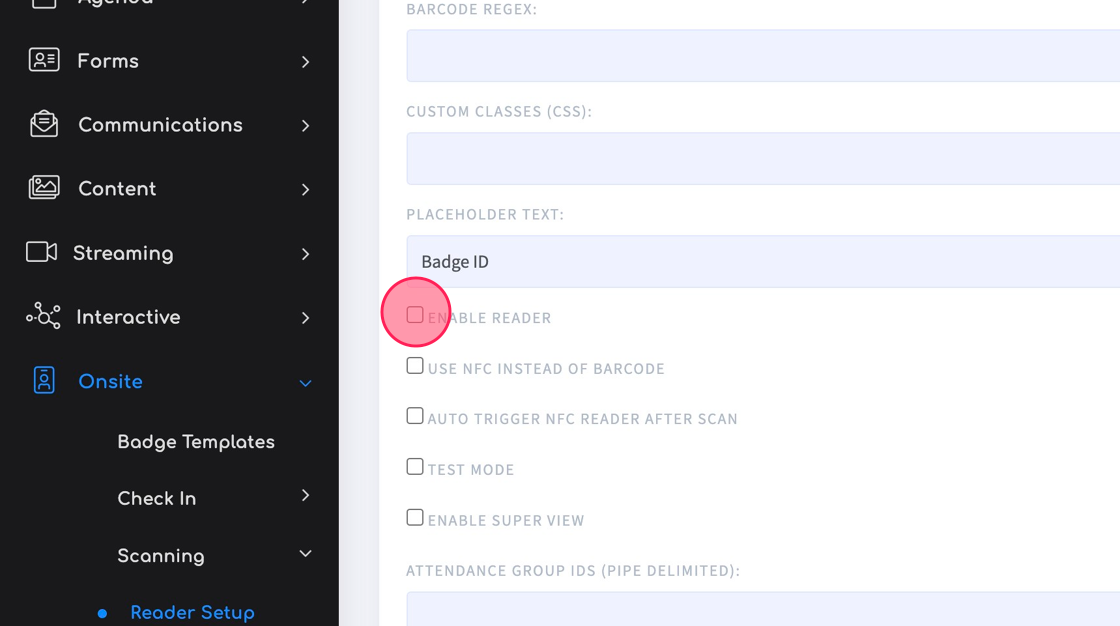
10. Now begin configuring your reader option. The first required option is the "Enable Reader" field.
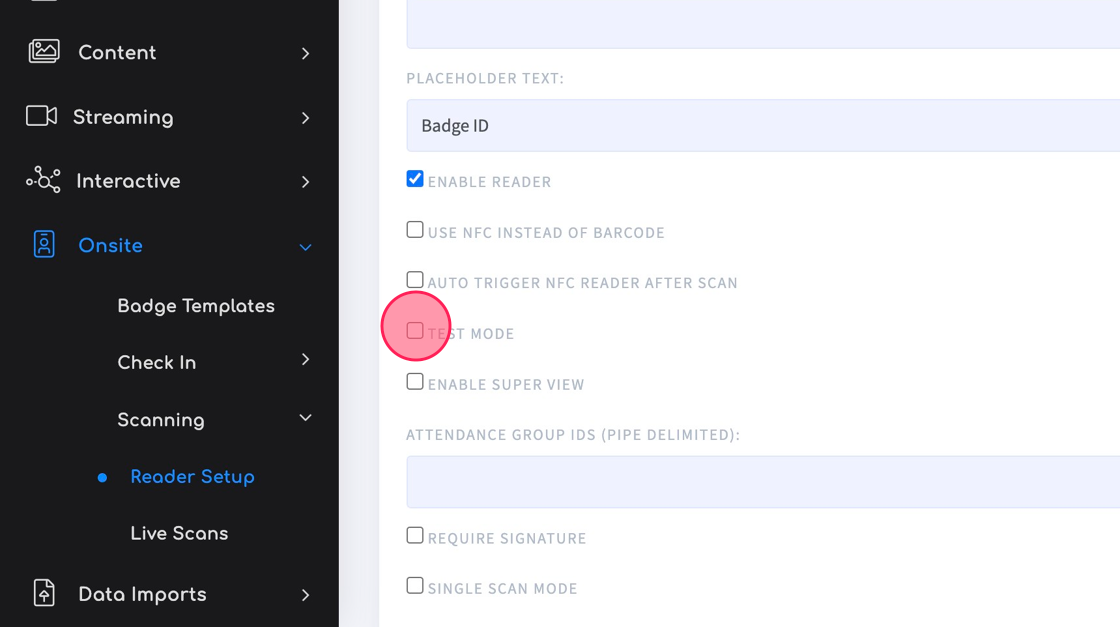
11. As best practice, it is recommended to always check the "Test Mode" field for testing. After testing, you should uncheck this option and resave the reader. This will prevent all test scans from populating in the reader/scans export reports.
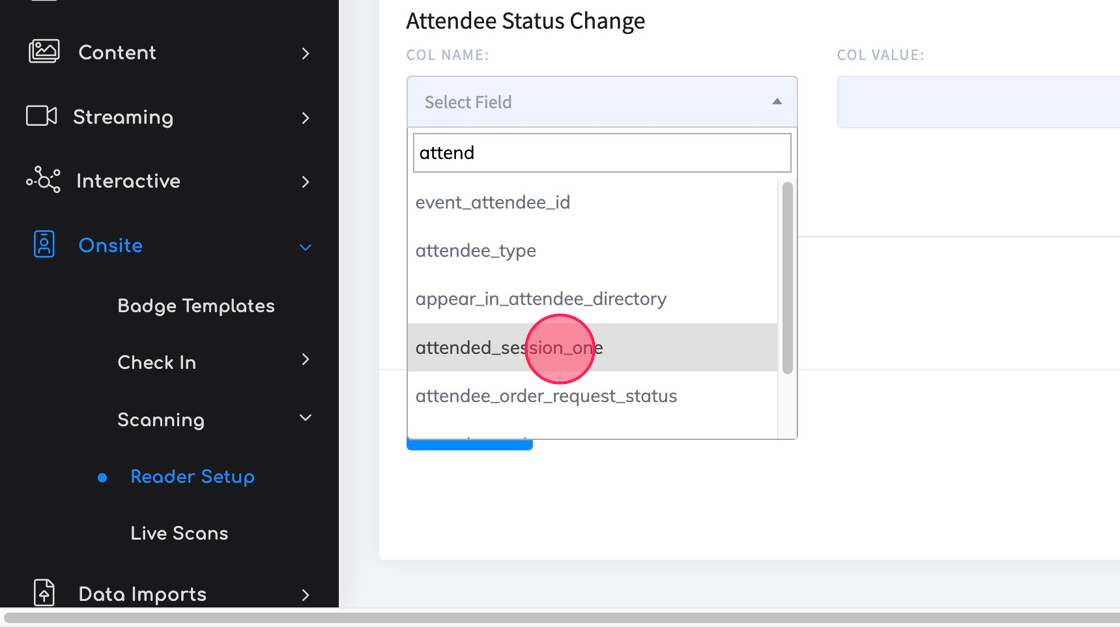
12. Now to select "Attendee Status Change" and select the attendee field that you wish to change after a scan.
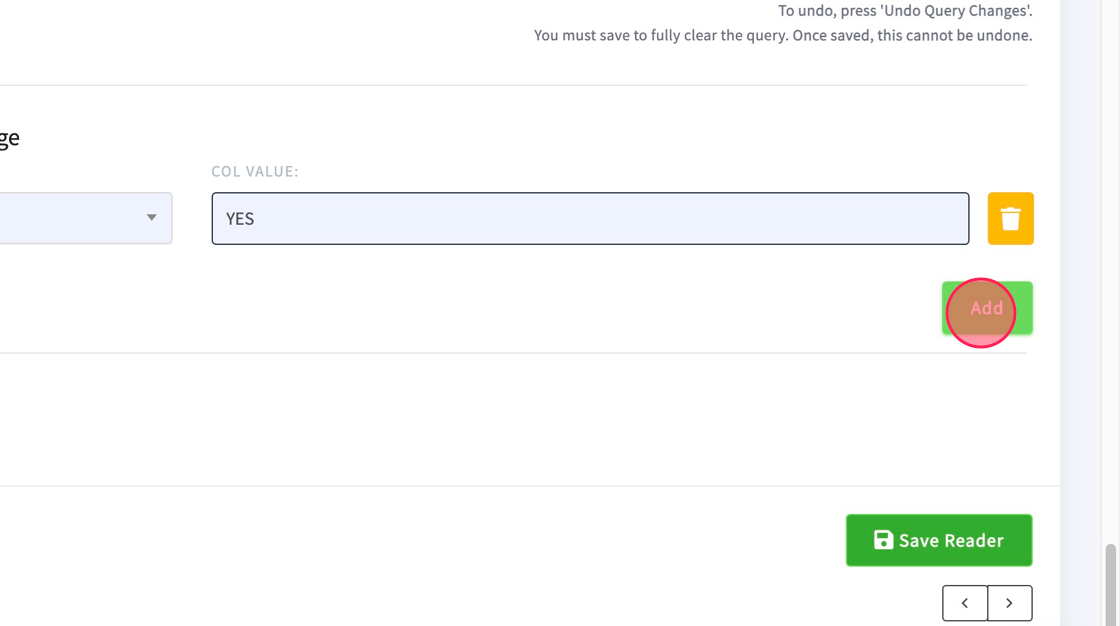
13. Click the "COL VALUE" text entry field and enter the value you want to change in the attendee record, the click "Add"
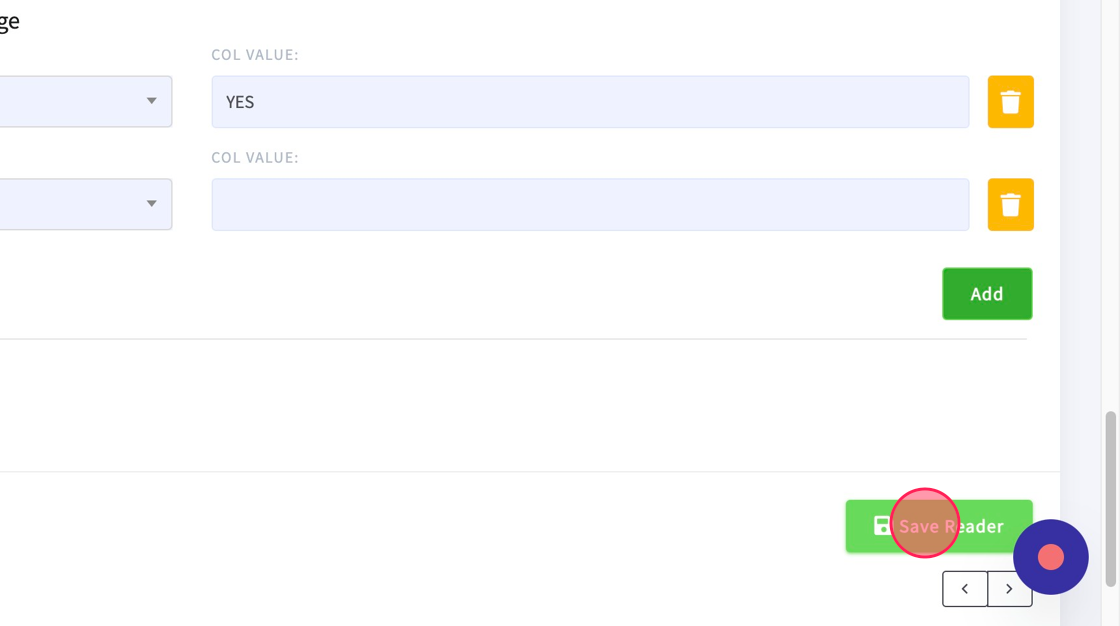
14. Click "Save Reader"
15. Grab yourself a snack and update your LinkedIn skills to show you are a master in setting up an Eventfinity Attendance Scanner Reader!

