Agenda Plugin Filters
Intro
Users can create preset filters for Agenda Items that will determine which specific items will appear on the Homescreen and Main Stage Agenda plugins. This allows users to curate and highlight a specific group of Agenda Items for the users that will be accessing these pages in the Event Site. The process to enable this feature involves:
- Creating an Agenda Tag within the Agenda Settings menu page (this will be covered in a separate article)
- Creating an Agenda Plugin Filter within the Agenda Plugin Filters page and selecting the appropriate tags that belong to that filter.
- The Agenda Plugin Filter can then be added in three different locations
- The Homescreen by using the Homescreen Builder to drag an Agenda Block
- An Event Site Navigation Menu option
- Main Stage, by toggling the Agenda setting to on and selecting the appropriate plugin filter from the dropdown
The short video below walks through the process of creating a new Plugin Filter and attaching it to an Agenda Block using the Homescreen Builder.
Creating an Agenda Plugin Filter
1. Navigate to the Agenda Plugin Filters edit page; located within the Agenda dropdown submenu. Select the +New Agenda Plugin button at the top right of the screen.
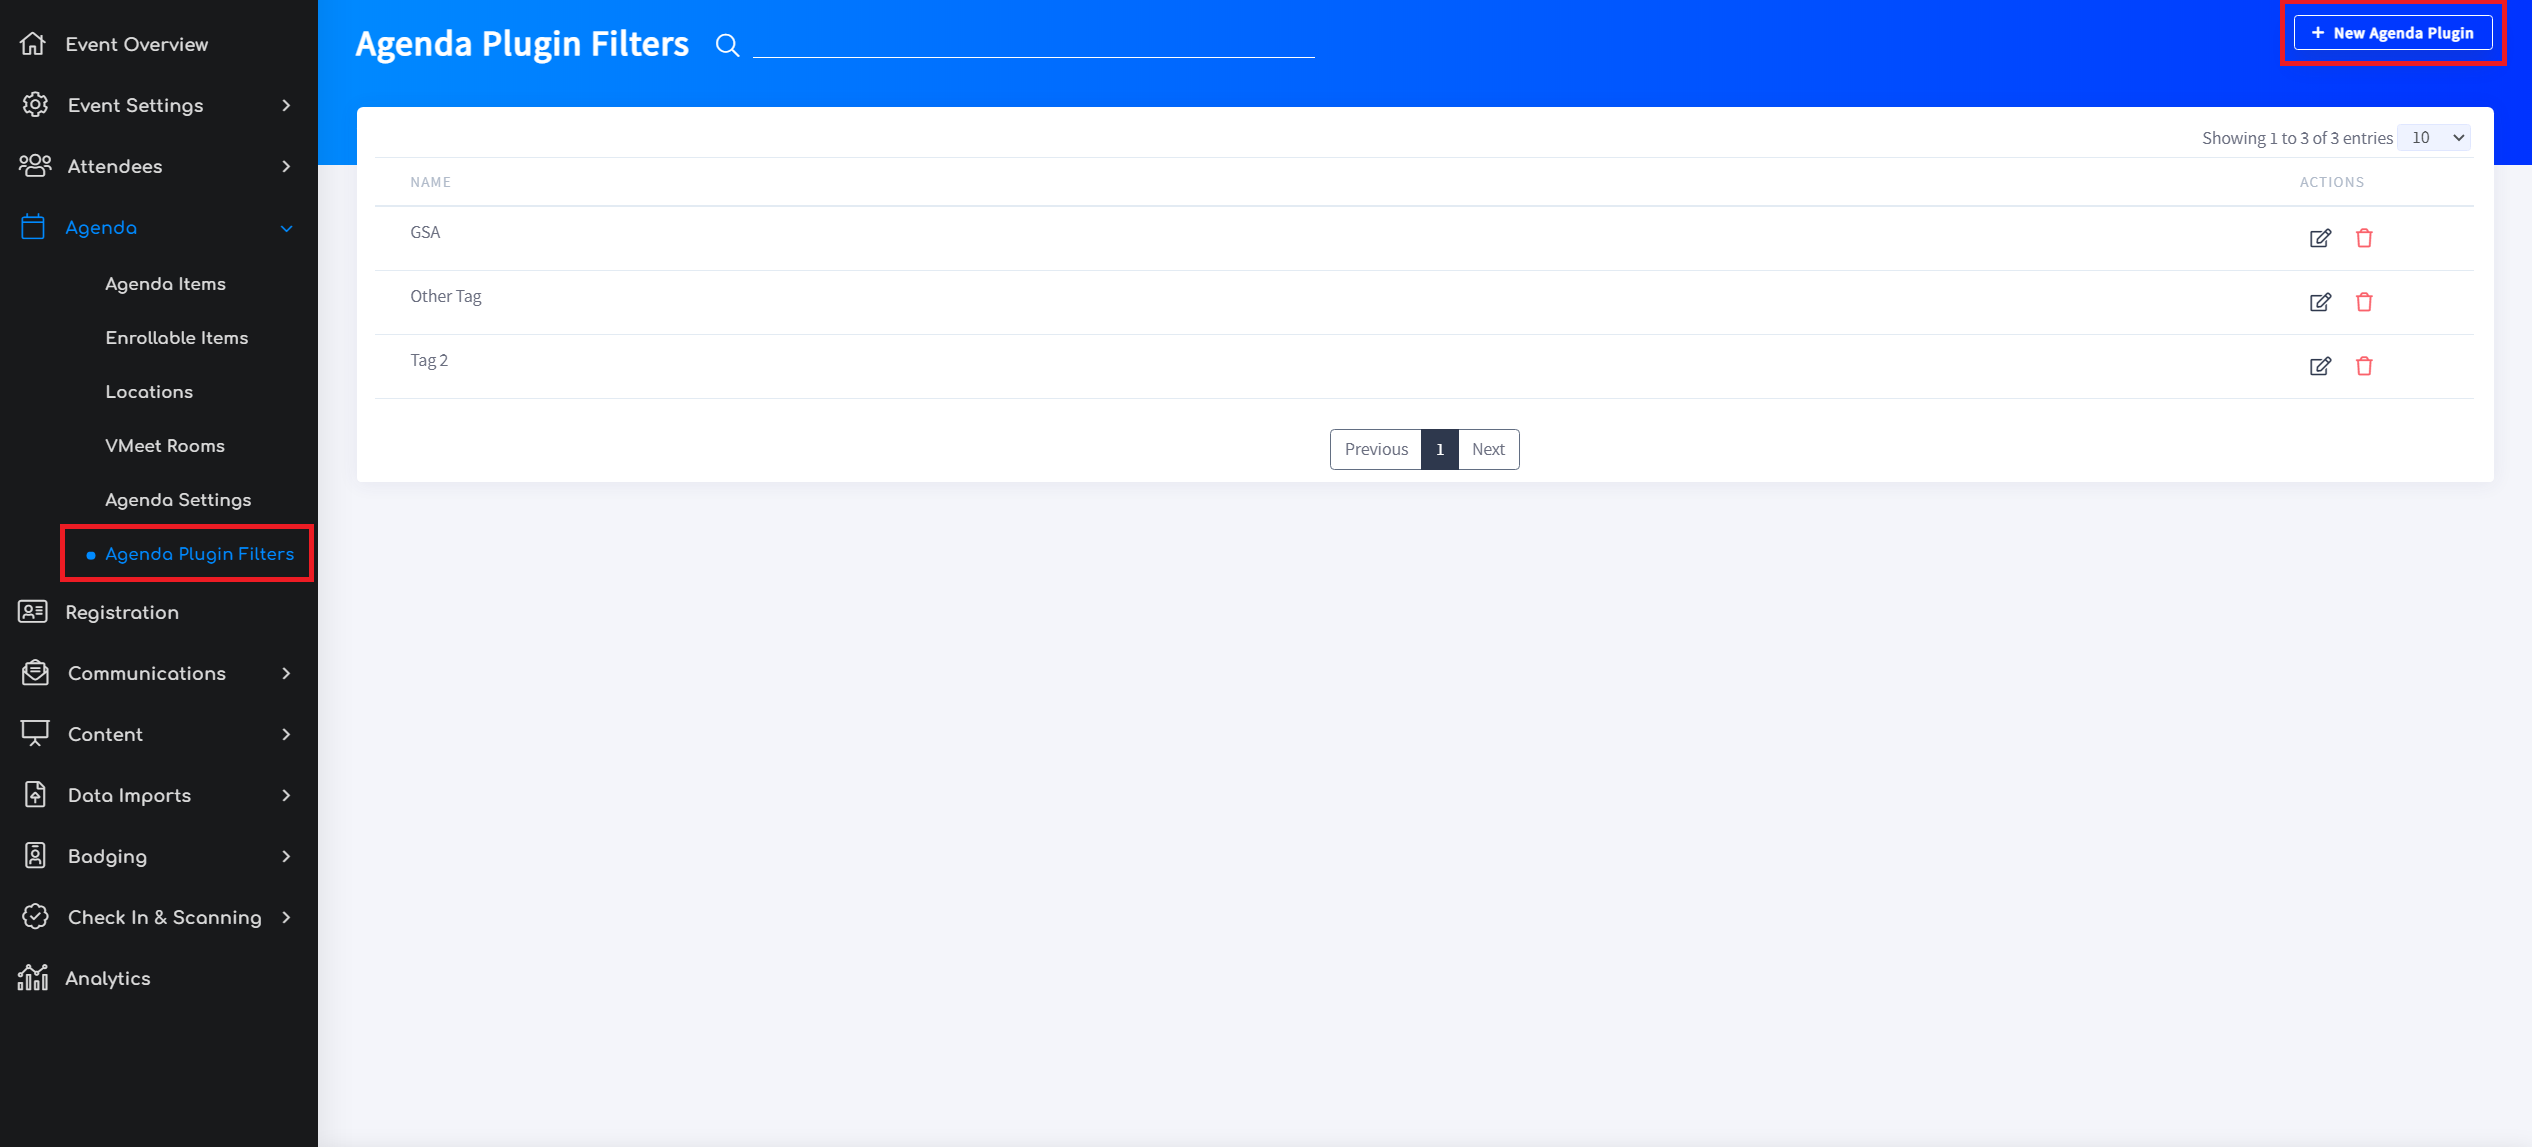
2. Create the name of the Plugin Filter and select Save

3. On the Edit Agenda Plugin Filter page, select the Agenda tags that will be associated with this filter within the Tags dropdown.

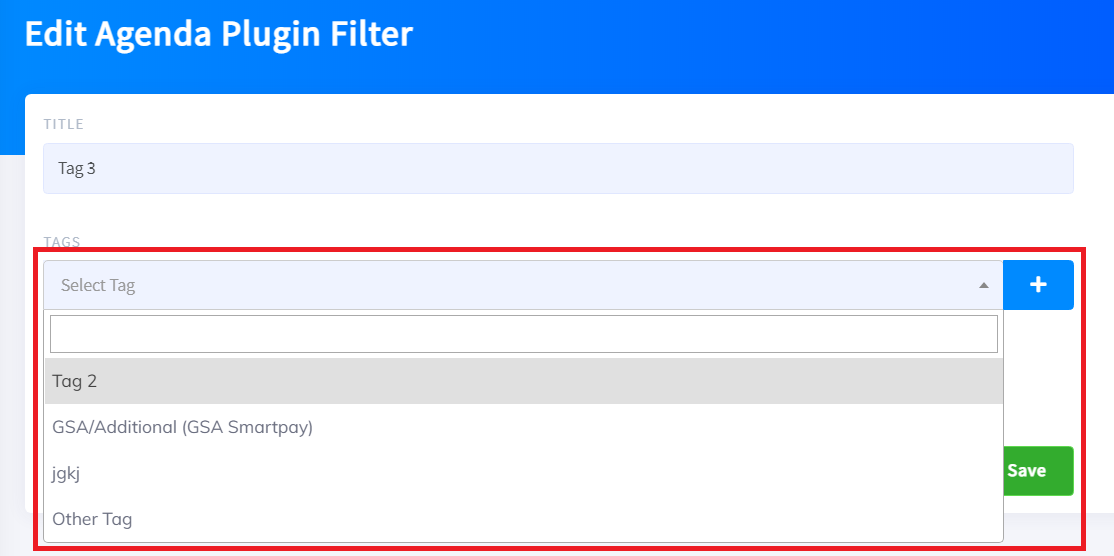
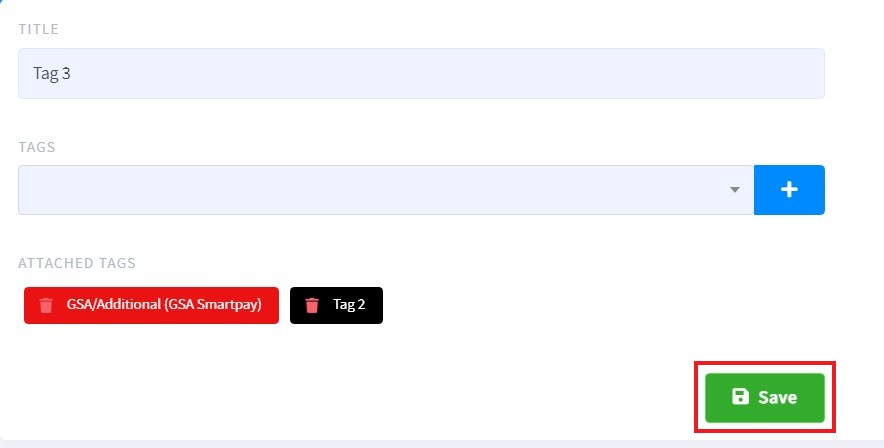
Note: Use the "+" button to add the selected tags to the Plugin Filter and Save your selection(s).
Adding an Agenda Plugin Filter as a Navigation Item
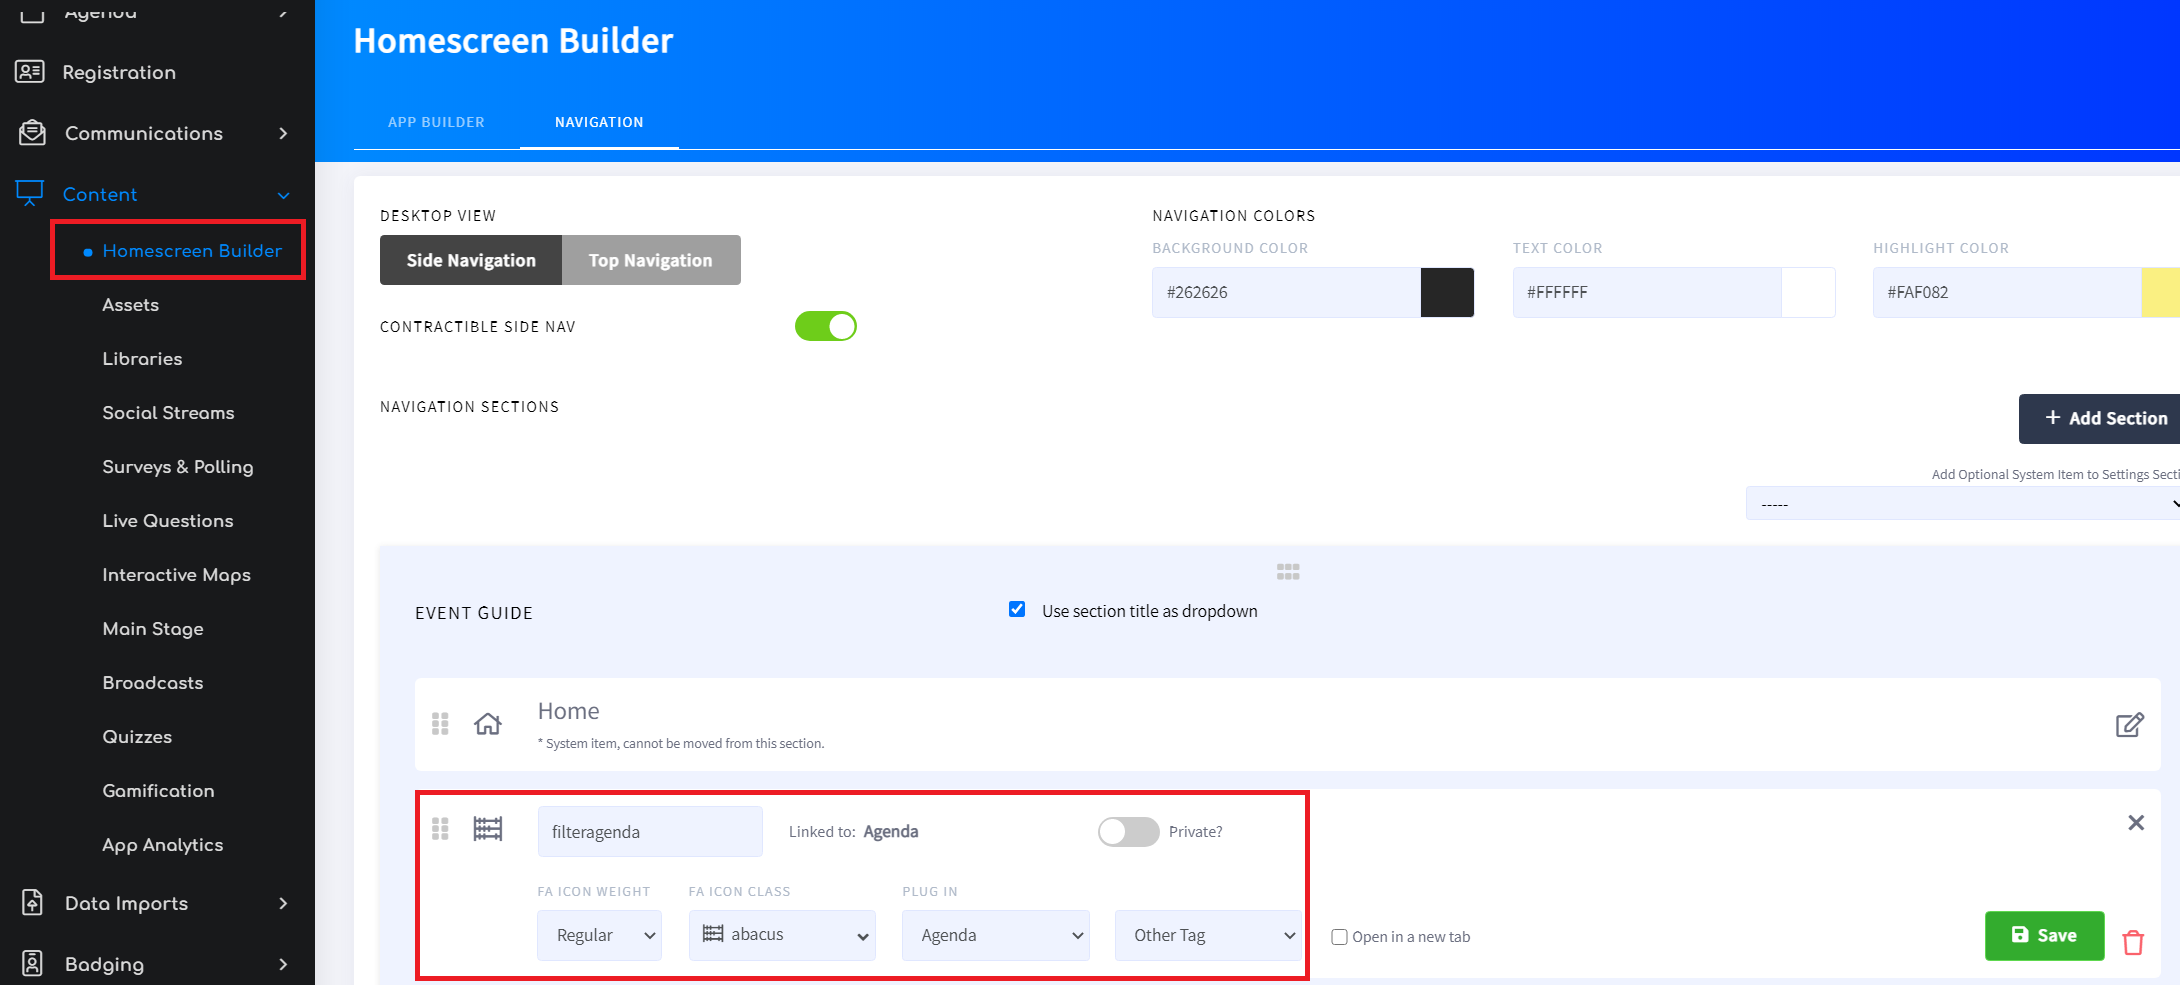
1. Navigate to the Homescreen Builder and selection the Navigation Tab at the top of the page. Next select add a new Navigation Item. In the "PLUG IN" Dropdown Field, select Agenda from the list. Within the secondary dropdown to the right, select the Agenda Plugin Filter that you created in the previous step. Be sure to save your selections.
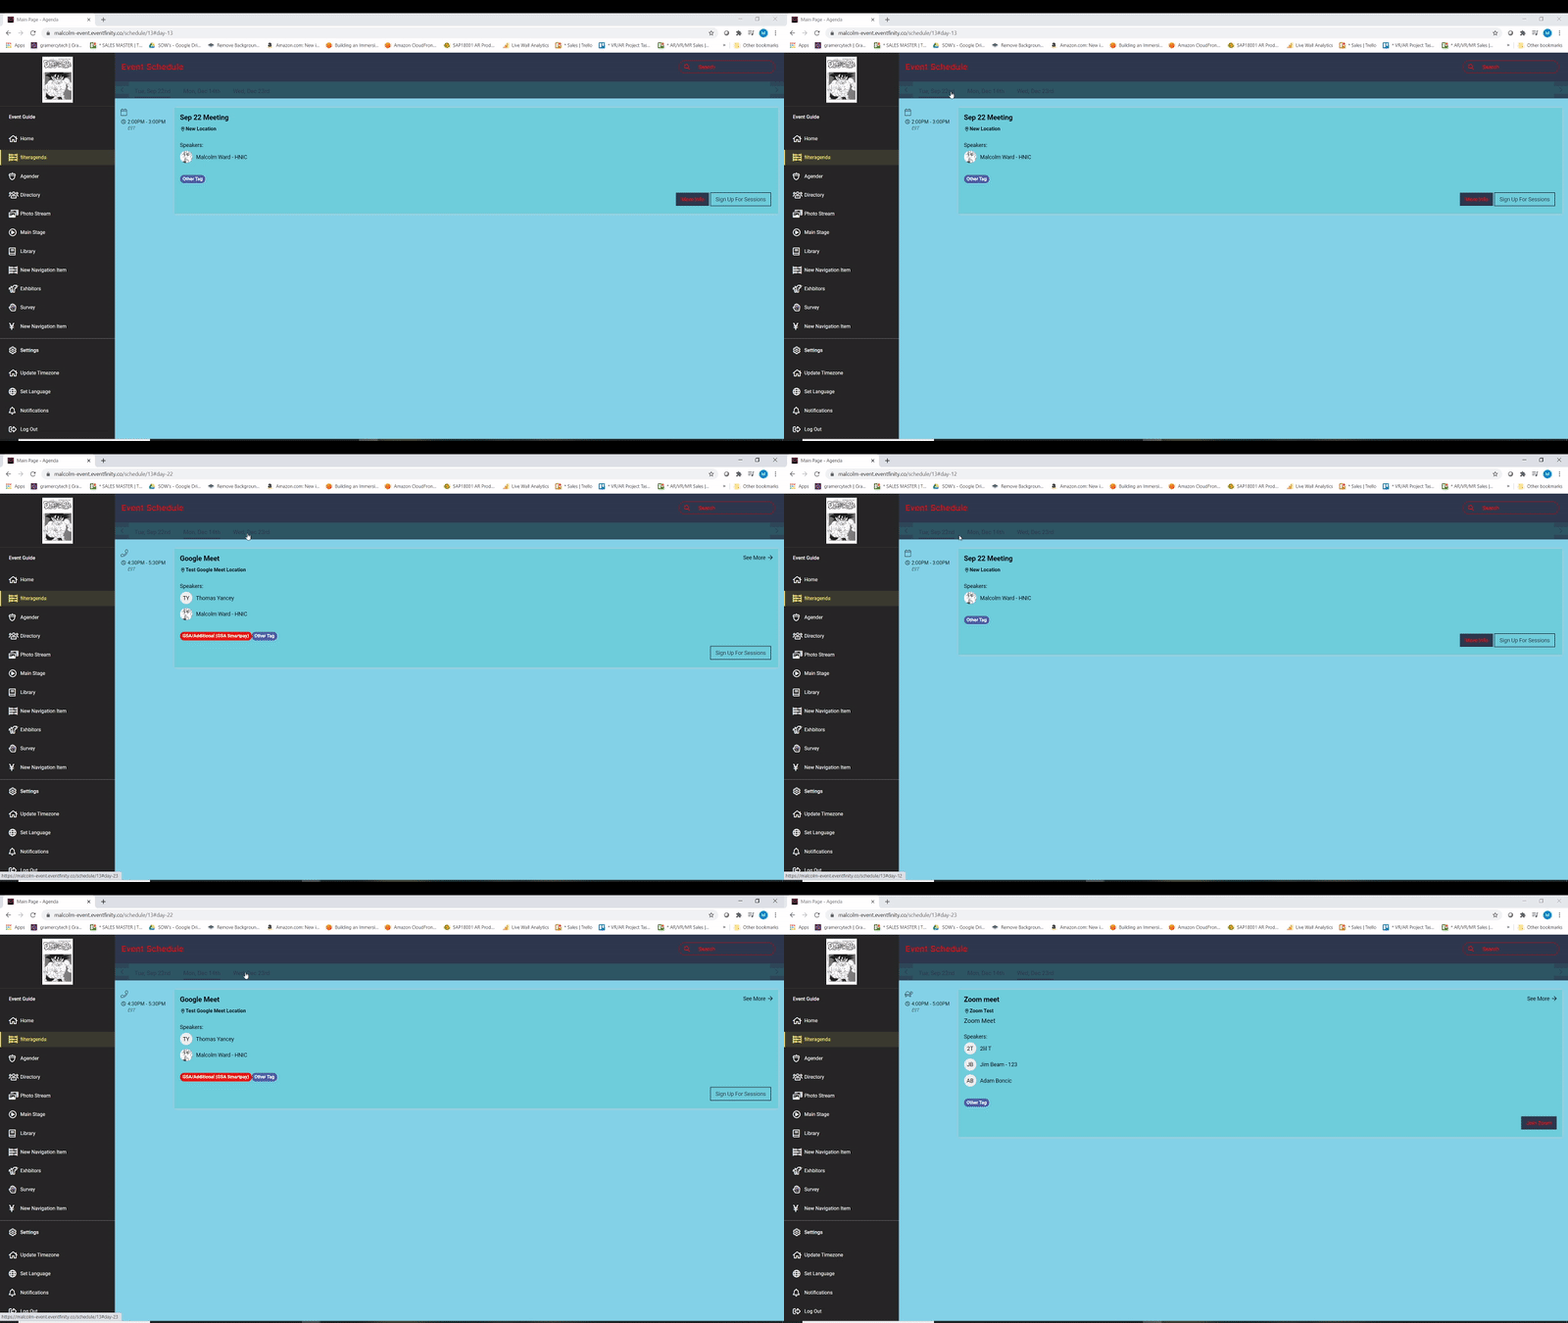
2. Navigate to your event site URL and select the new navigation item that you created in the previous step. If configured correctly, only those Agenda items are tagged with the tags associated with the selected Plugin Filter will be visible here. The short GIF below shows a filtered agenda in action. Only the Agenda Items with "Other Tag" attached are displayed.
Note: Ensure that the tags have been assigned to the appropriate Agenda Items
Adding an Agenda Plugin Filter to the Event Site Home Screen
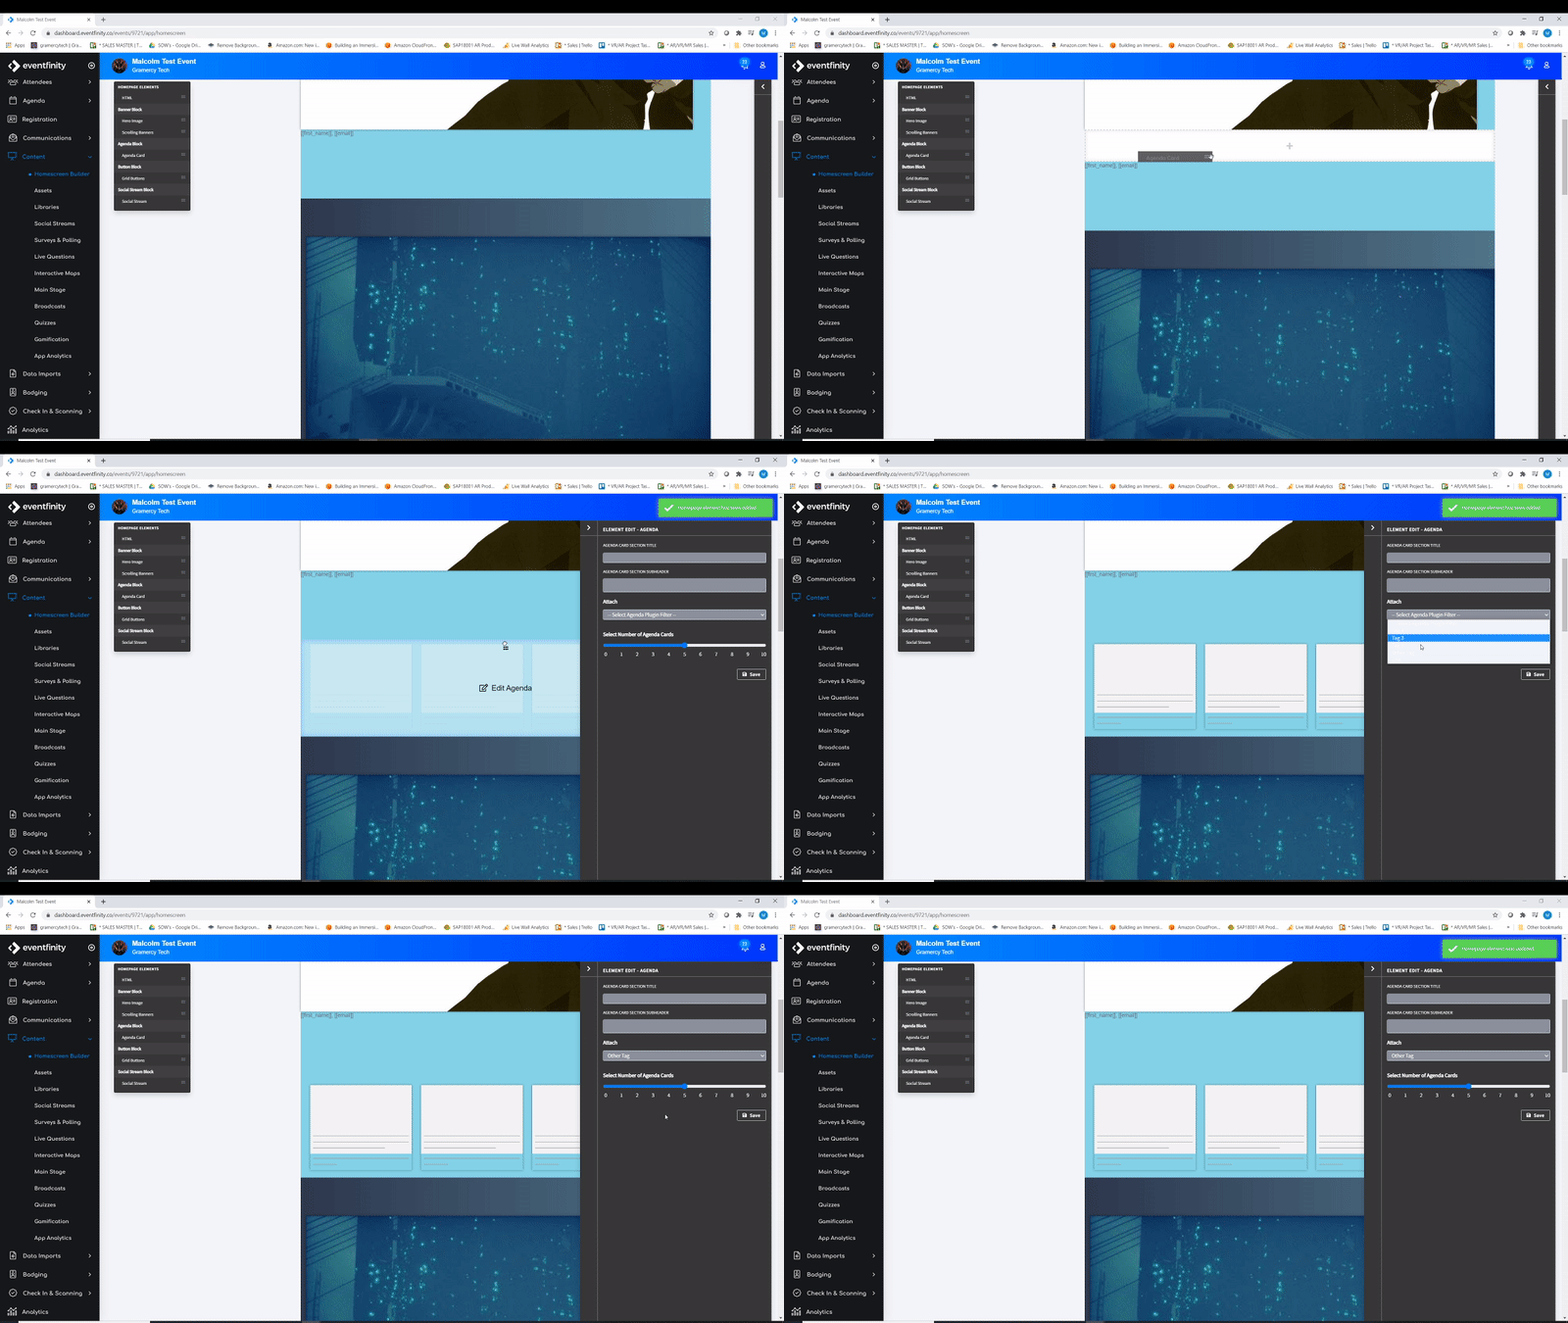
1. Navigate to the Homescreen Builder and drag an Agenda Card from the Agenda Block section of the Homepage Elements menu. Within the Attach dropdown menu of the Agenda element, select the Plugin Filter, and save your selection.
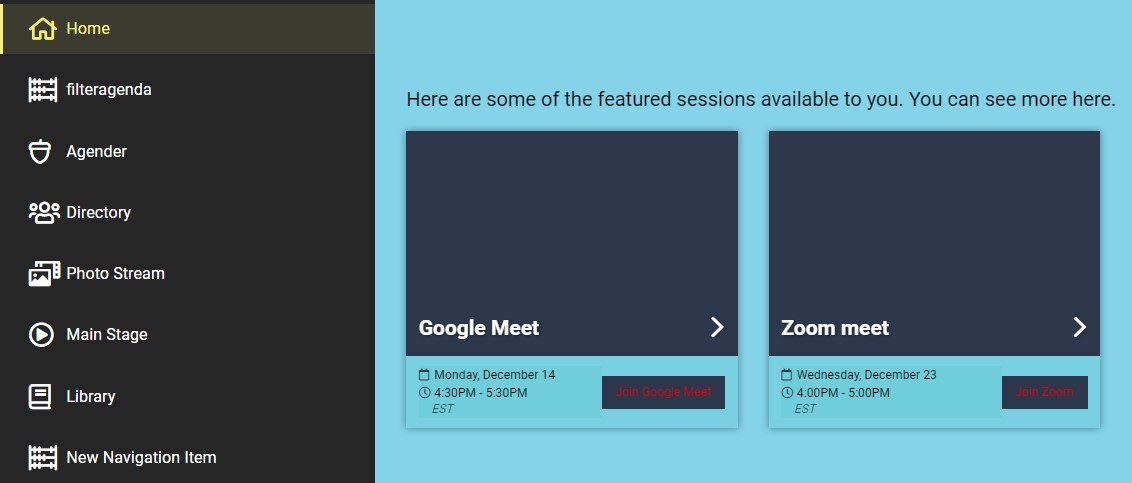
2. Navigate to the Event Site Homepage and locate the Agenda Block that was just added. If configured correctly, there should only be agenda items that are associated with the tag that was selected in the previous step.
Adding an Agenda Plugin Filter to the Main Stage
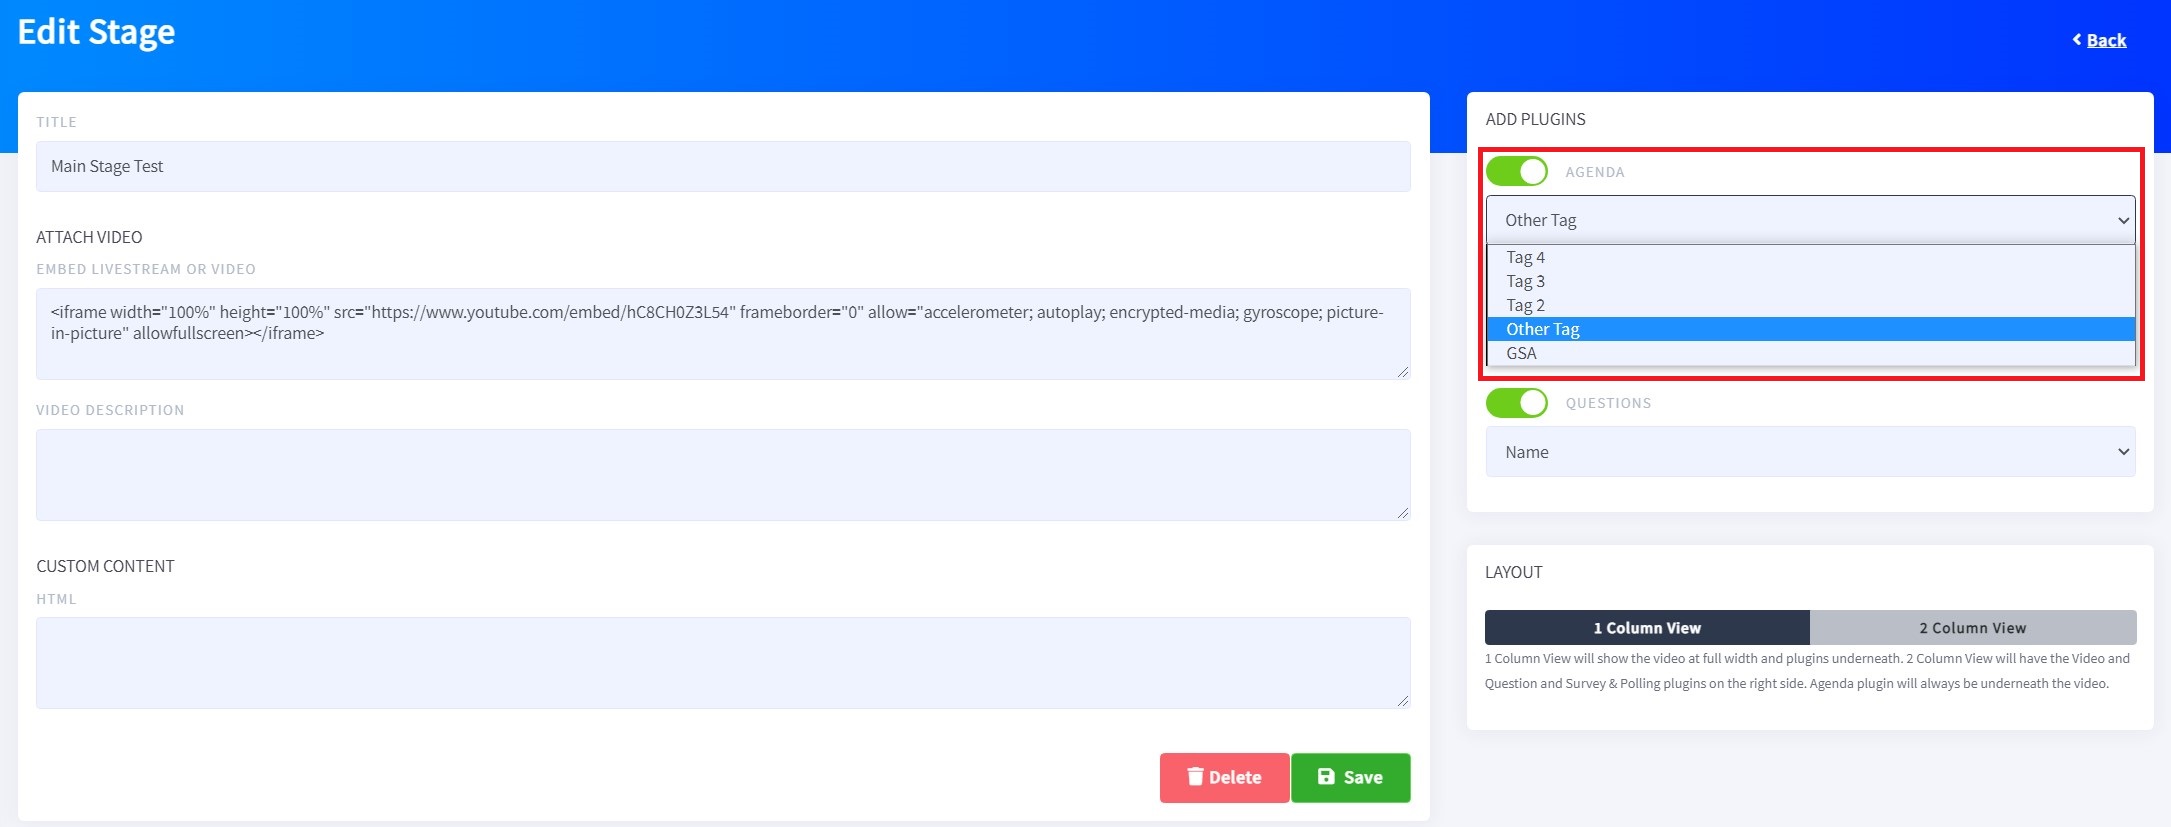
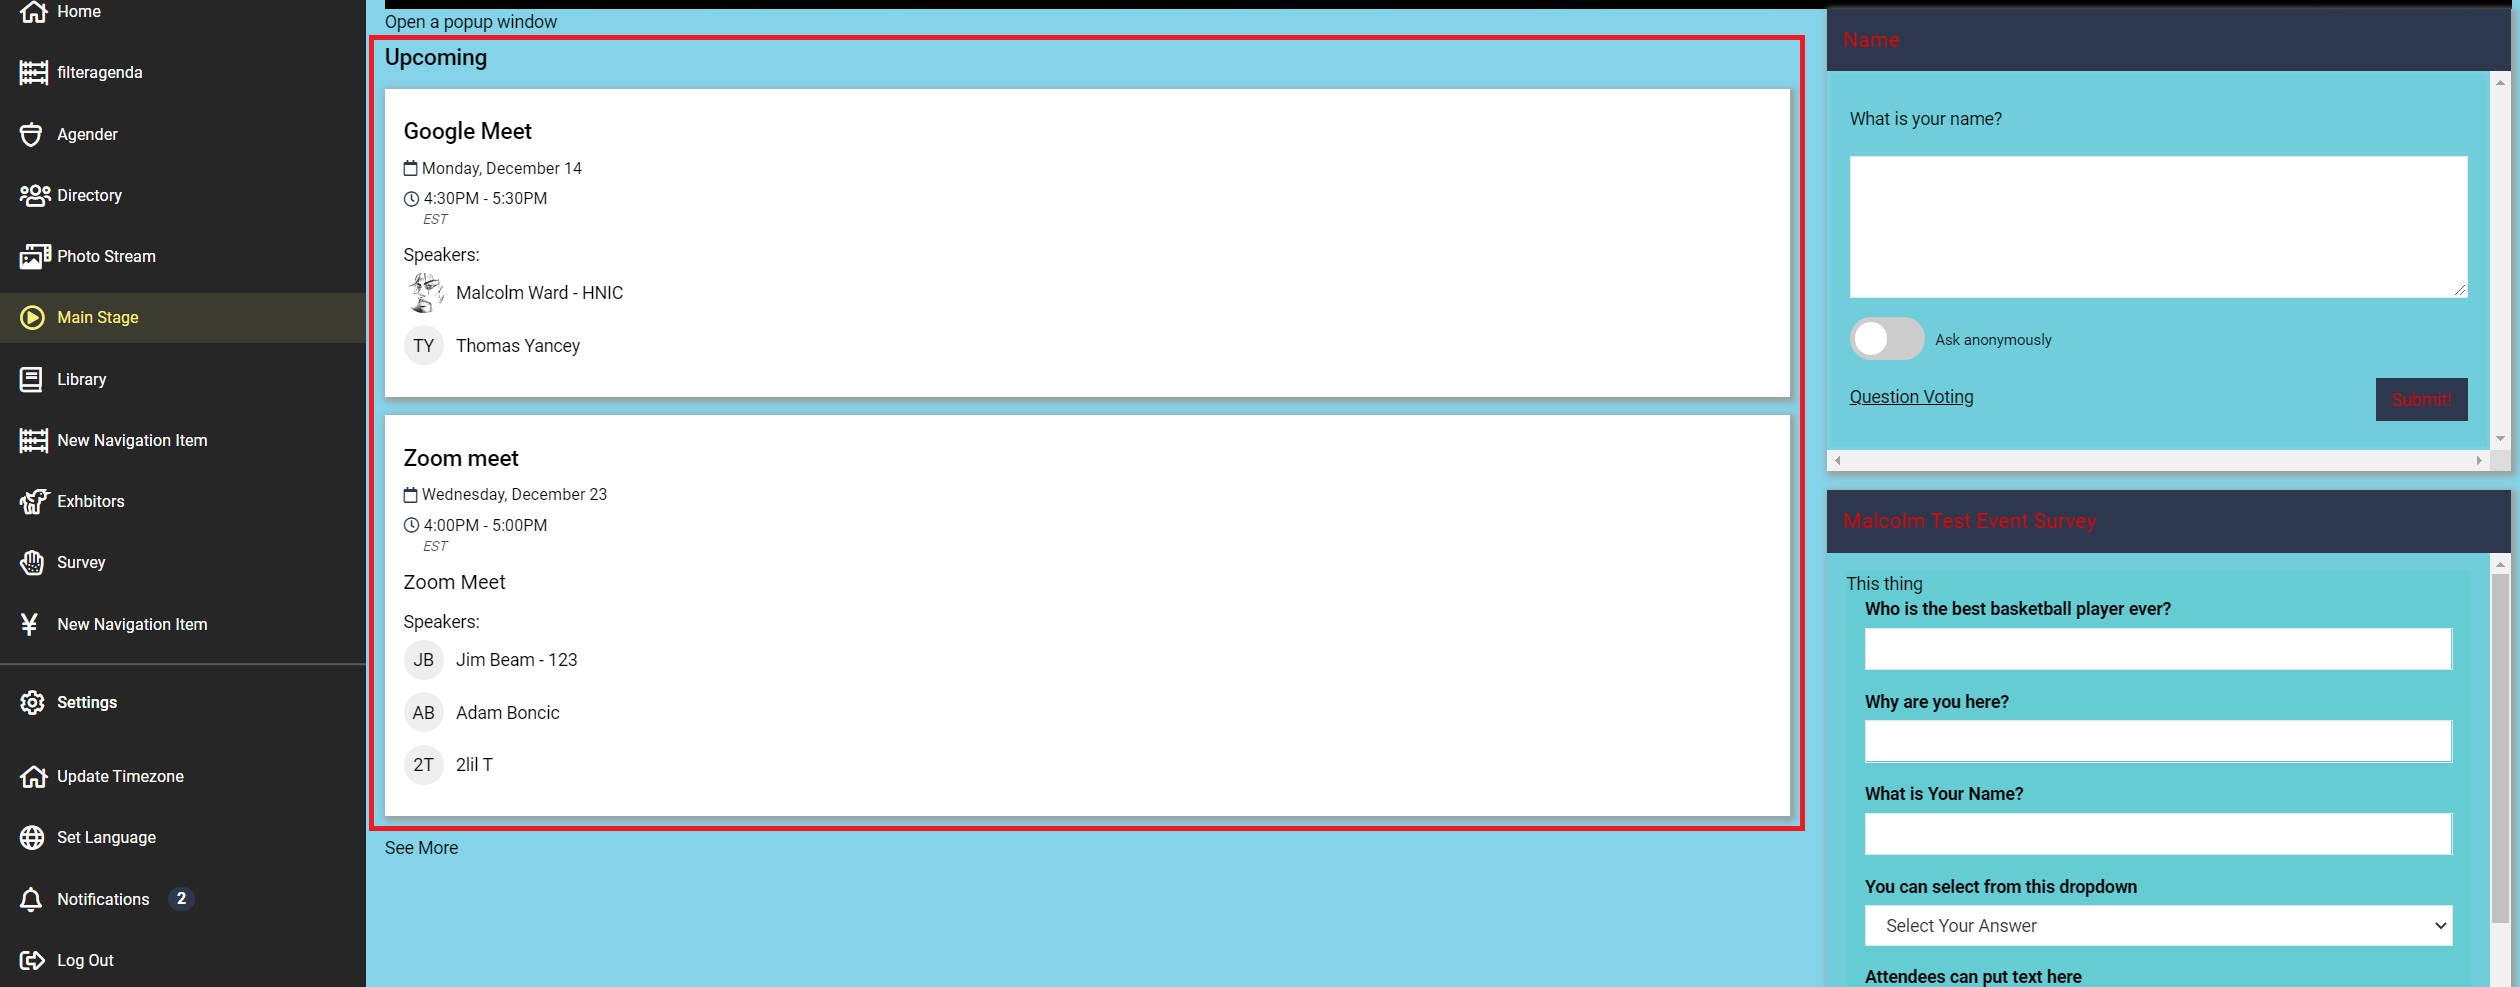
2. Navigate to the Main Stage page on the Event Site. If configured correctly, the only upcoming agenda items that should be visible will be those that are associated with the tag that was selected in the previous step.
