Deleting Agenda Items via Importer
Disclaimer - Before anything, always backup your data!
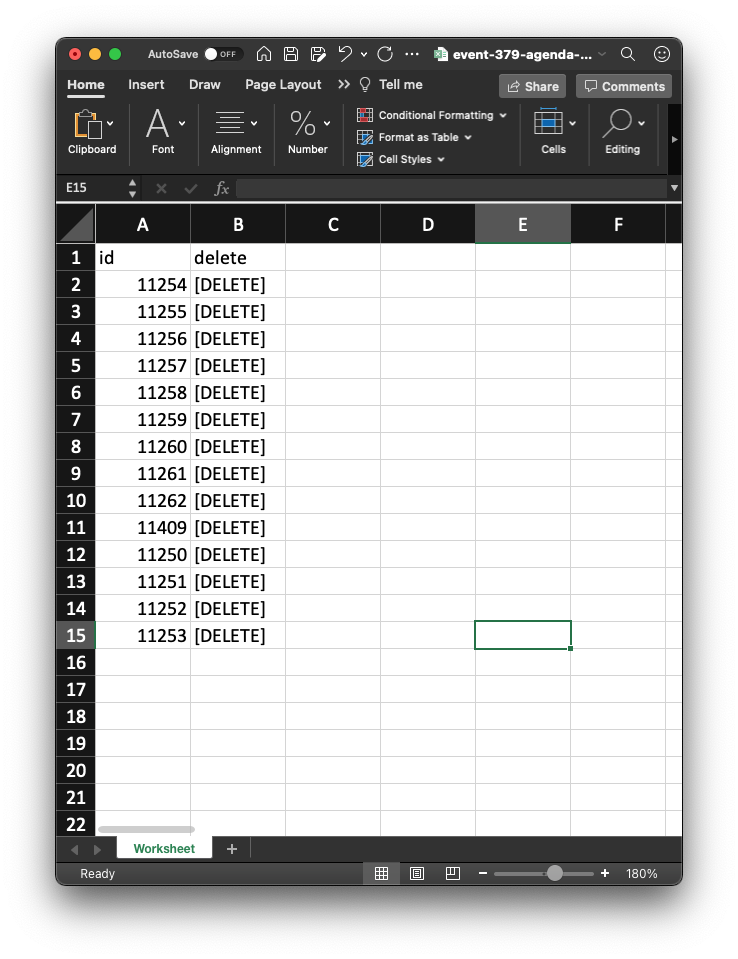
To delete Agenda Items via Importer, 2 columns are required in your data file.
- "id" (This is Eventfinity's system generated id for the agenda item)
- all agenda ids can be found on the agenda item page on dash
- "delete" (This is required to indicate deletion of the data associated)
- [DELETE] must be entered as the data for each agenda id to be deleted
For example, this is what your sheet should look like
Once your data file is ready, import your file using the Agenda Importer to delete the agenda items you list.
To delete existing agenda items via import, first export current agenda data by clicking on the Export button in the Agenda Items page. Use a spreadsheet editor (MS Excel, Google Sheets, Numbers) to open the agenda export file and add a column to the spreadsheet titled "delete". For every item you would like to delete, include in that items row "[DELETE]" without the quotes. Then, the only columns that need to be uploaded for import are “id” and “delete”.You can remove all other columns, save, then import as a typical “Agenda Import”. Agenda Import instructions on EF help site here - https://help.eventfinity.co/articles/46720-agenda-importer
Notes:
Please only use columns id and delete to on your upload file to delete existing agenda items. Any columns that are not required should be omitted from the import. If additional columns are listed, the delete may not work.