Creating Event URLs
Updated- 6/2/2022
Steps to creating an url for your event:
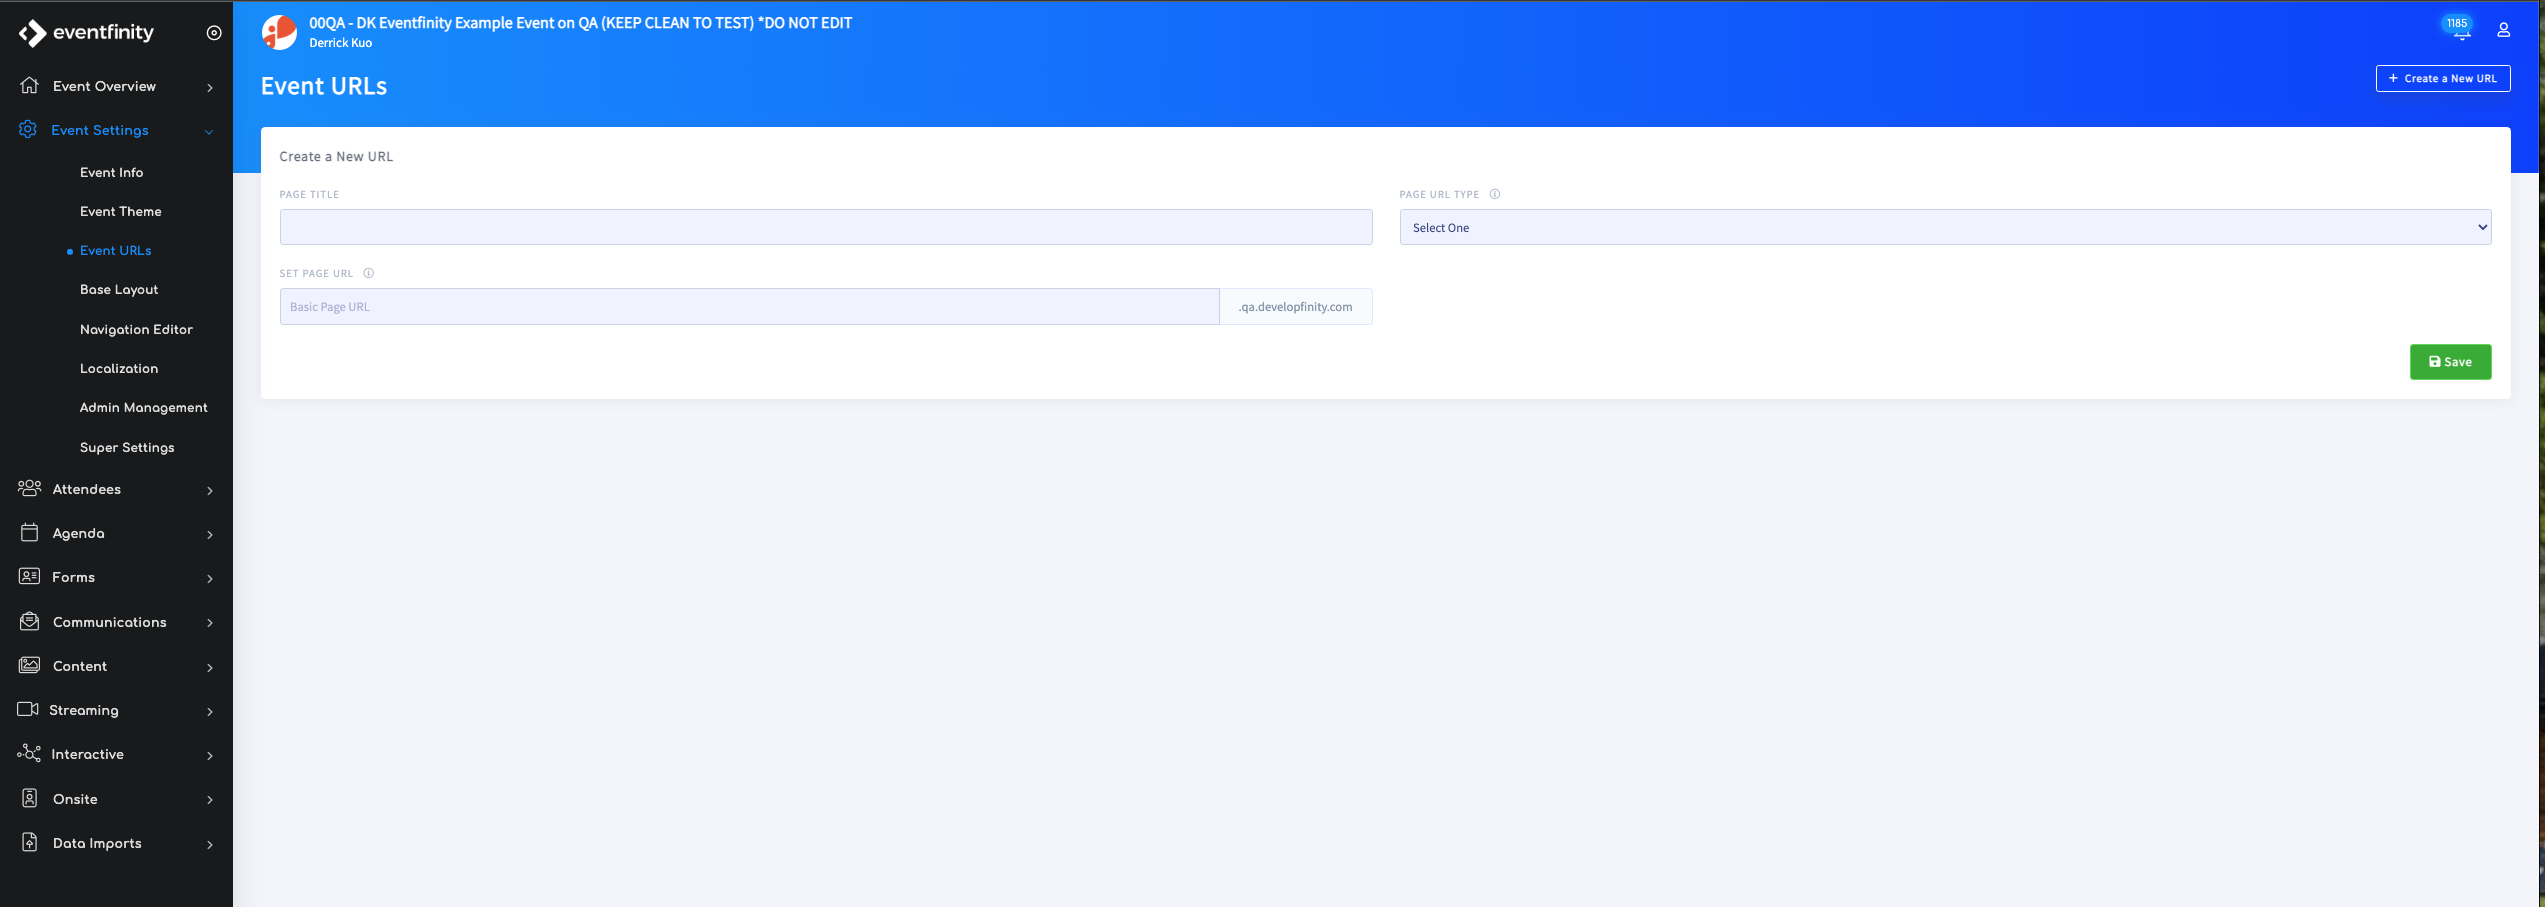
- Locate your event on dashboard and go to Event Settings > Event URLs on the left side navigation panel. (Below you will see a list of current active domains). Click + Create a New URL in the top right to create a new url.
- On the next page you will provide a Page Title, Set Page URL, and select a PAGE URL Type from the dropdown
- Login - This option is for when you are not using a homescreen on your event and would like to bring users directly to a specific page in the event. This is an alternative to the "Event App Website" option.
- Static - This option is for when you would like users to access an ungated page. When a user clicks on the link, they'll be brought to the page without needing to login.
- Open Registration Form - This option is for when you would like an ungated registration form. Anyone can access the form as there's no login required up-front.
- Redirect - This option is for when you would like a URL to redirect a user to a different URL. This is used when a URL for an event is changed after the original URL was shared.
- Event App Website - This option is for when you would like to bring users to the event homescreen once they login. This is the default option for event site URLs.
- Login By Identifier / Kiosk Mode:
- Login By Badge / Kiosk Mode:
- Login By Tag / Kiosk Mode:
- You will be directed to the settings page for the web domain you have just created. Here you can add custom CSS and scripts to the Header, Body and Footer of you web page as well as logos and icons (the settings will change dependent on the Domain Access Type selected.