RFID/BTLE - Tag Setup and Usage
For onsite events, we have capabilites to use RFID bracelets to assign and associate with an attendee and RFID scanners to scan them in.
Below are sample images of the hardware needed to setup RFID checkin for an event.
RFID Wristband/Bracelet/Chip- 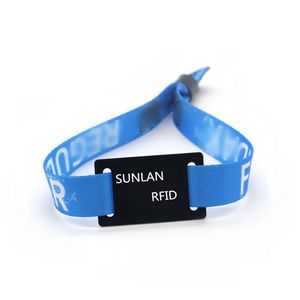
RFID Reader-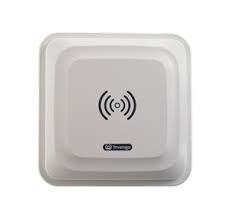
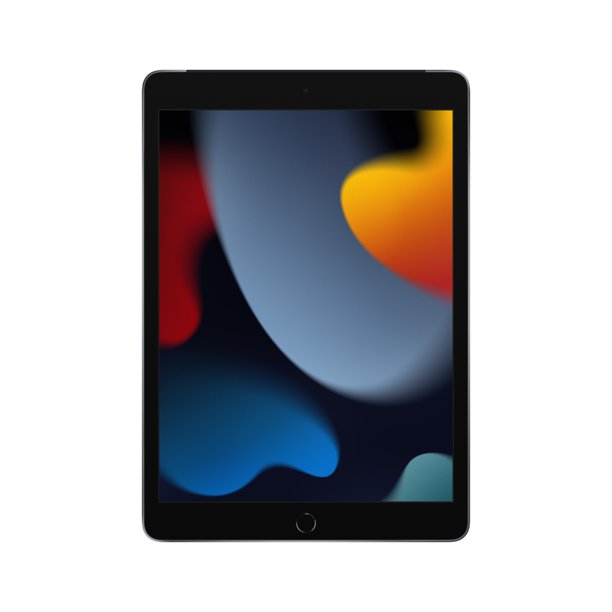
An iPad/iPhone (CompatiabiOS mobile device)-
Note- At Gramercy Tech, the exact RFID Wristband/Bracelet/Chip and RFID Reader we currently use are below.
RFID Wristband/Bracelet/Chip- 
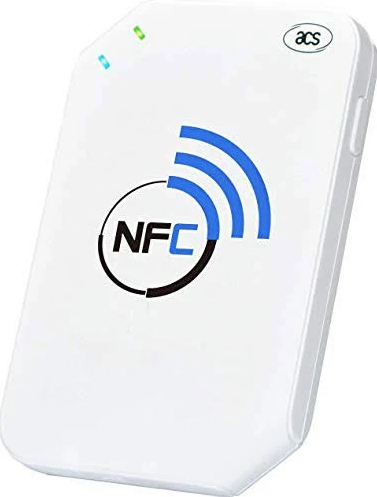
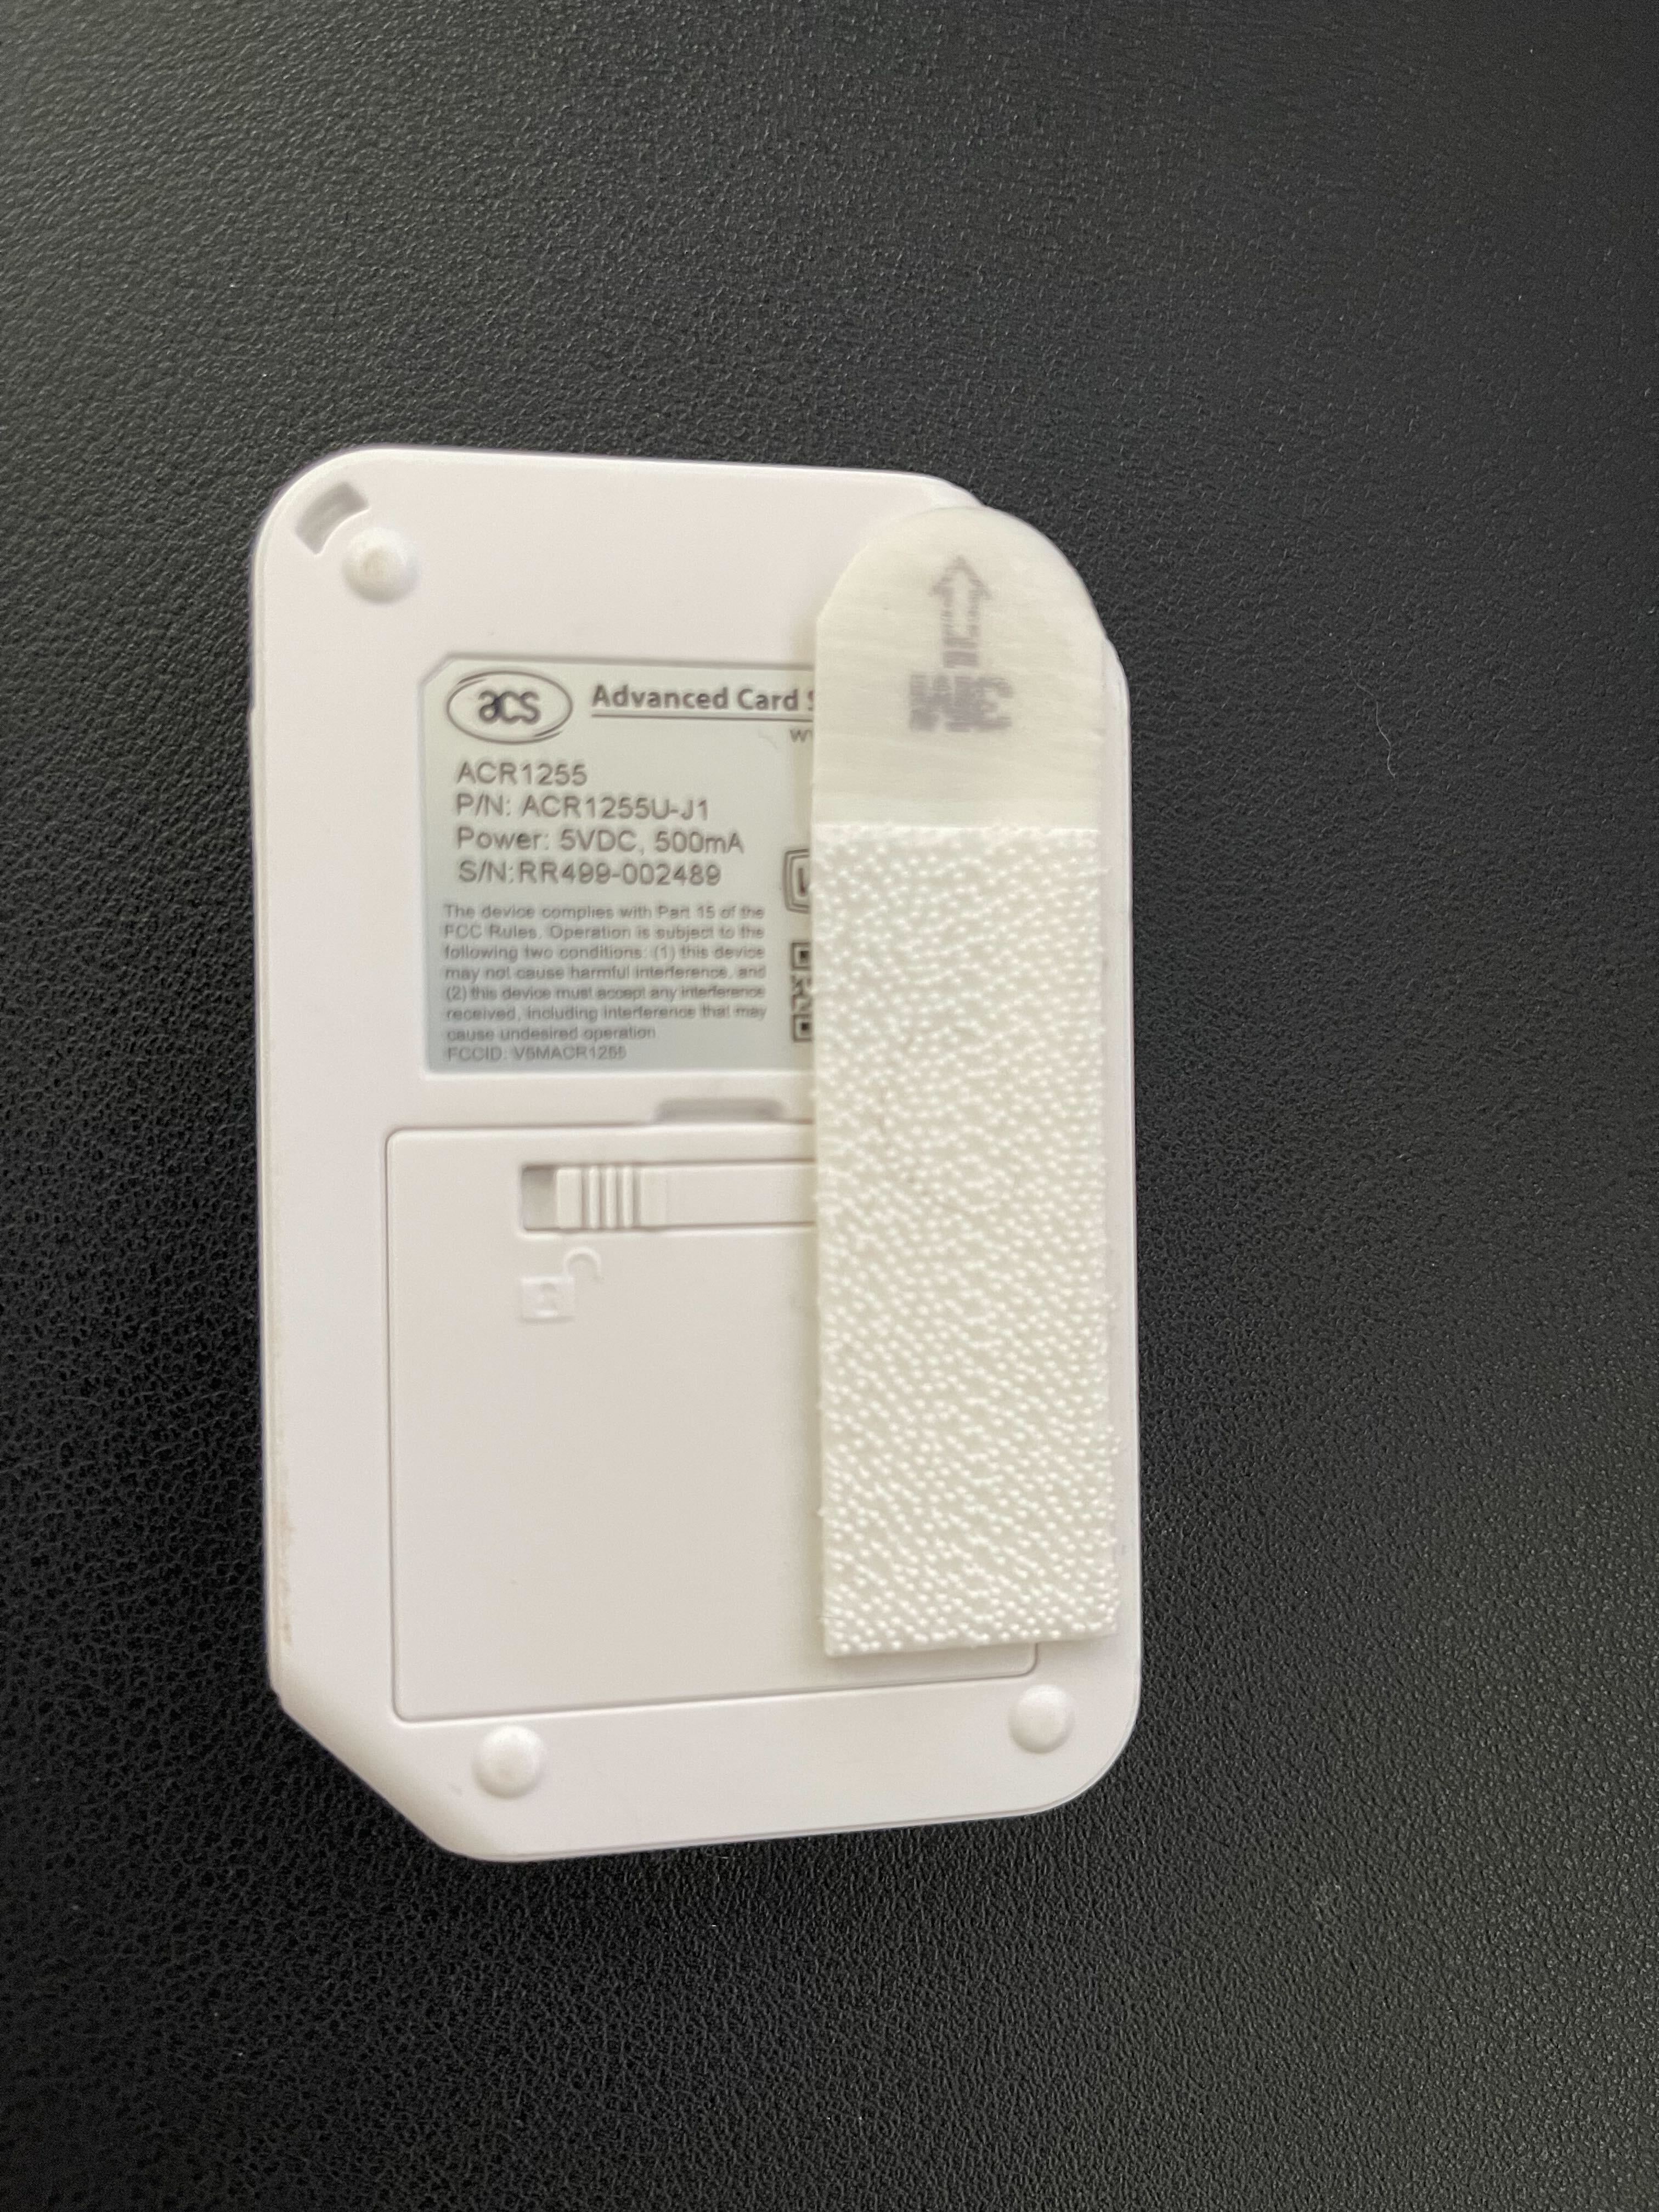
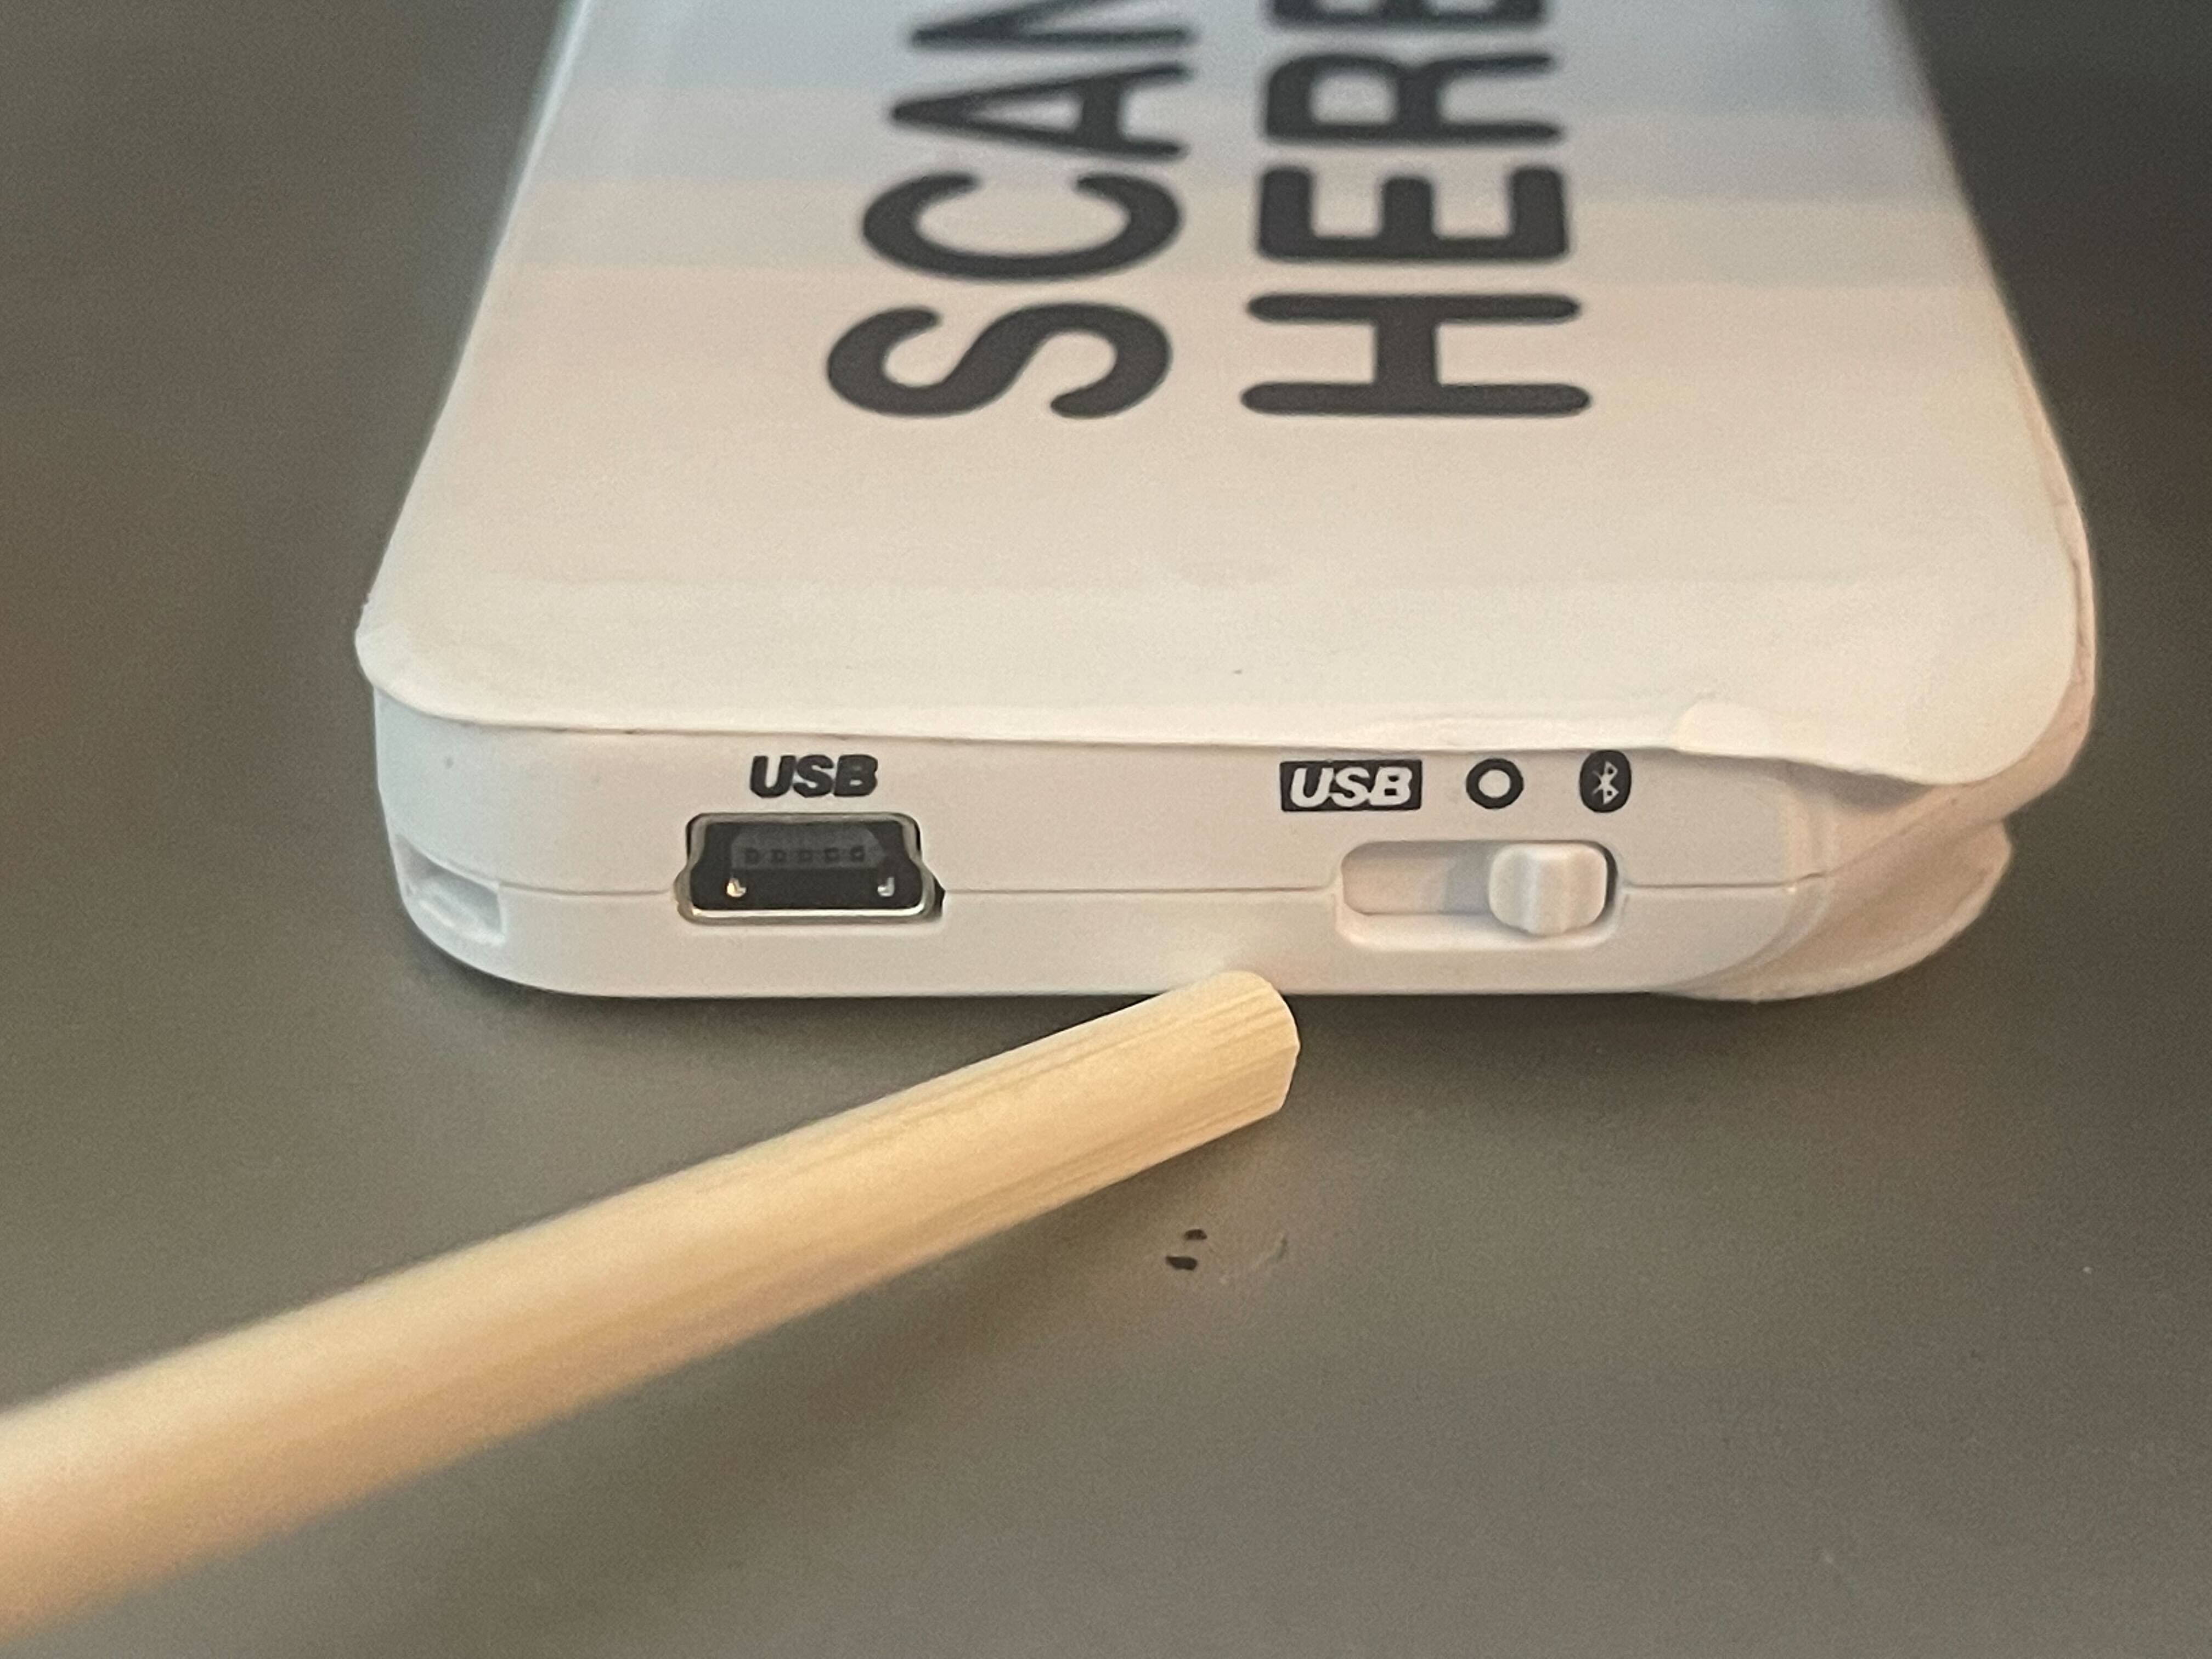
RFID Reader-
ACR1255U-J1 ACS Secure Bluetooth® NFC Reader
ACR1255U-J1 ACS Secure Bluetooth® NFC Reader is designed to facilitate on-the-go smart card and NFC applications. It combines the latest 13.56 MHz contactless technology with Bluetooth® connectivity. ACR1255U-J1 supports ISO 14443 Type A and B smart cards, MIFARE®, FeliCa®, and most NFC tags and devices compliant with ISO 18092 standard. This makes ACR1255U-J1 ideal for a broad range of solutions, such as hands-free verification for physical and logical access control, and inventory tracking. ACR1255U-J1 has two interfaces: Bluetooth (also known as Bluetooth Low Energy or BLE) for pairing with mobile devices, and USB Full Speed for PC-linked operation. Additionally, it can read/write at a speed of up to 424 Kbps for contactless smart card and NFC device access. With a compact design and a rechargeable Lithium-ion battery for power, ACR1255U-J1 is extremely portable and convenient for use anytime, anywhere with most Bluetooth-enabled smartphones and tablets. To save valuable cost and time, the firmware of ACR1255U-J1 could conveniently be upgraded on the field. This enables users to cope with the fast-changing technology for their applications, and suit different scenarios. With Bluetooth® technology and AES-128 encyrption, ACR1255U-J1 connects securely and wirelessly to any device running on Android™ 4.3 and later, iOS 8.0 and later, Windows® 7 and later, and Mac OS® 10.7 and later. For PC-linked operation, ACR1255U-J1 could easily be installed for use with any personal computer running on Windows® operating system because it is PC/SC and CCID-compliant. Its drivers are also compatible with Linux® and Mac OS®. With its numerous features, the ACR1255U-J1 is the perfect reader for your smart card solution. Should you wish to try out the demo apps for ACR1255U-J1, please download the app from Google Play and App Store.
Setup instructions-
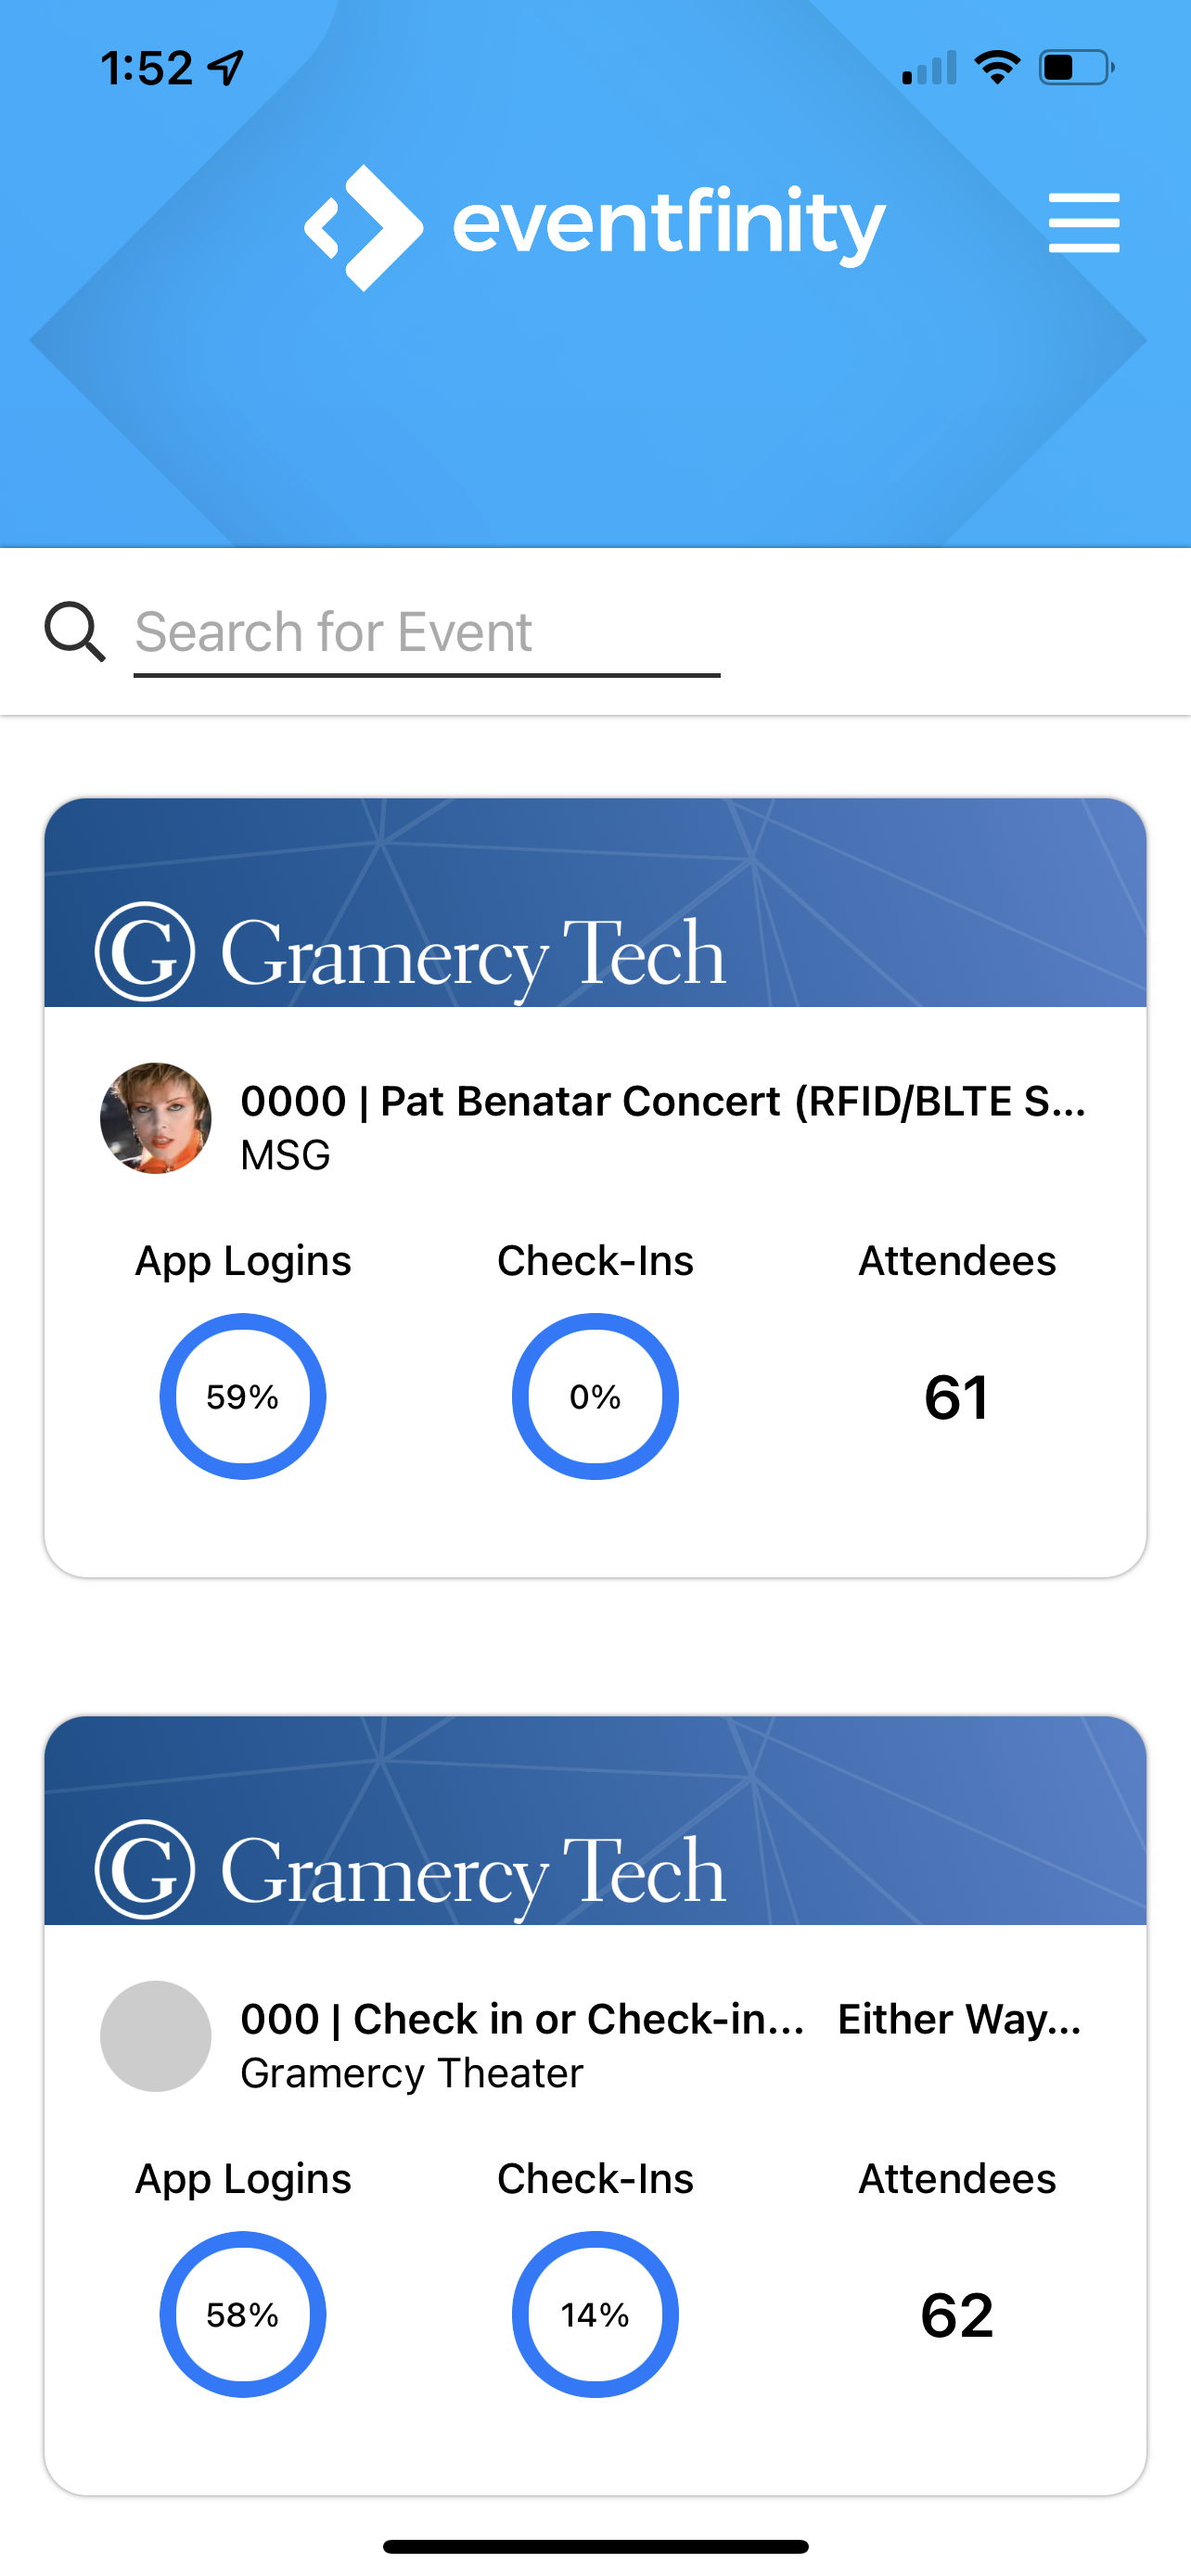
- Create an event on Dash with "Enable Checkin App Access" toggled on

- Add the admins for the event. (NOTE- Only admins who are added to the event will be able to access the event in the Check-In app.)
- Import the attendee list to the event. (Go to-Data Imports > Importer + Create Import)
- Setup a check-in app for the event. (Go to- Onsite > App Set Up) (NOTE- the Check-In App is a seperate application from the Eventfinity App)
- Be sure to enable "Active Style" for the version of the checkin app chosen to be used. (NOTE- If you have only created 1 Check-In App, you will still need to indicate and enable is "Active Style".)
- Toward the bottom of the setup page, open up the ADVANCED SETTINGS section and check on "Allow Tag Association" and "Allow New Tag Creation" and Save.

- Download the Check-In App to the iPad. At the top right of the setup page, click "Download Check In App" to open up a QR Code. Scan this code with the iPad to begin the download process or you can search the iOS store.
- Once downloading is complete, open the Check-in app and using an Admins dashboard credentials, log in.
- Once Logged in, search and select your event.
- Once in your event, you have a couple of options on the top right. You can refresh to load the most current list of attendees or open up a menu which includes a section for RFID.
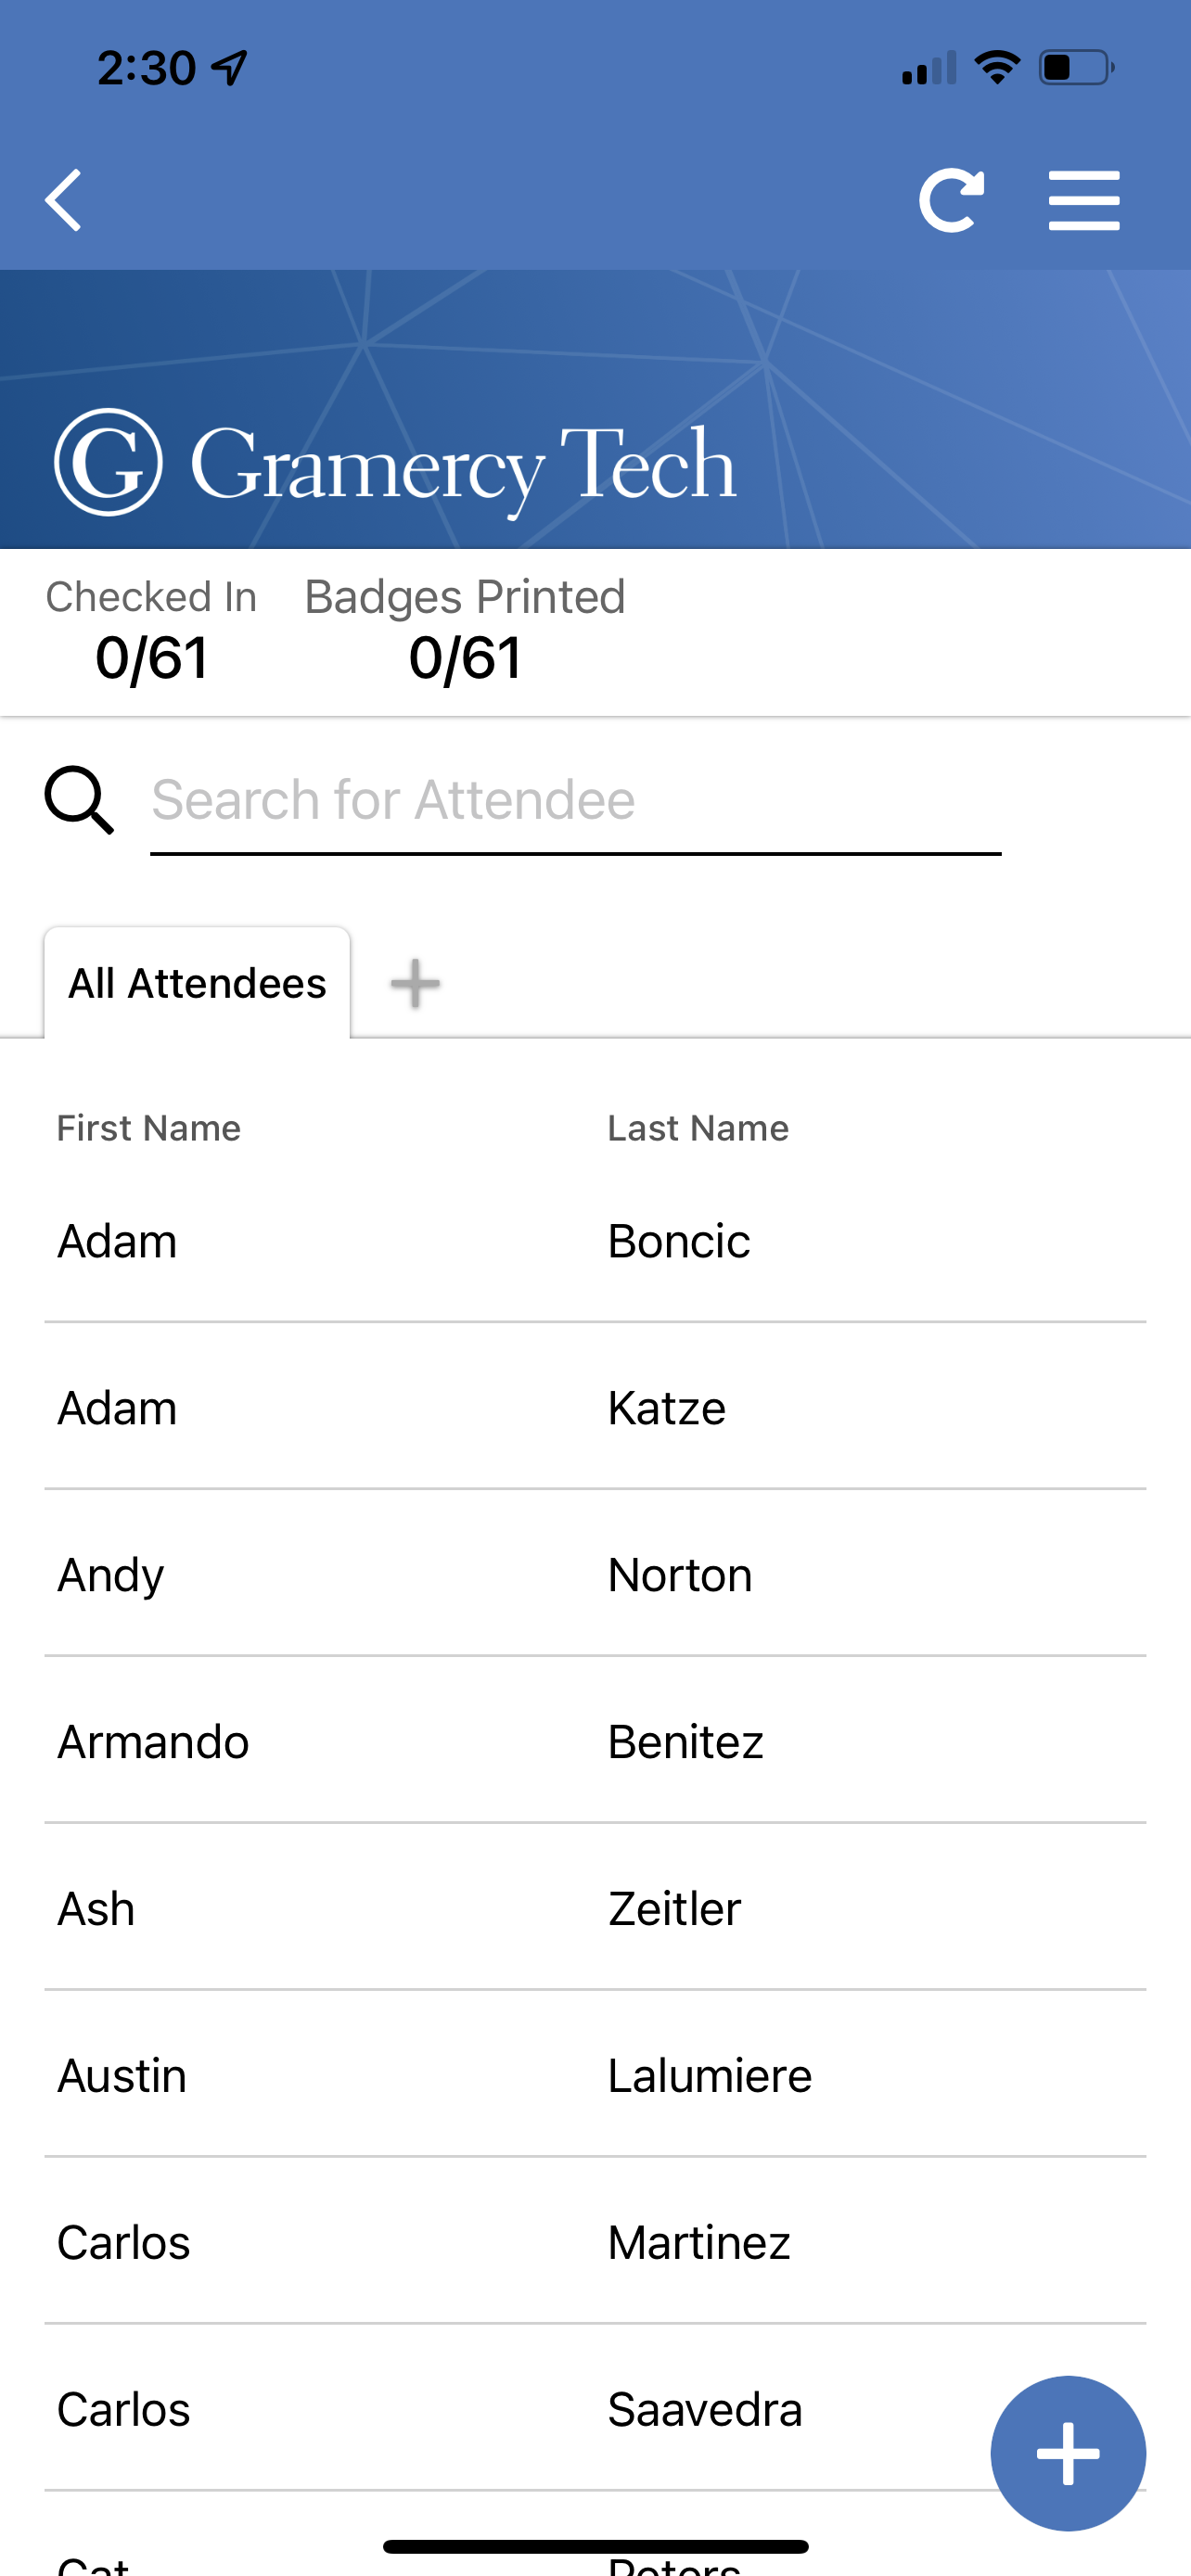
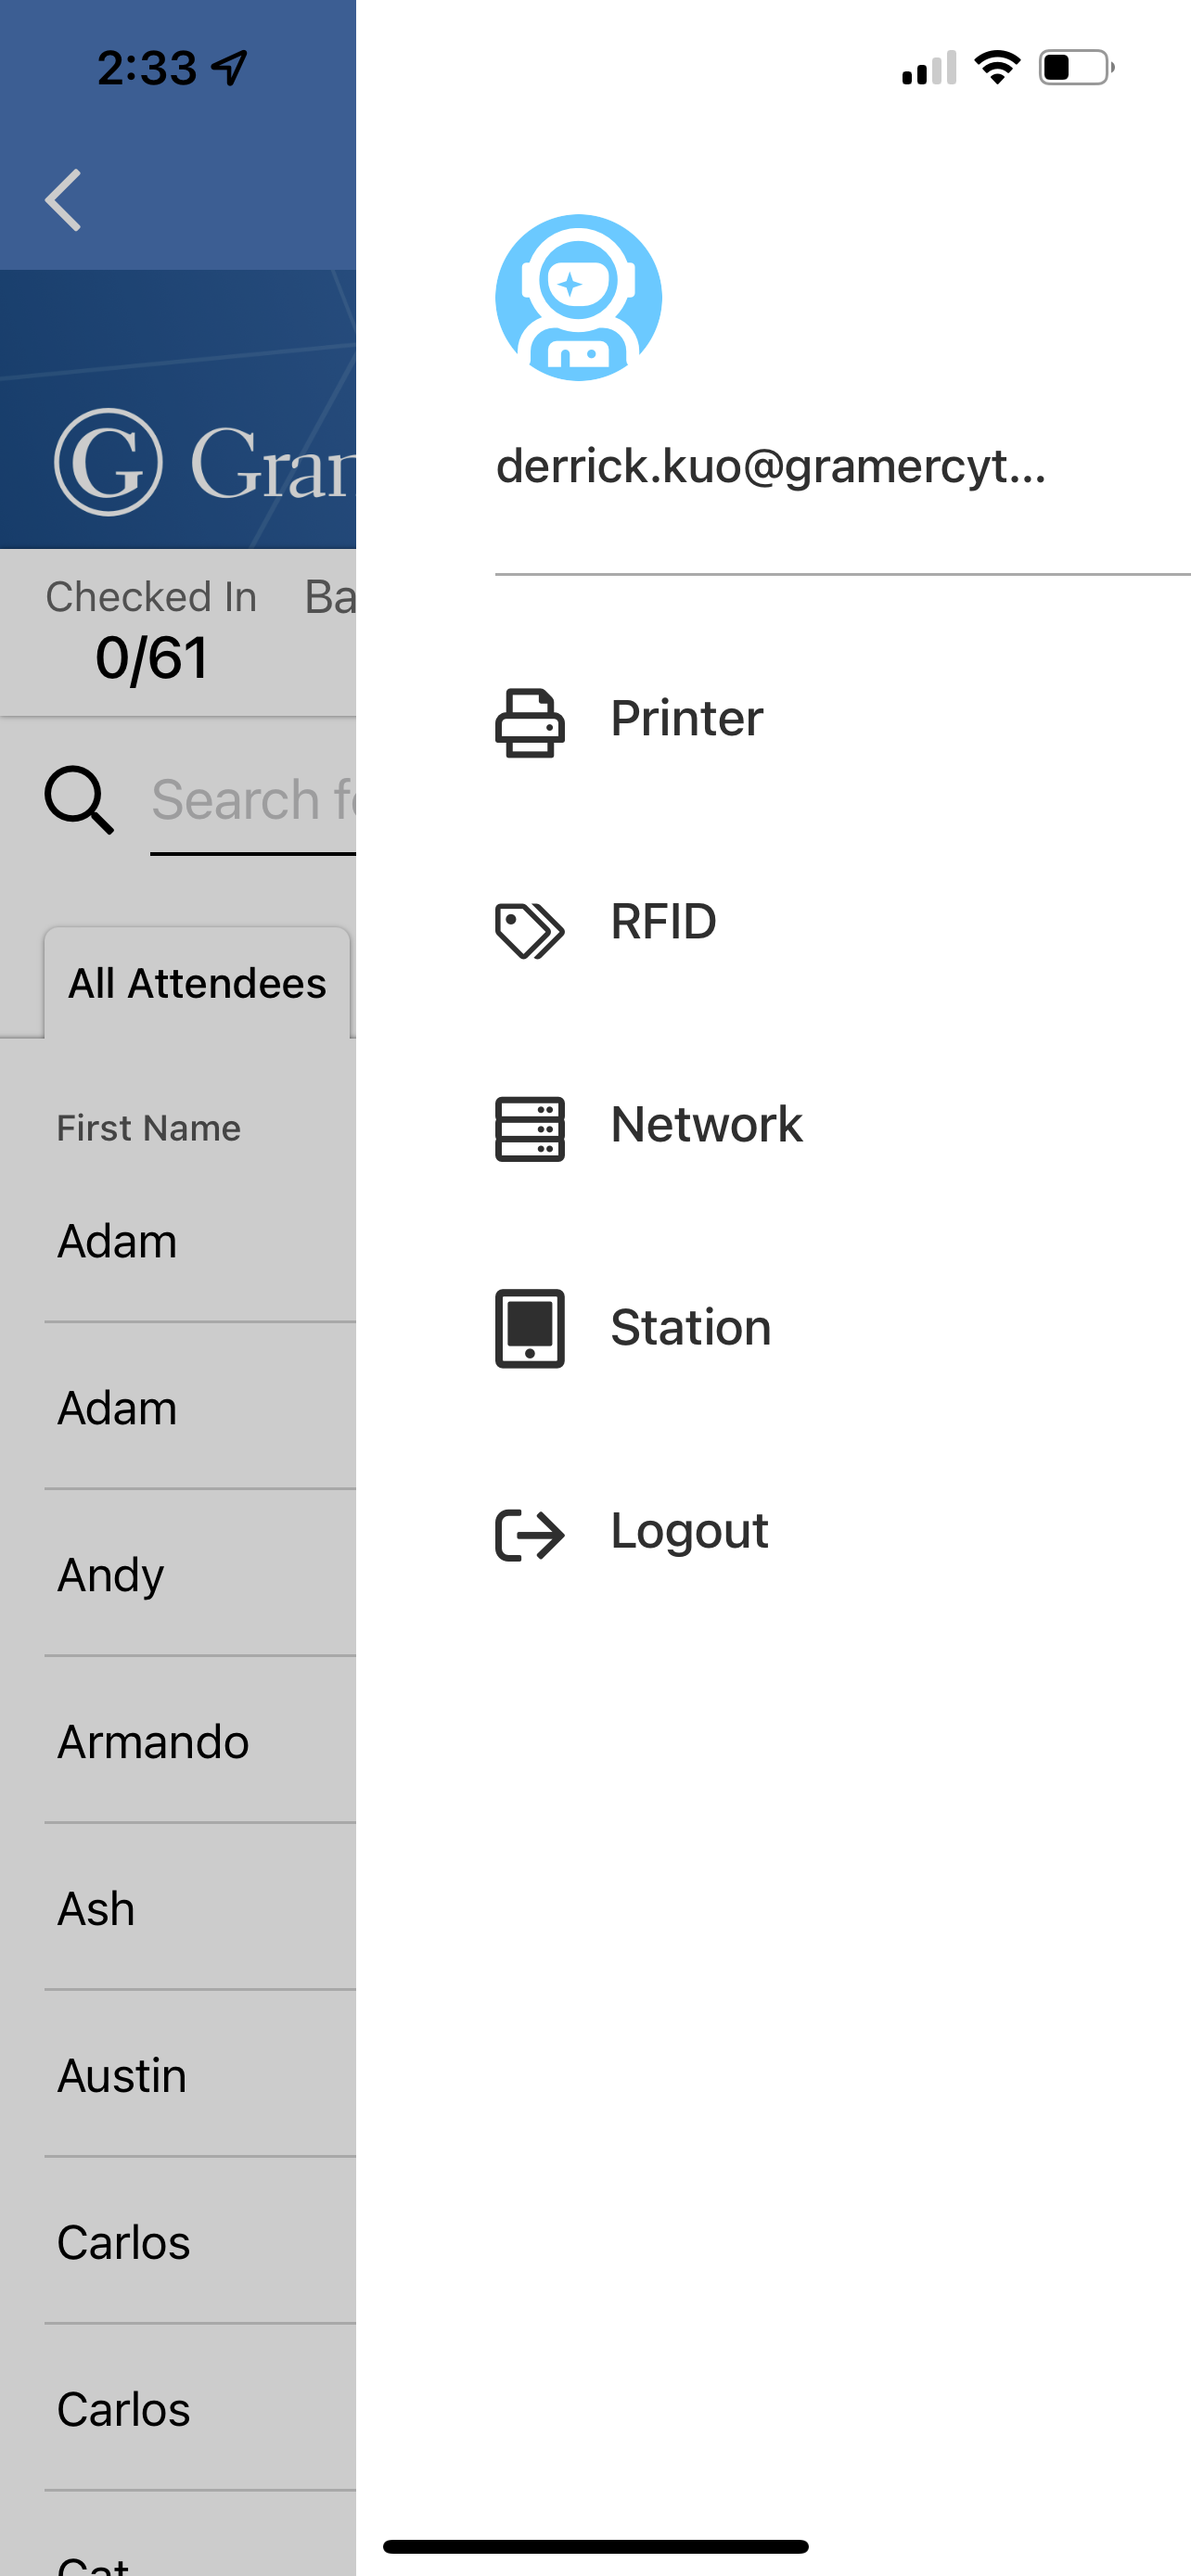
- Select RFID to be brought to the RFID settings page.
- The next steps will be to pair via Bluetooth the RFID reader. It's best to be far from other bluetooth devices durring the paring process.
- With the iOS mobile device close by and still on the RFID Settings page, turn on the RFID reader to the Bluetooth setting (all the way to the right)
- Then, in the app on the RFID Settings page, click under "Connection Status" to find the RFID reader you'd like to associate with the iOS mobildevice.
- Once the Readers is Connected you will see a Success window and need to click Done.

- After clicking Done, the Connection Status on the page will update to "Connected" and the RFID reader is paired and ready to go. (NOTE- The iOS mobile device and the RFID reader must be in close proximity of each other.)
- Press the back arrow on the top left of the Check-In app to go back to the Attendee list.
- The Next Steps will walk thru how to Add a Tag (Assign a RFID Wristband/Bracelet/Chip) to an attendee.
- Search for and select the attendee you'd like to Add a Tag for.
- Once you Select the attendee, at the bottom of their page will be 3 options.
- ADD TAG
- CHECK IN
- Select "ADD TAG" which will bring up a window "Scanning | Tap the beacon on the BLE reader" and then take the "RFID Wristband/Bracelet/Chip" and tap it to the RFID Reader.
- Once you tap the Chip to the Reader you should hear a confirmation beep from the reader and the Check-In app will show a success message
Notes-
- A RFID Wristband/Bracelet/Chip can only be Tagged/Paired to 1 attendee at a time. You can however Tag/Pair an already Tagged/Paired RFID Wristband/Bracelet/Chip with a new user which will also unpair from the previous attendee.
- Tagging/Pairing an RFID Wristband/Bracelet/Chip with an attendee does not check-in the attendee.
- Be sure to test and check funtionaly is as expected prior to any live event.
- Be sure to check the battery life on the RFID reader. The RFID Reader can be recharged with a Mini USB Cable.