Attendee Settings Quick Start
Attendee Settings is where admins can manage passwords and attendee fields at an event level. Custom Attendee Fields can be created and assigned here.

On dashboard, go to Attendees > Attendee Settings. Here there 3 tabs:
- Settings
- Attendee Fields
- Saved Reports

Settings
Magic Login and Password options are found here.

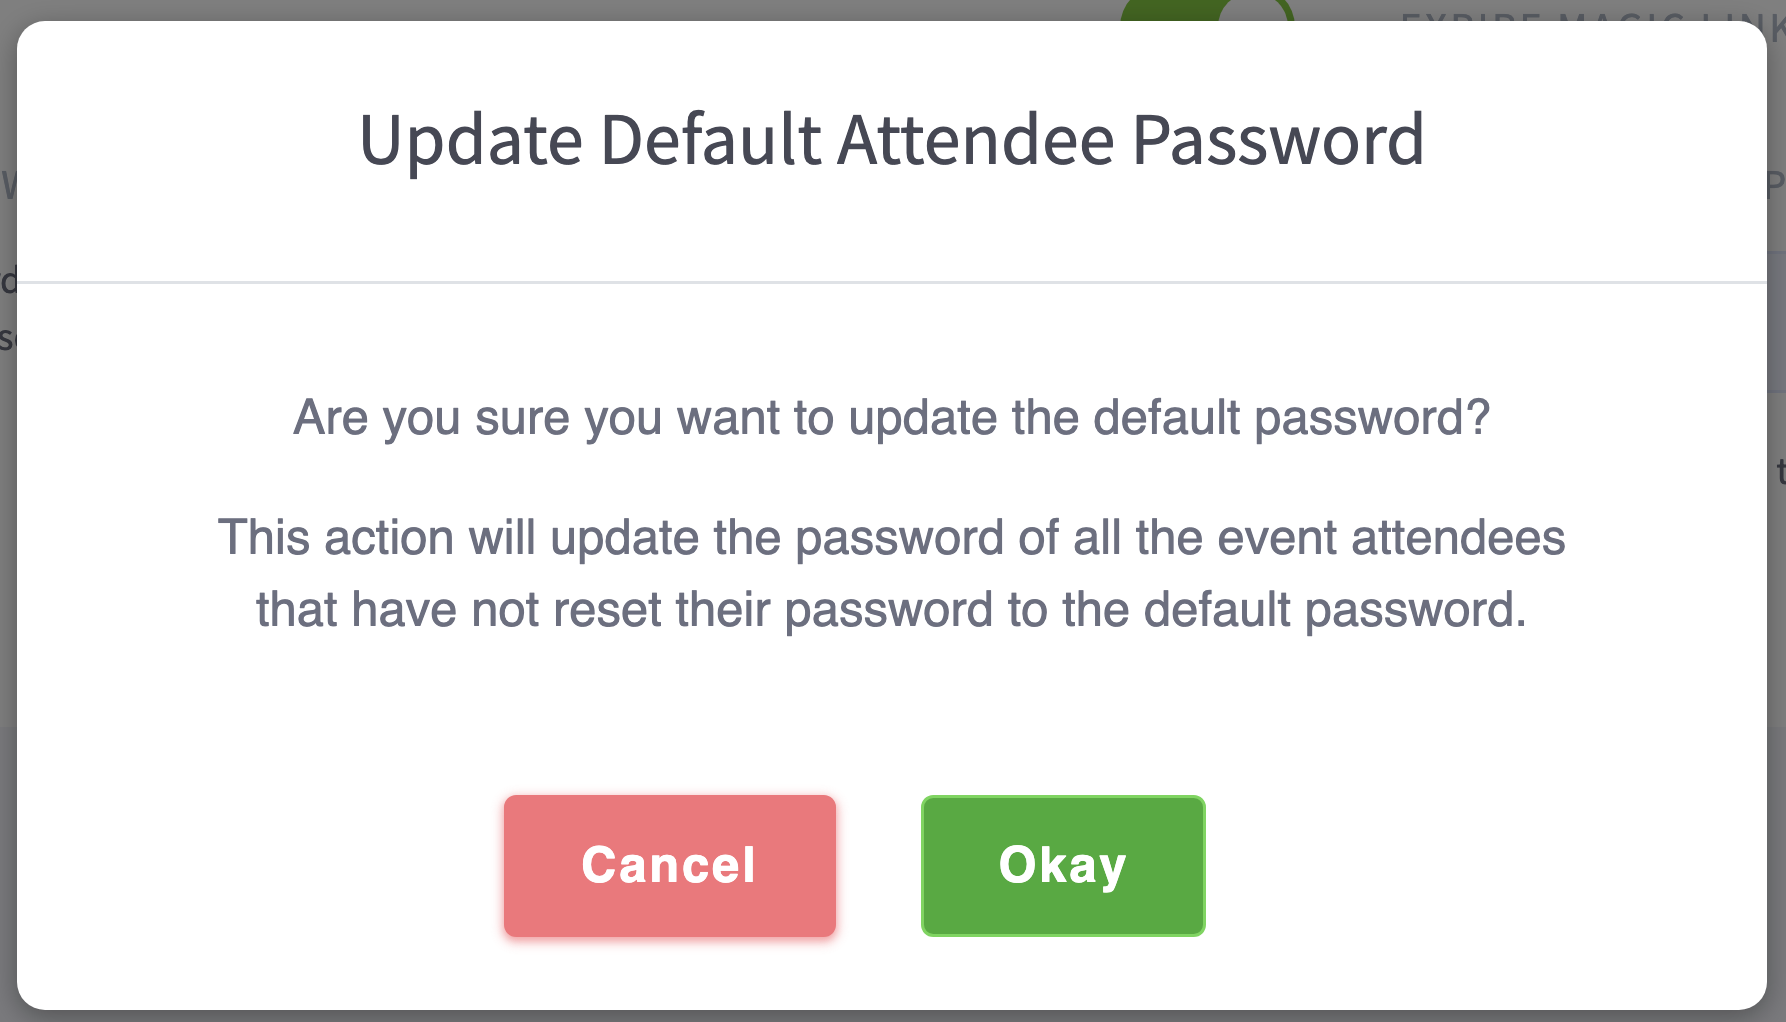
Admins can Enable Magic Login for the event, add the option to expire the magic link, enable the option to force attendee who have not yet set a password to reset their password ans well as enable a default password for the event which will update the password for all attendees who have not already reset their password. Enabling Default Password will open up the field to enter the chosen password. This password must be 8 characters, have at least 1 number and 1 special character.

ATTENDEE FIELDS-
Attendee Fields are used to manage all types of data and admins can customize fields based on the events needs helping to collect data down to individual attendee levels and create custom groups which is the foundation to customizing an event for multipule groups with variousl levels of visibility to the event.

By default all events have a base set of attendee fields which will cover most of what all events need.
Custom Fields of all types can be added here and can be organized per attendee type or set for all attendee listed in the event.

To add a Custom Field for all attendees, on this tab, check that the "Attendee Type" at the top is set to "Global Settings" which applys to all attendee types.
Then, scroll down to the Custom Fields section to find and click on the button "+ Add Custom Field" and select "Quick Add Custom Field".


Provide a Display Label and the Field Slug for the custom field as well as select the type of field.

The types of field are:
- Text
- Text Area
- Select
- Multiselect
- Checkbox
- Multicheckbox
- Radio
- Number
- Date
- Time
- Datetime
- File
- Link

Each Custom Field can also be encrypted.
Once a new Custom Attendee Field is created, it can be moved to better organize on dashboard. To move a field, drag, drop, and save.
New sections can also be created and be customized per attendee type. Sections can help organize attende fields. At the top of the page, click the "+ New Section" button to create a new section which will appear at the bottom. Then, drag and drop it where it needs to be.
 Section can be renamed and organized to suit the event.
Saved Reports
Here on the Saved Reports tab will be a list of all the "Saved Search" that were created from the Attendee List. This "Saved Search" can also later be used in the Event Overview > Event Analytics page to pull reports.

Each of these can be edited from this tab. Parameters can be added, removed and options can be changed as well as the name.
