Edit My Profile Form
The Edit My Profile form is set up the same as the Registration form, but is accessed from the event site. Attendees need to be logged in in order to complete this.
Make sure any information you'd like your attendees to be able to update is here. Also, make sure to cross-check with what you're displaying in each directory so everything that is displayed can be edited and vice-versa.
To set up an "Edit My Profile" form, on Dashboard, go to Forms > Registration Forms and click the "+ New Form" button on the top right.
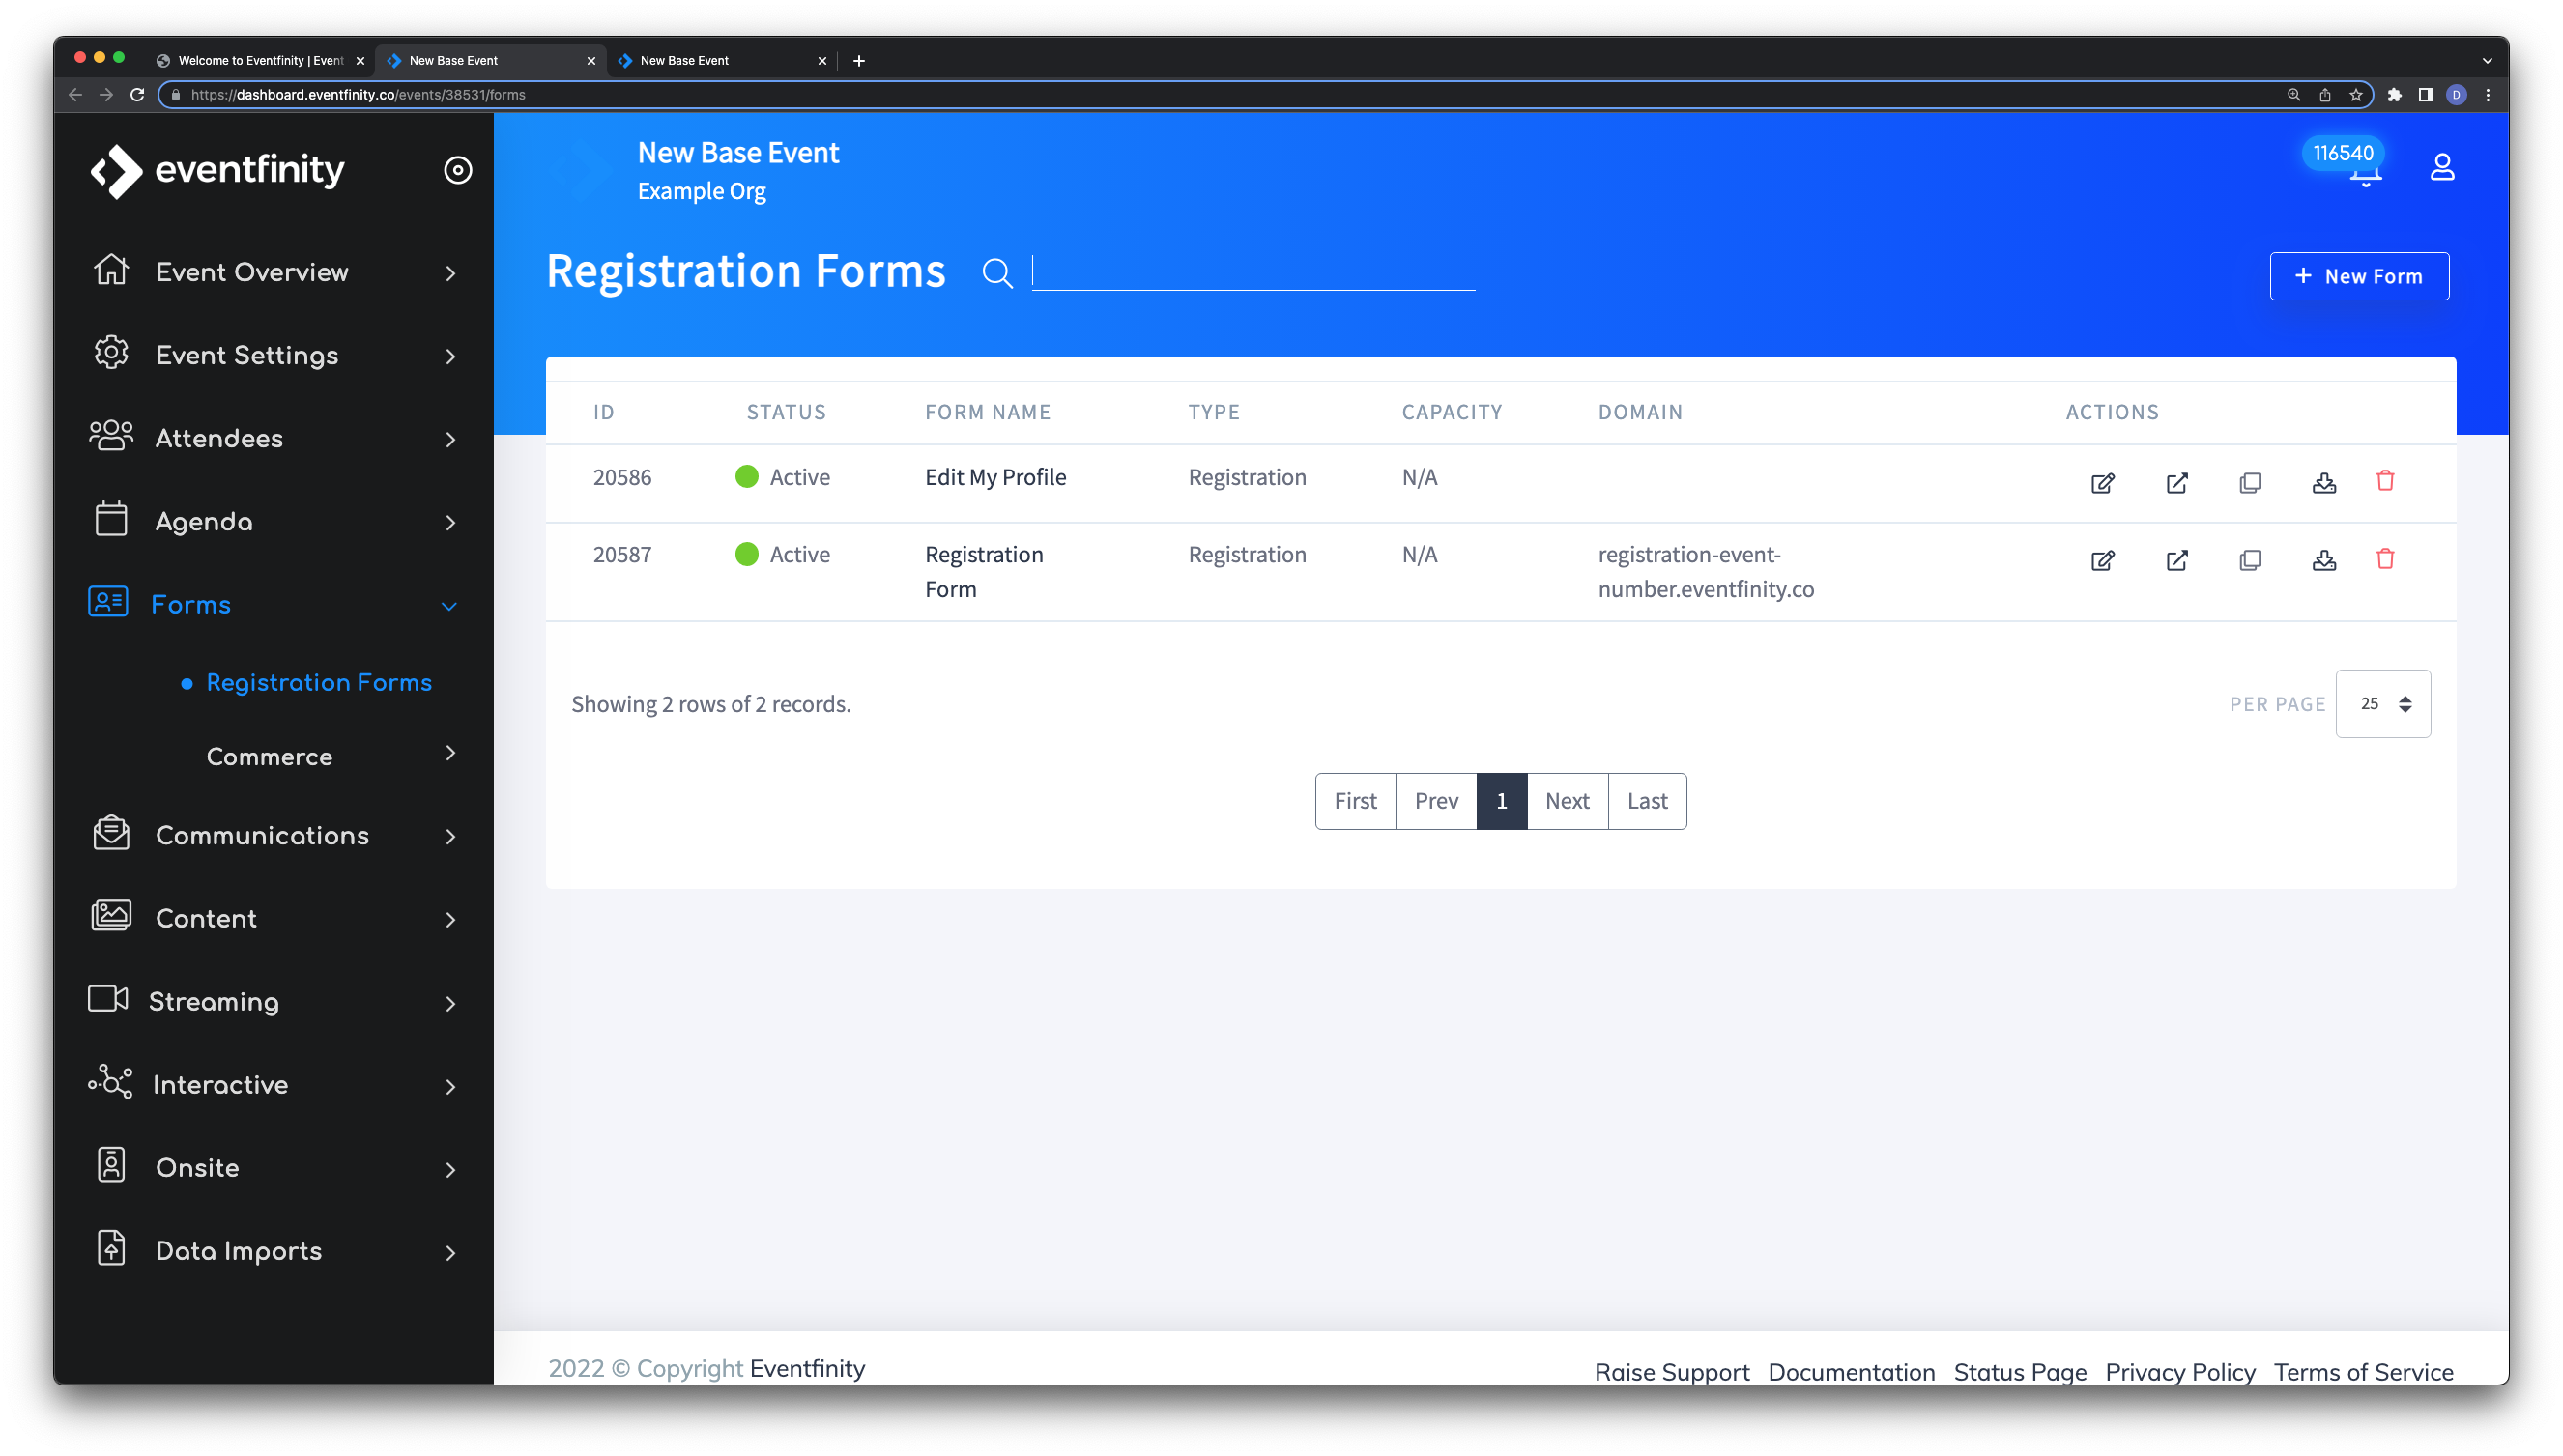

In the screenshot above, there already is a form with the FORM NAME of "Edit My Profile" but we will create a new one to discuss this.
Once the "+ New Form" button is pressed, a new page will open to provide the form details.
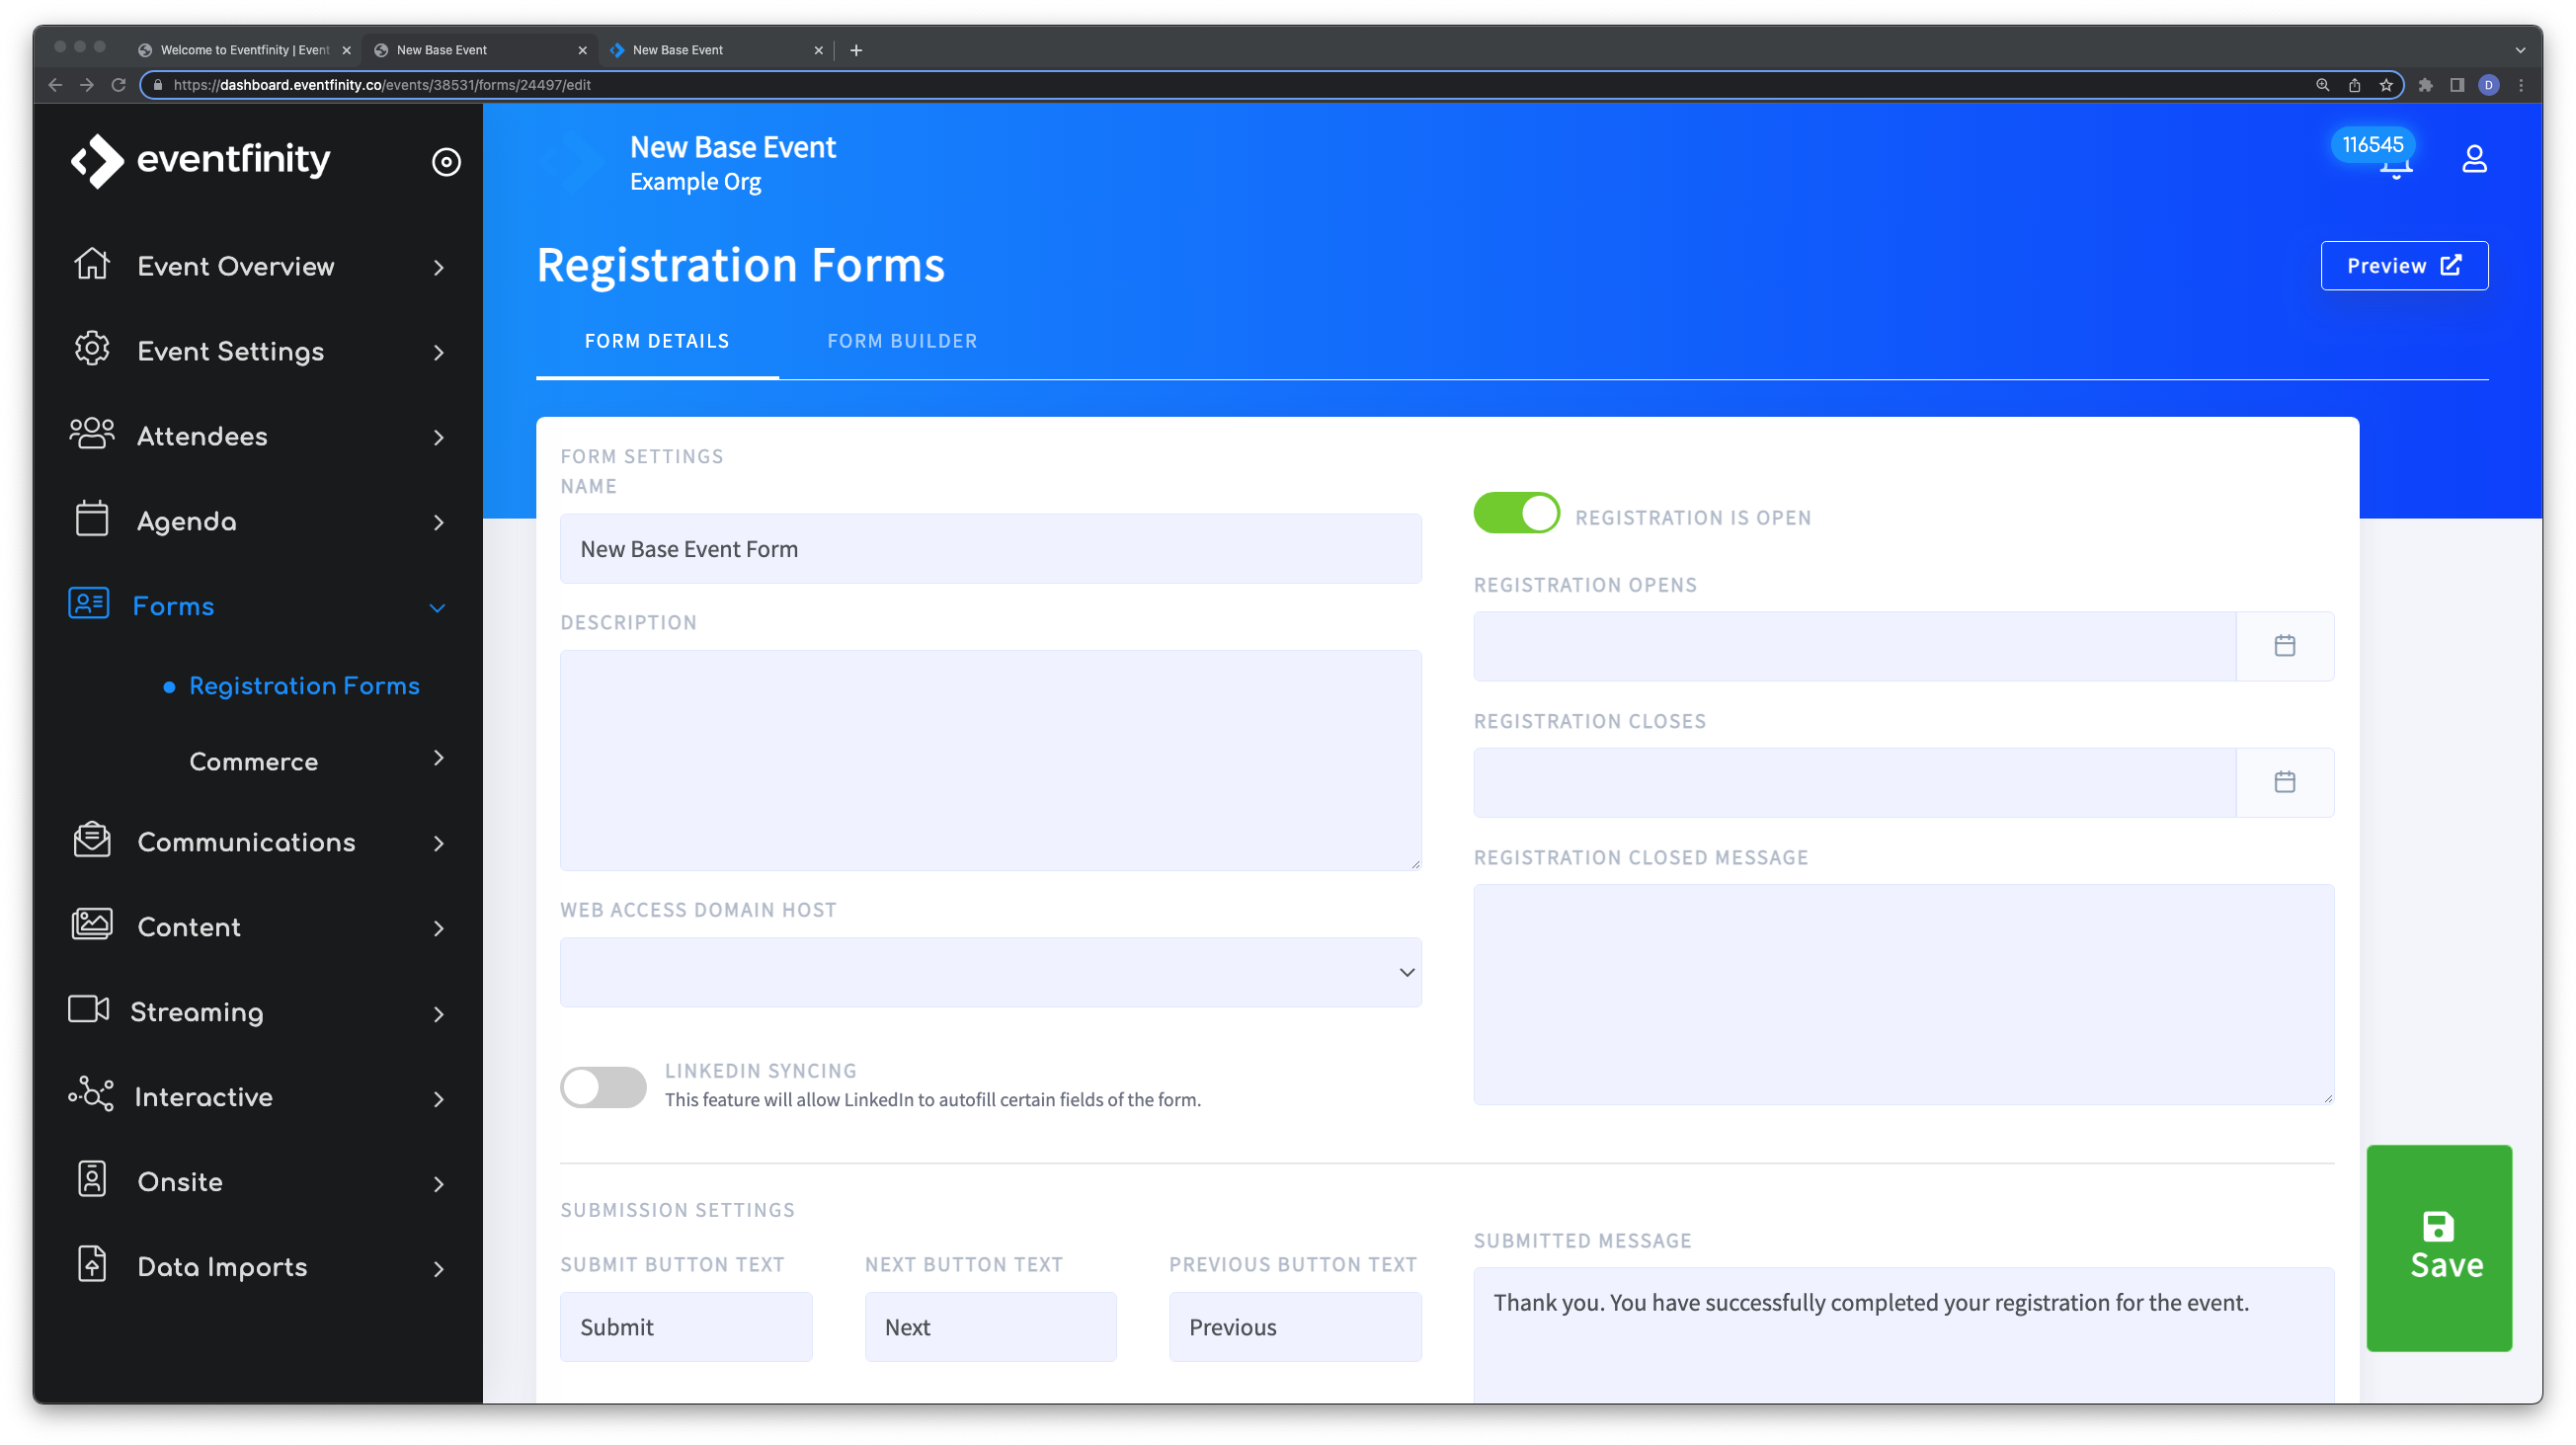
Here you can edit and provide general information for this form. By Default, the Name of the form is filled out. We suggest this be changed and named appropriatly. The other fields to complete here are:
- DESCRIPTION
- WEB ACCESS DOMAIN HOST
- LINKEDIN SYNCING
- REGISTRATION IS OPEN (toggle)
- REGISTRATION OPENS
- REGISTRATION CLOSES
- REGISTRATION CLOSED MESSAGE
- SUBMISSION SETTINGS which include:
- SUBMIT BUTTON TEXT
- NEXT BUTTON TEXT
- PREVIOUS BUTTON TEXT
- SUBMITTED MESSAGE
Once these options are selected and completed, we can start to create the form itself. Before we do this, be sure to press "SAVE" on the bottom right. Then, when ready, go to the "FORM BUILDER" tab (2nd tab). The first time this is down you will be met with 4 options to create a form.
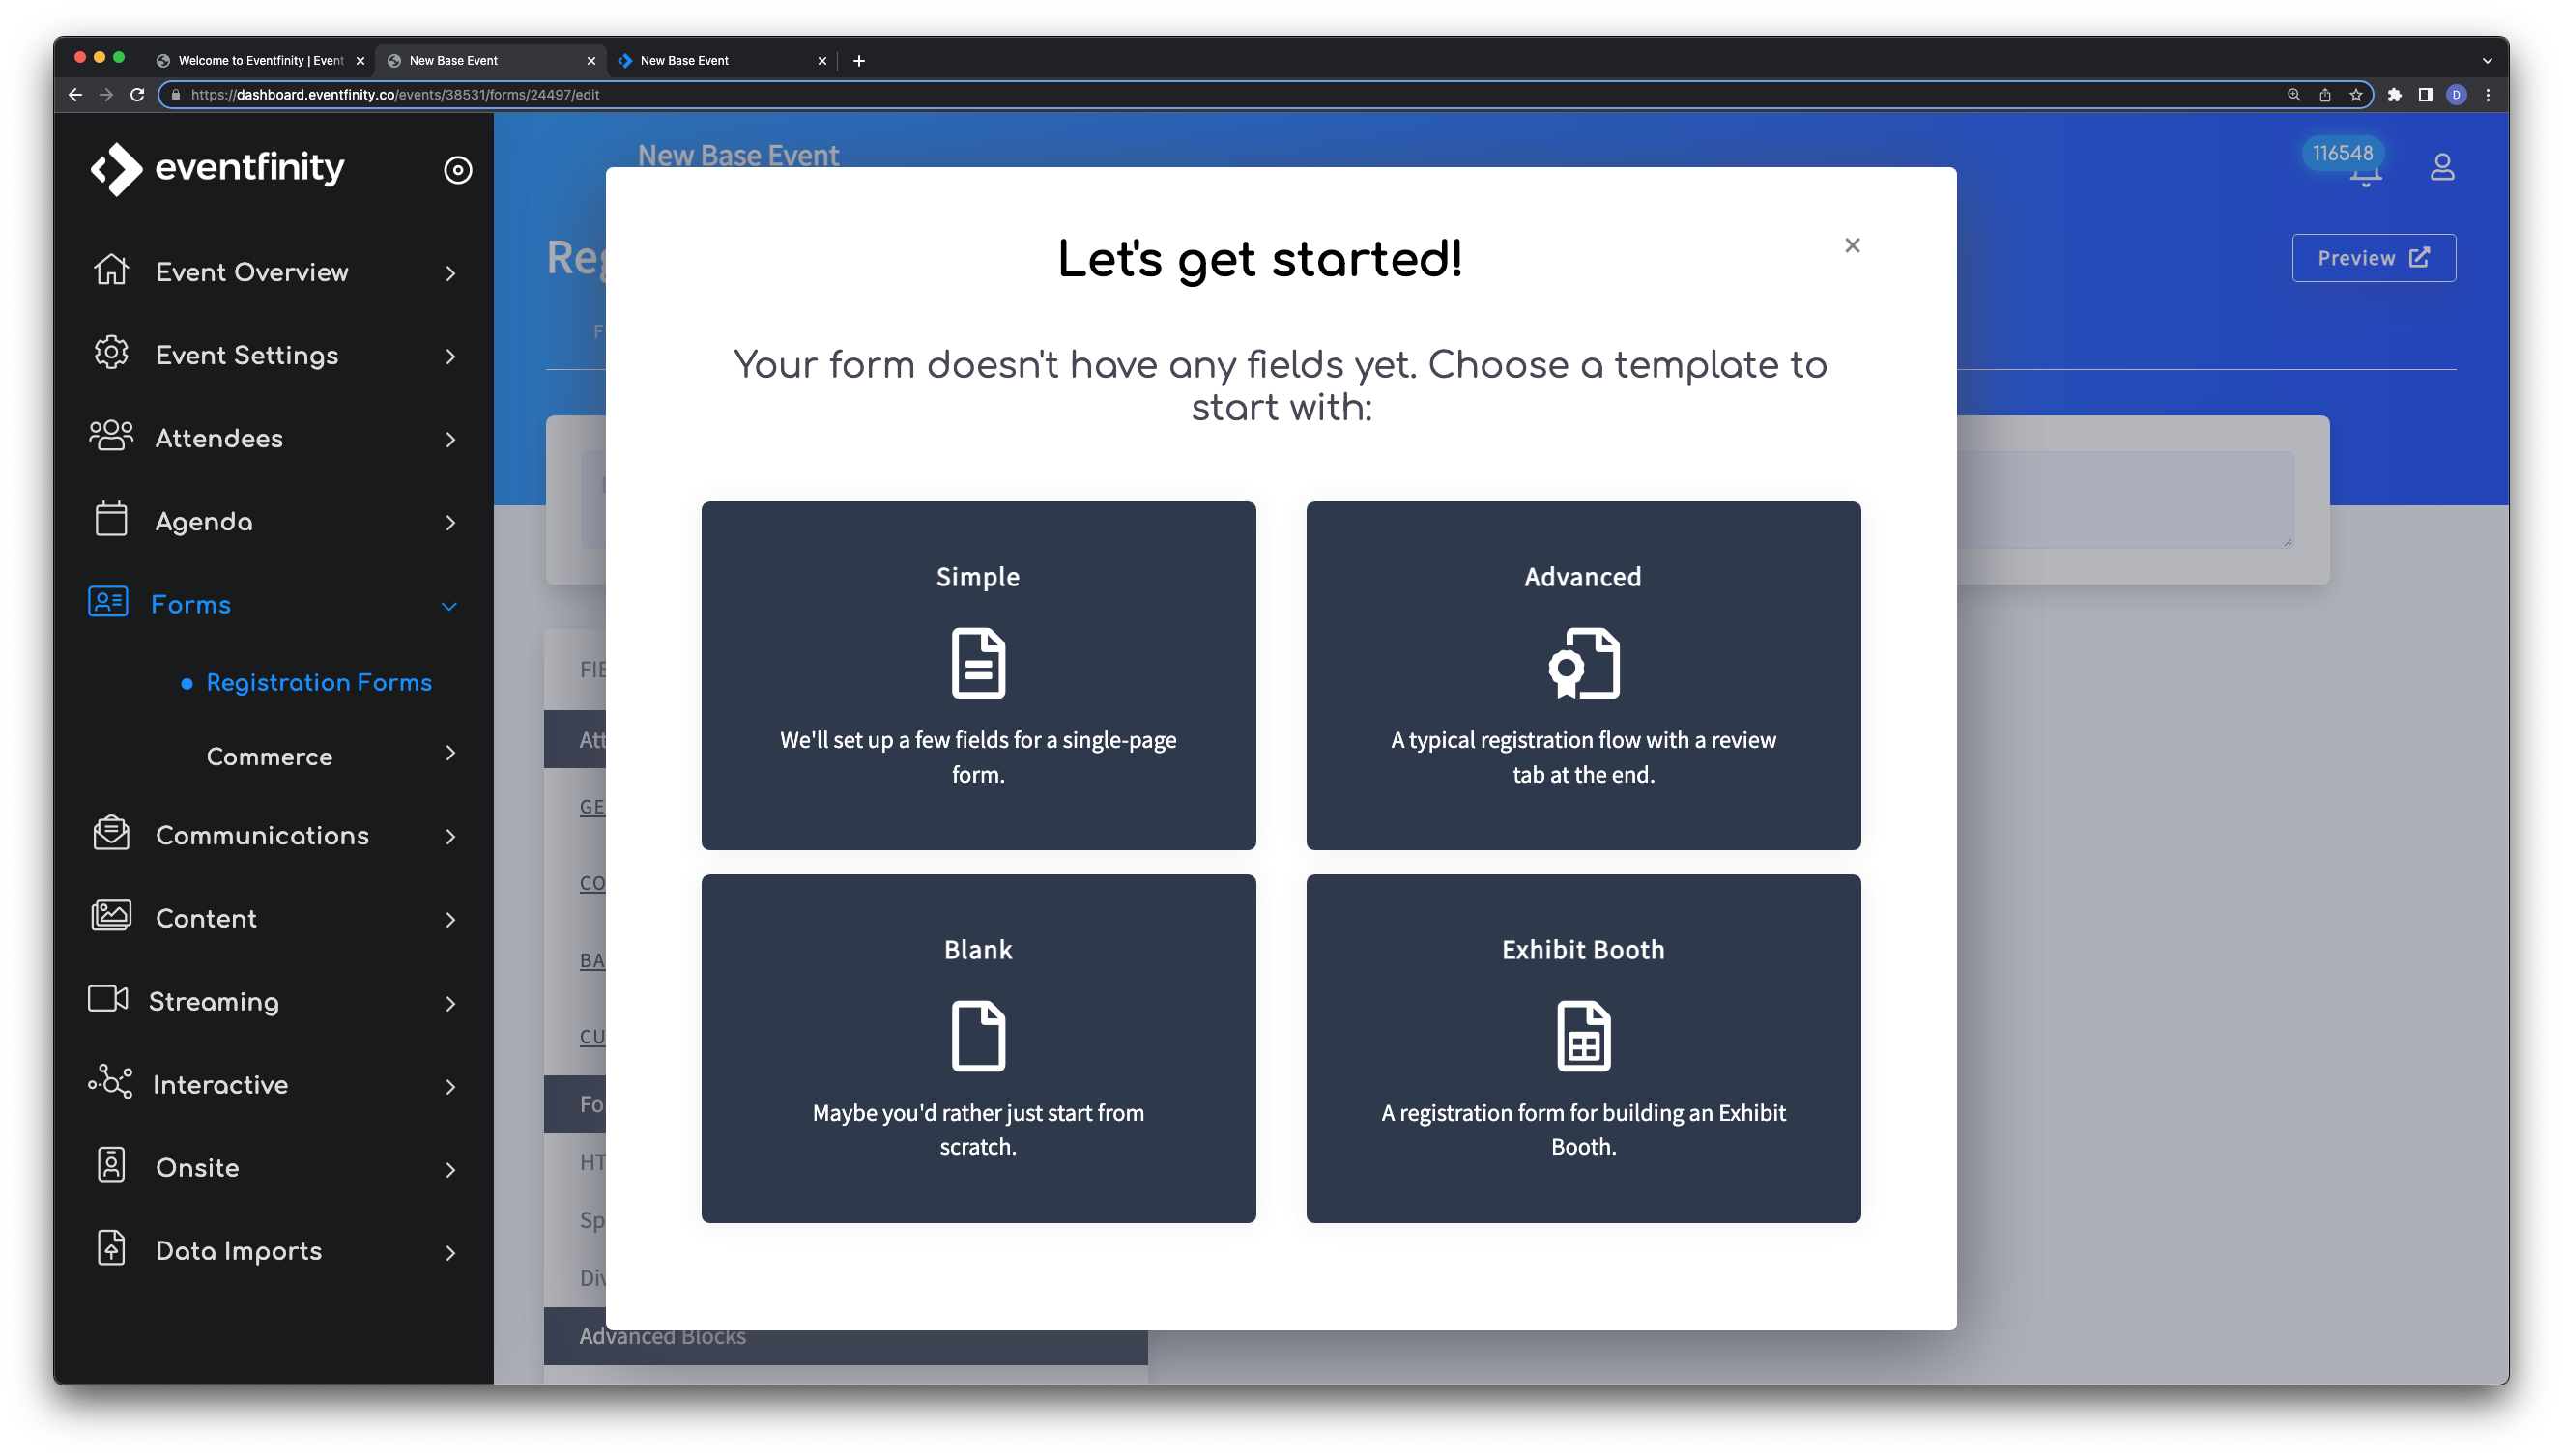
- Simple - a single page form with a few basic attendee fields
- Advanced - a more advanced multi tab form using the next and previous buttons with a review section on the last tab for the attendee to review their answers prior to submitting.
- Blank - a blank form to start from scratch
- Exhibit Booth - this form is geared towards collecting information from Exhibitors to create and build an exhibit booth.
For this, we'll select and use the Simple template.
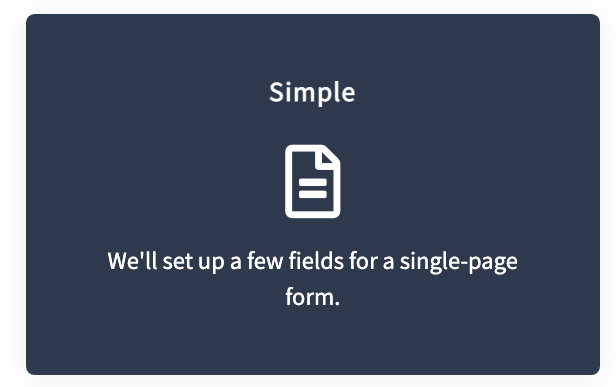
When this option is selected we will directed to a registration form edit page but it wll already be populated with the following fields:
- First Name
- Last Name
- Phone Number
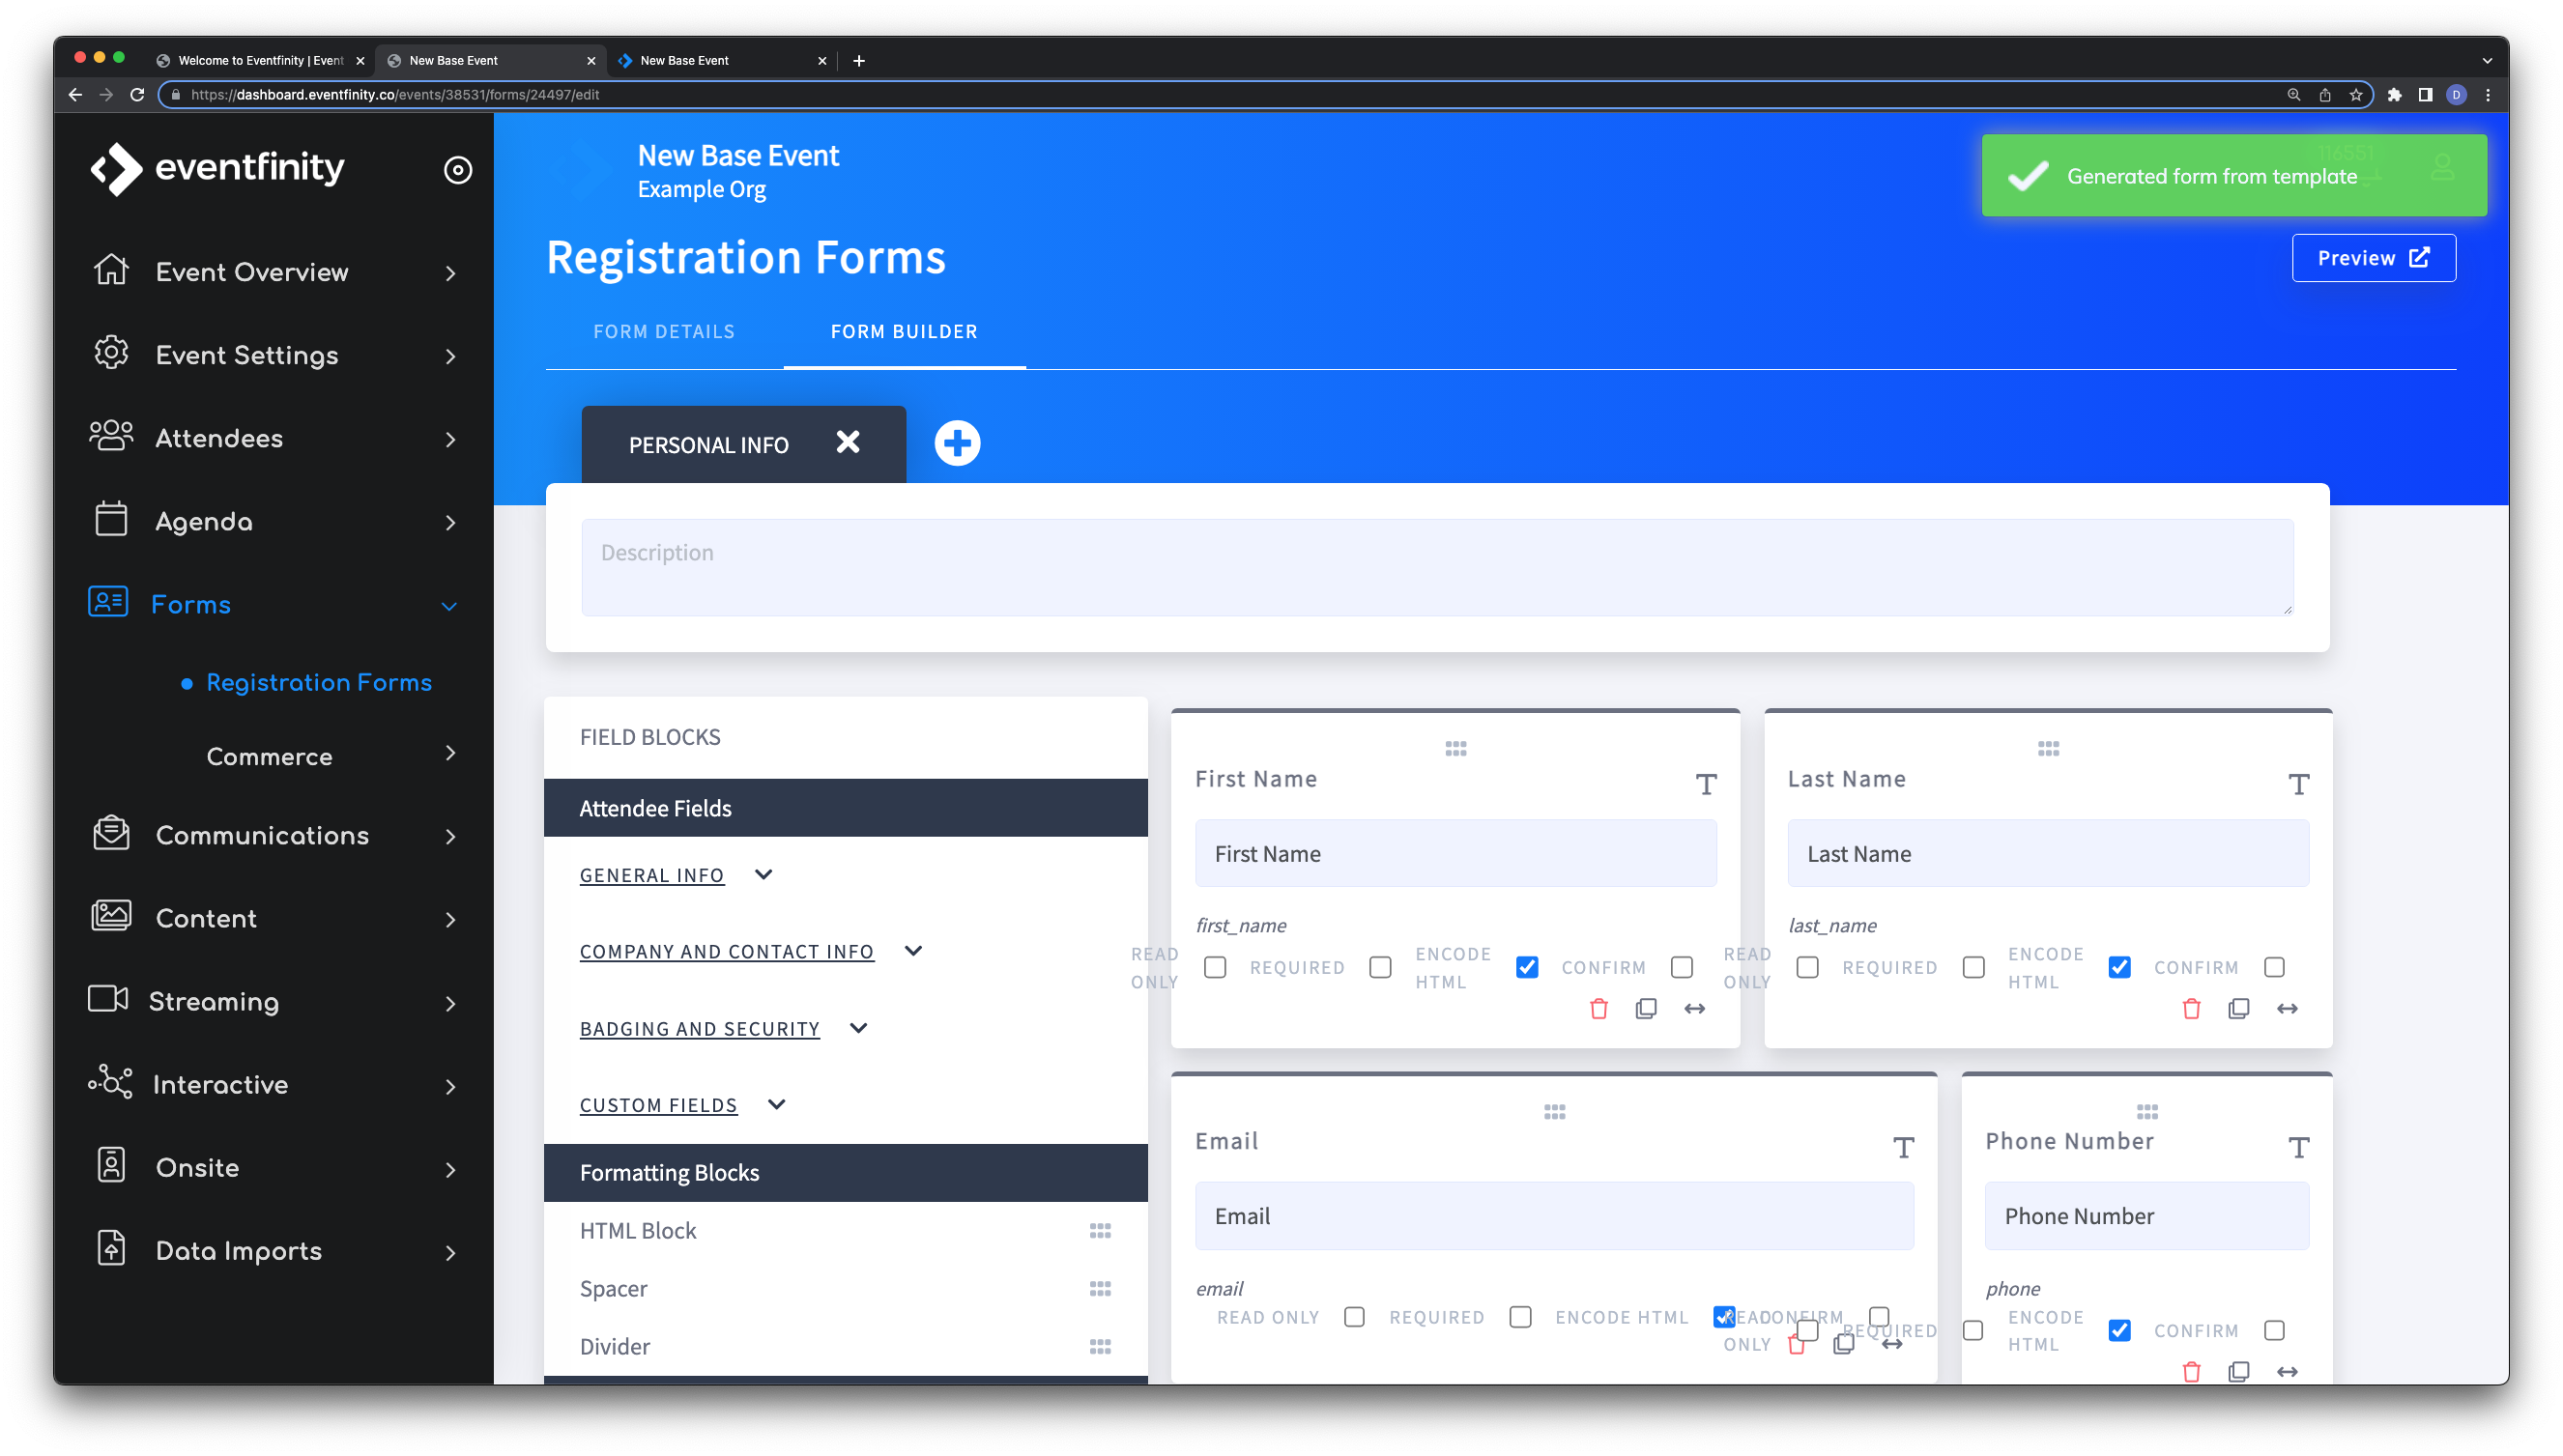
If this is used these will be the only fields that the attendee is given to edit on this form. If other fields are desired, they will need to be dragged over from the right to where in the form you'd like that field to be seen. The more popular option to add is an "User Avatar".
To add this field, on the right-side open up the GENERAL INFO attendee field block options.
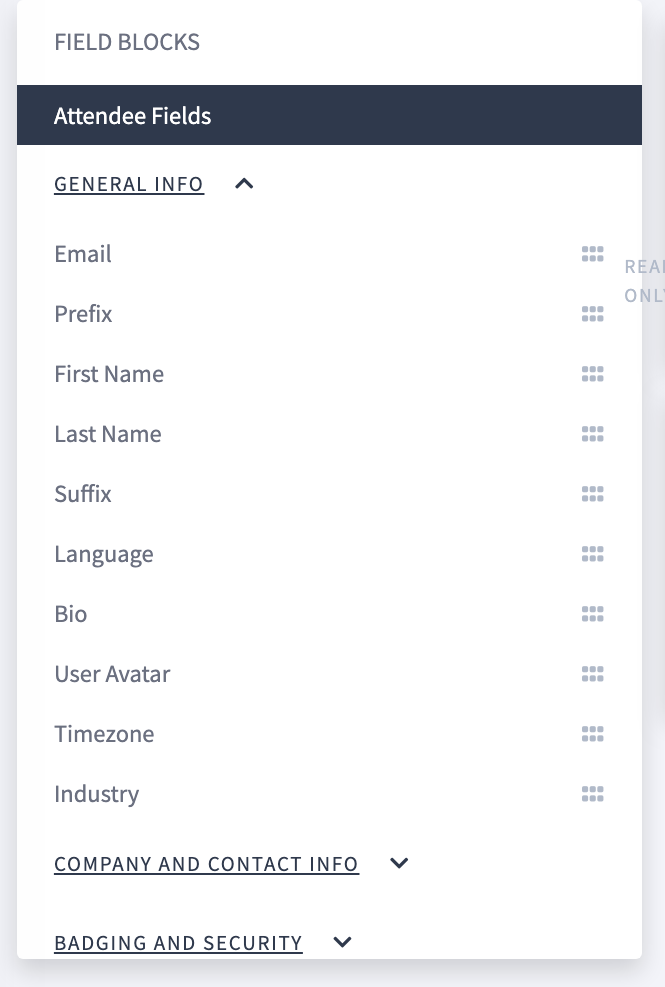
Find the User Avatar option and simply drag and drop this field into the form where you'd like it to appear.
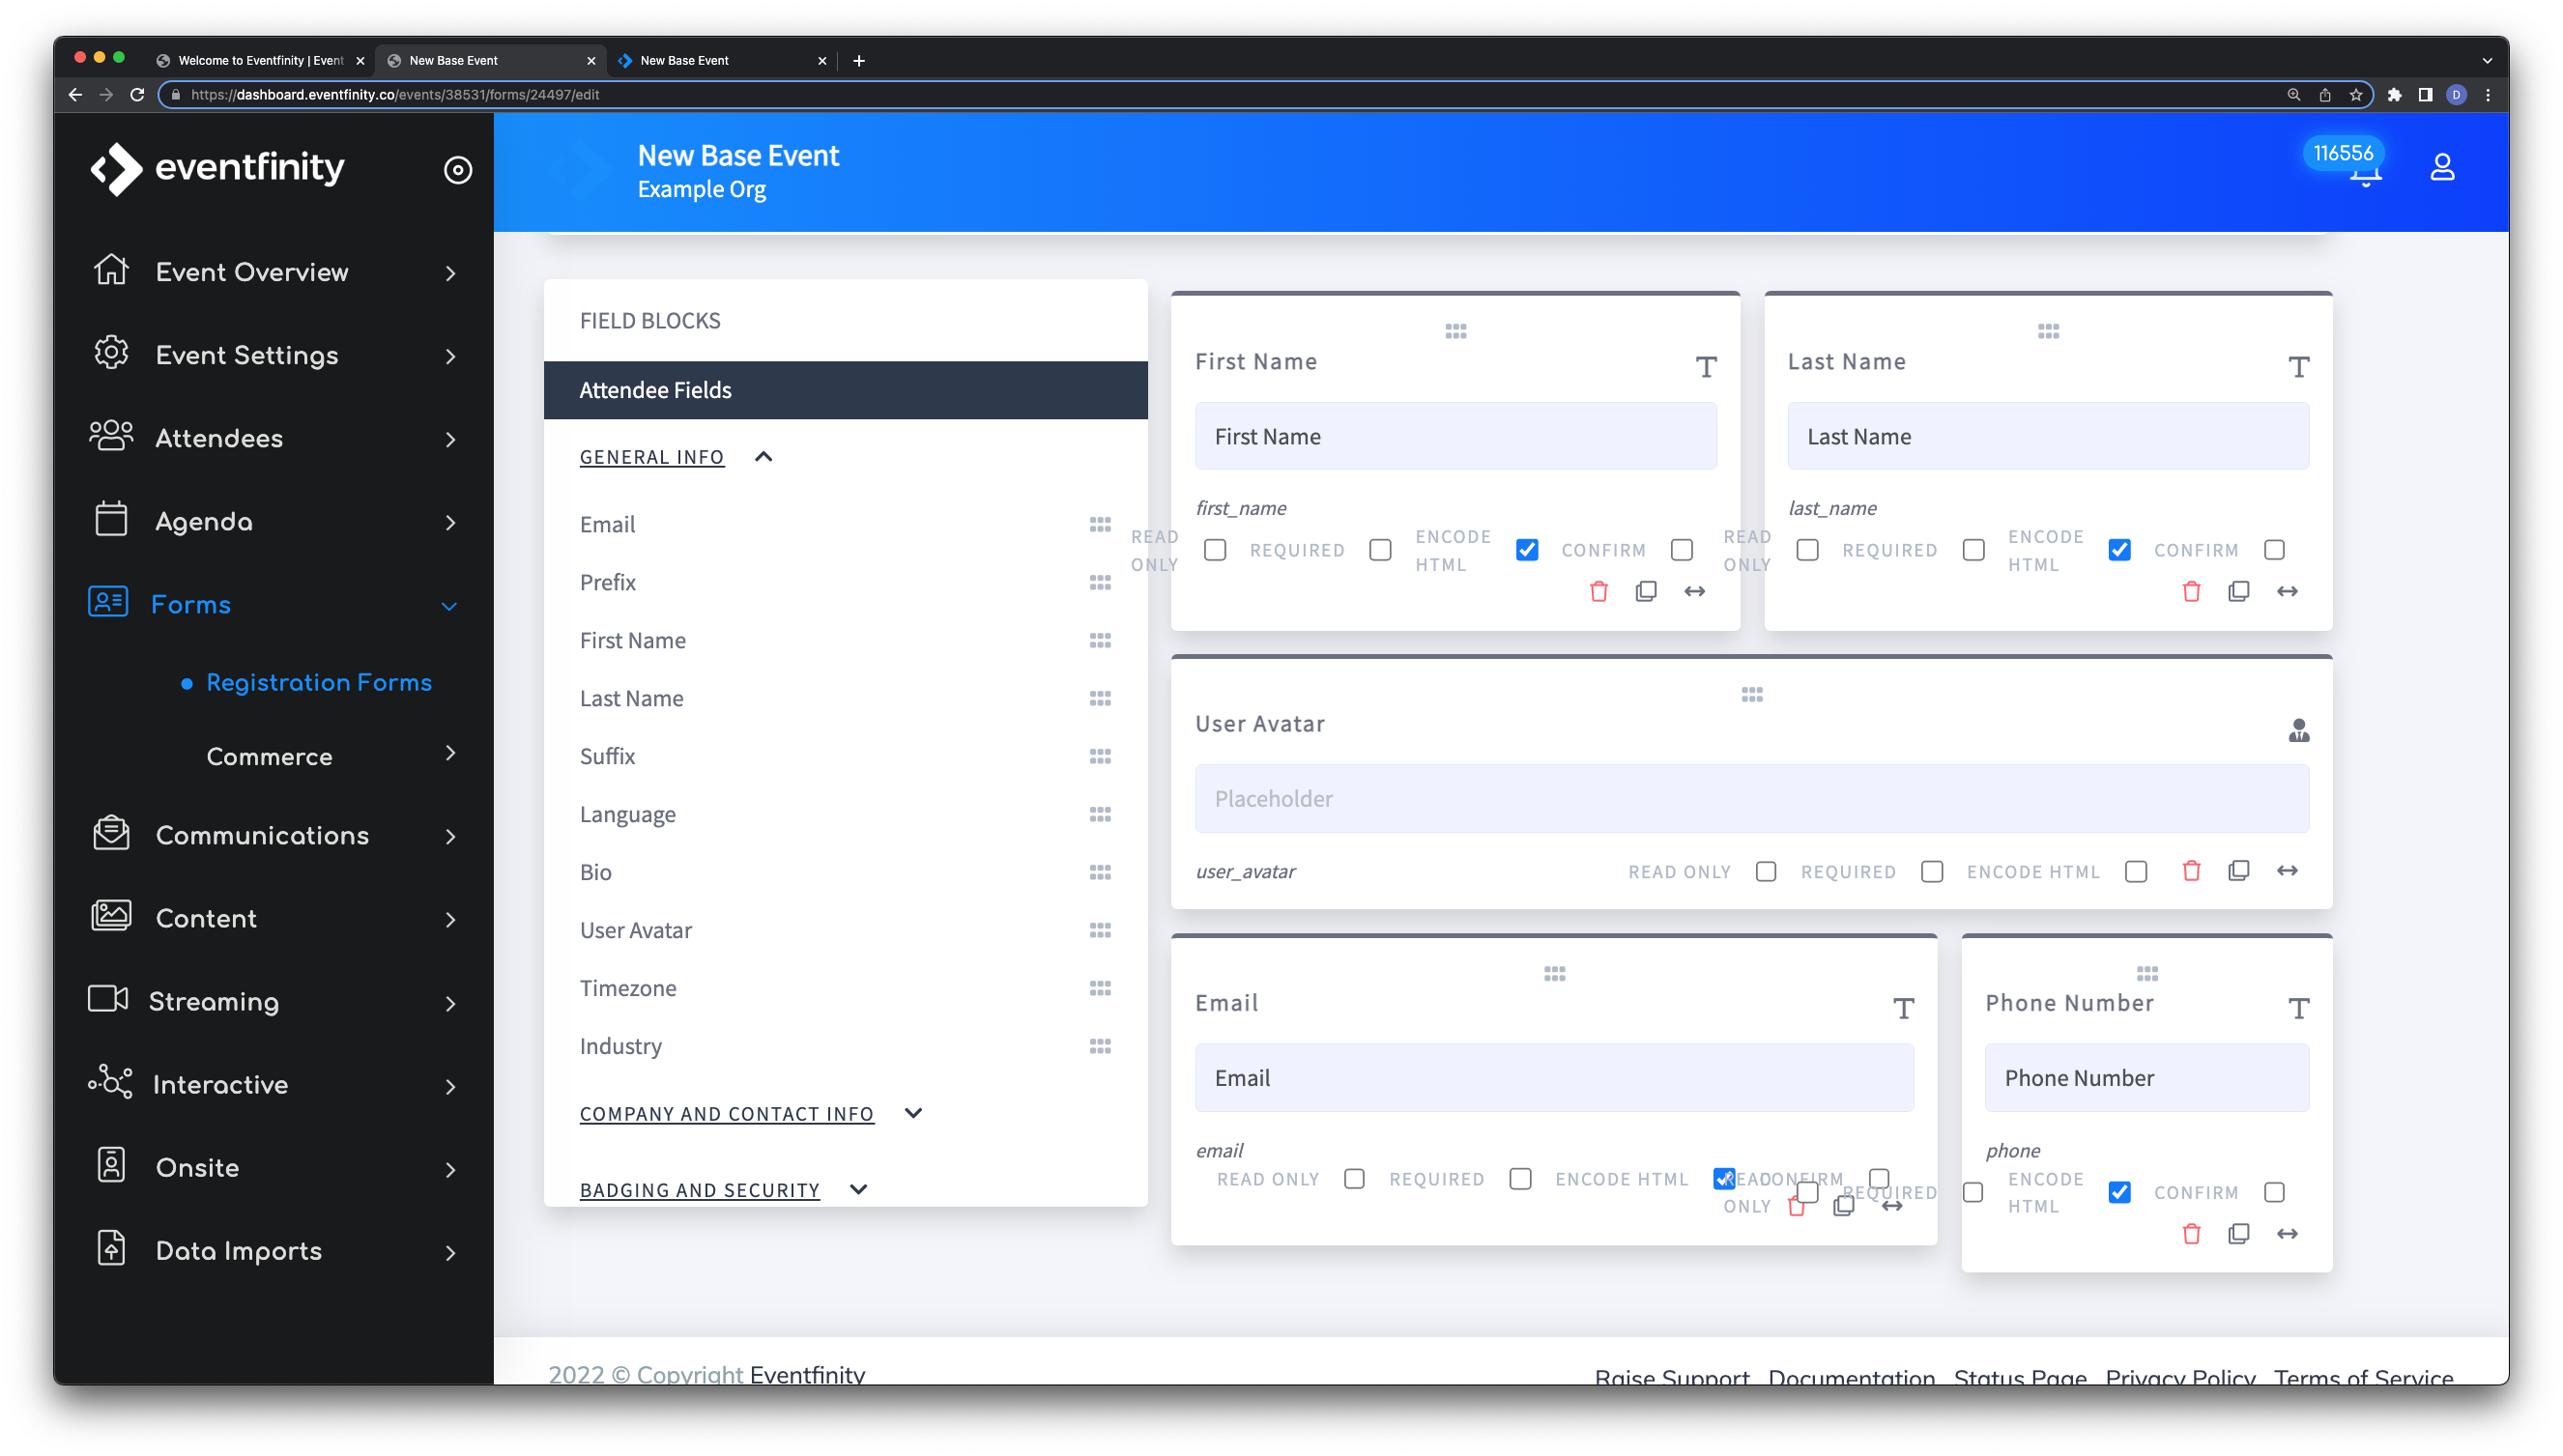
When done adding fields, it's recommended to go back to the 1st tab (FORM DETALS) and click the SAVE button on the bottom left.
Now that the Edit Your Profile Form was created and saved, we need to attach it to the event so that an attendee can access it.
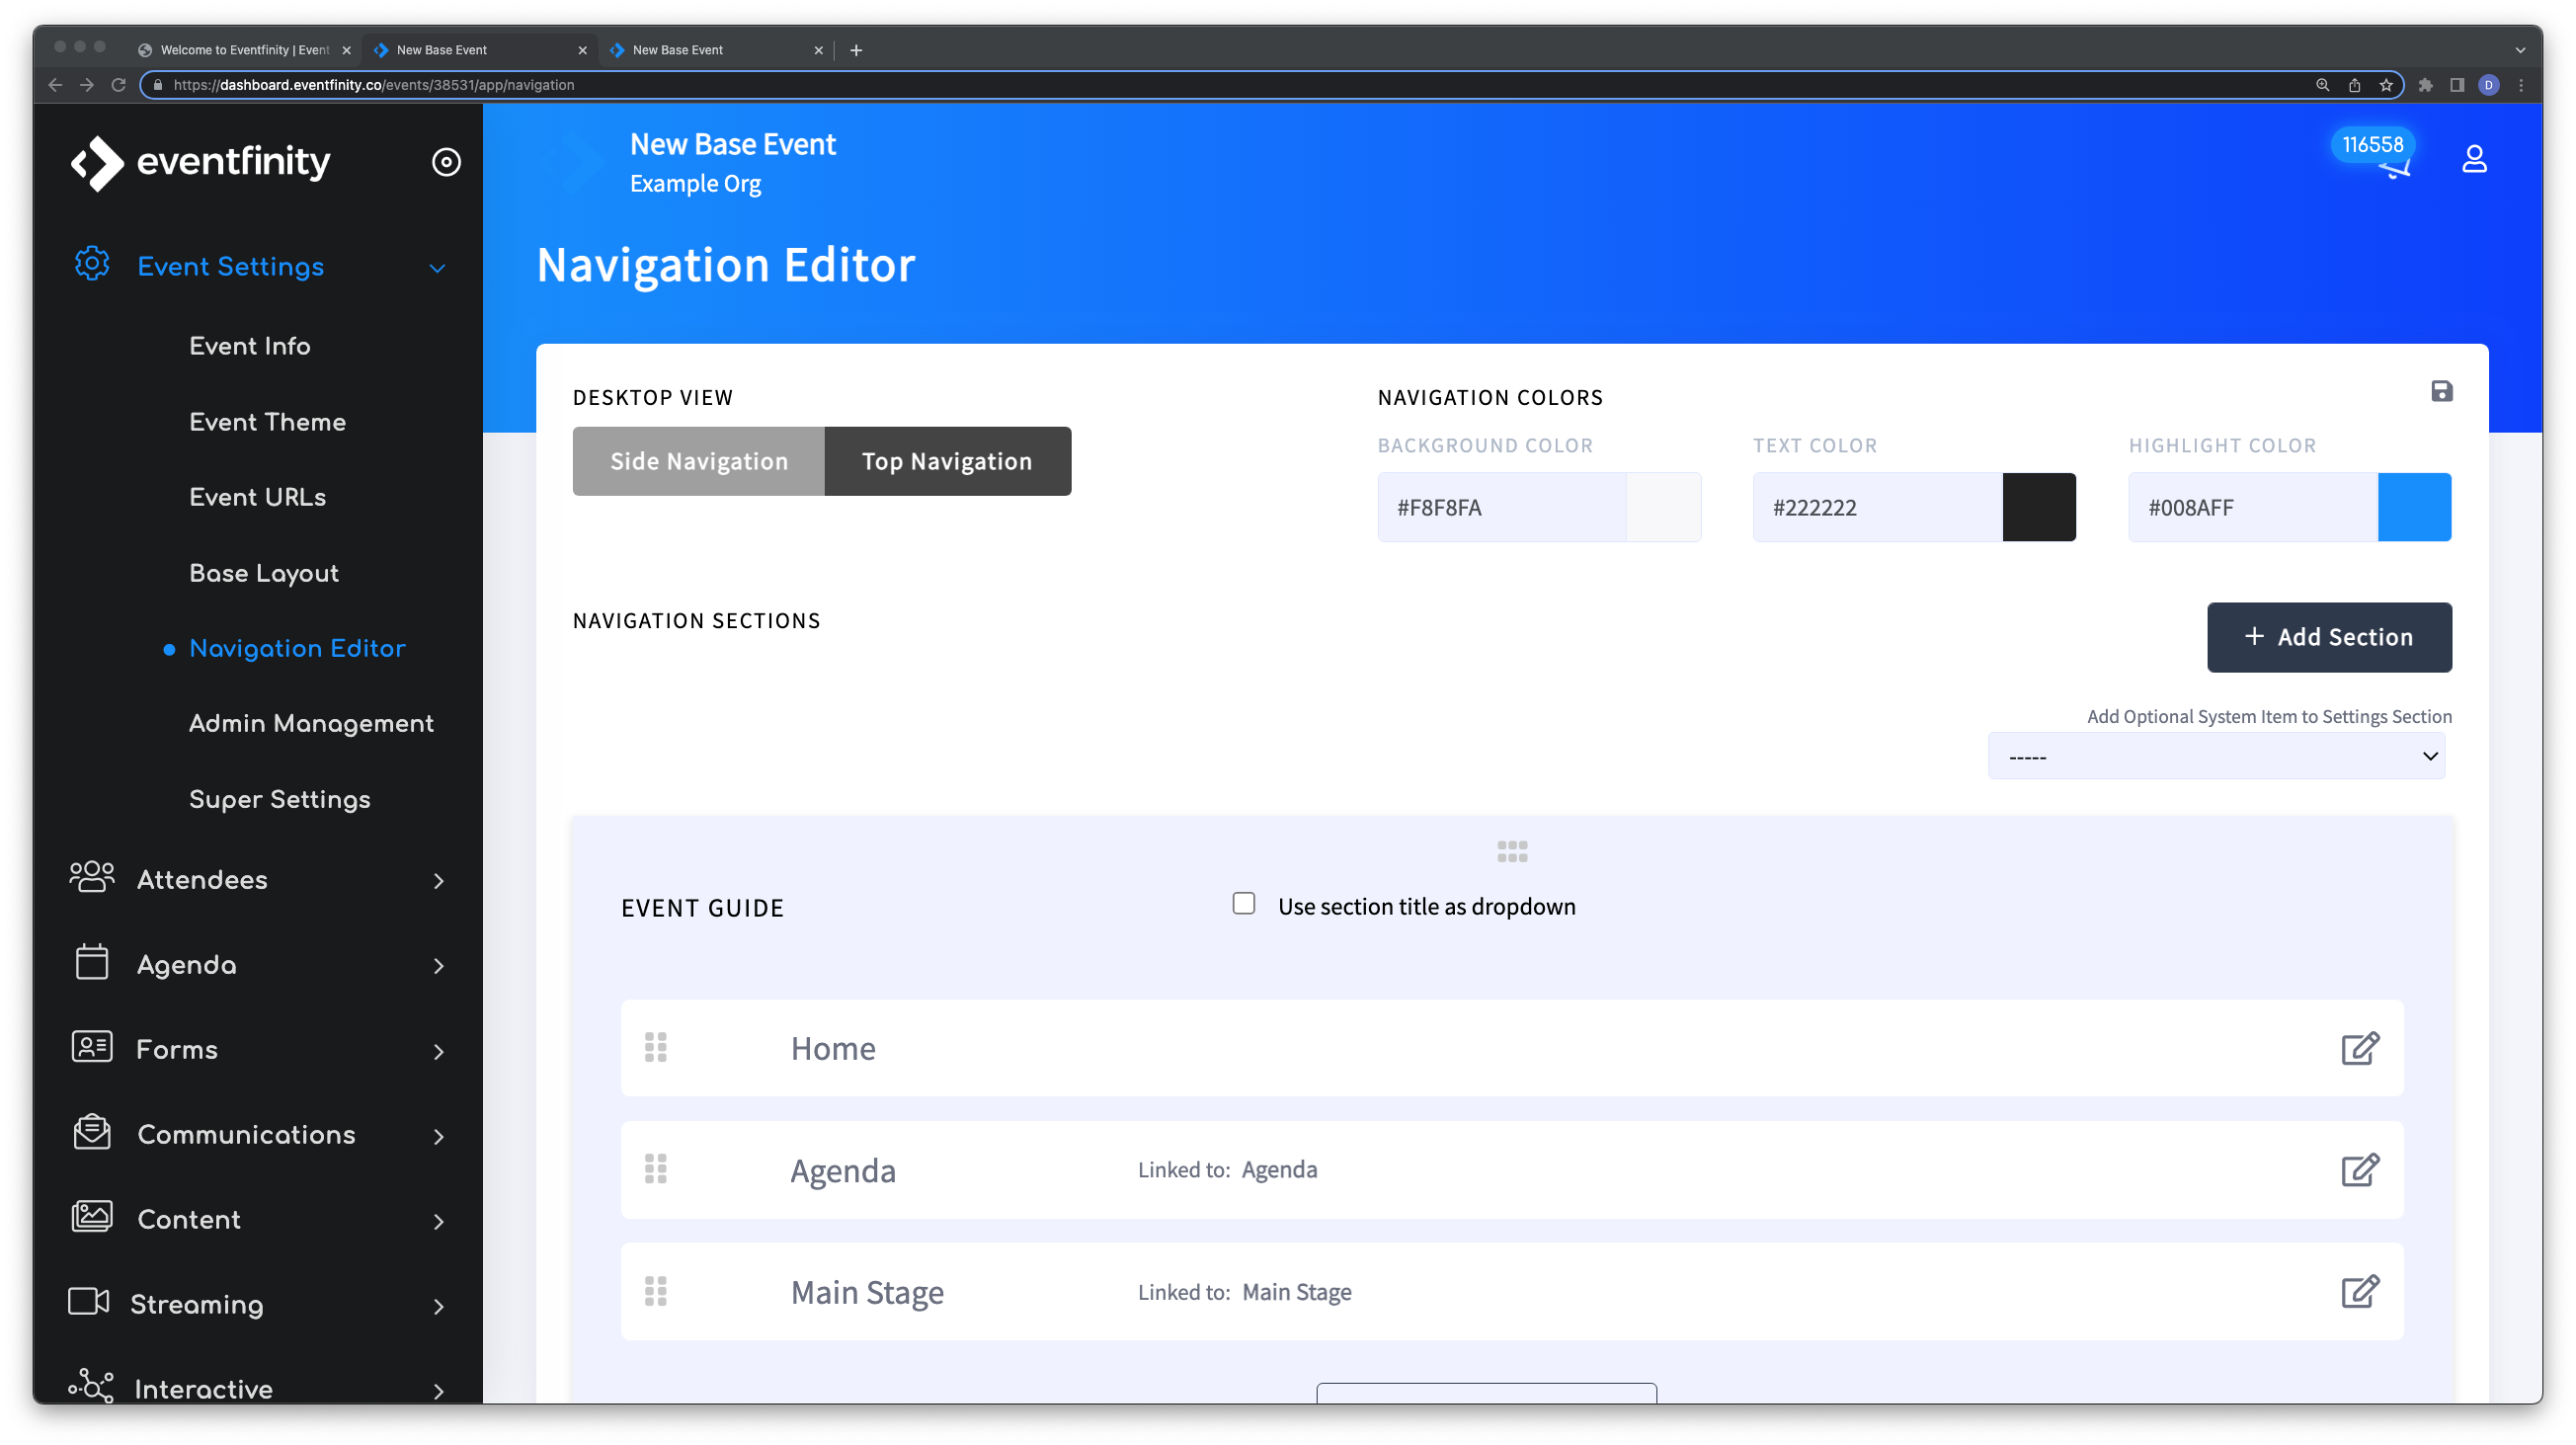
One way to do so is, on Dashboard, go to Event Settings > Navigation Editor. Add this form as a Navigation Item for attedees to access.
note- Multipule Forms can be created and then each and be privatized to a group. This will allow more customization of these forms.
When you are done, it's always recommended to hit save. The save button is found at the top left of this page.
