Agenda Quick Start
In this article we're going to discuss how to manage all of your event's sessions and how the agenda appears for attendees.
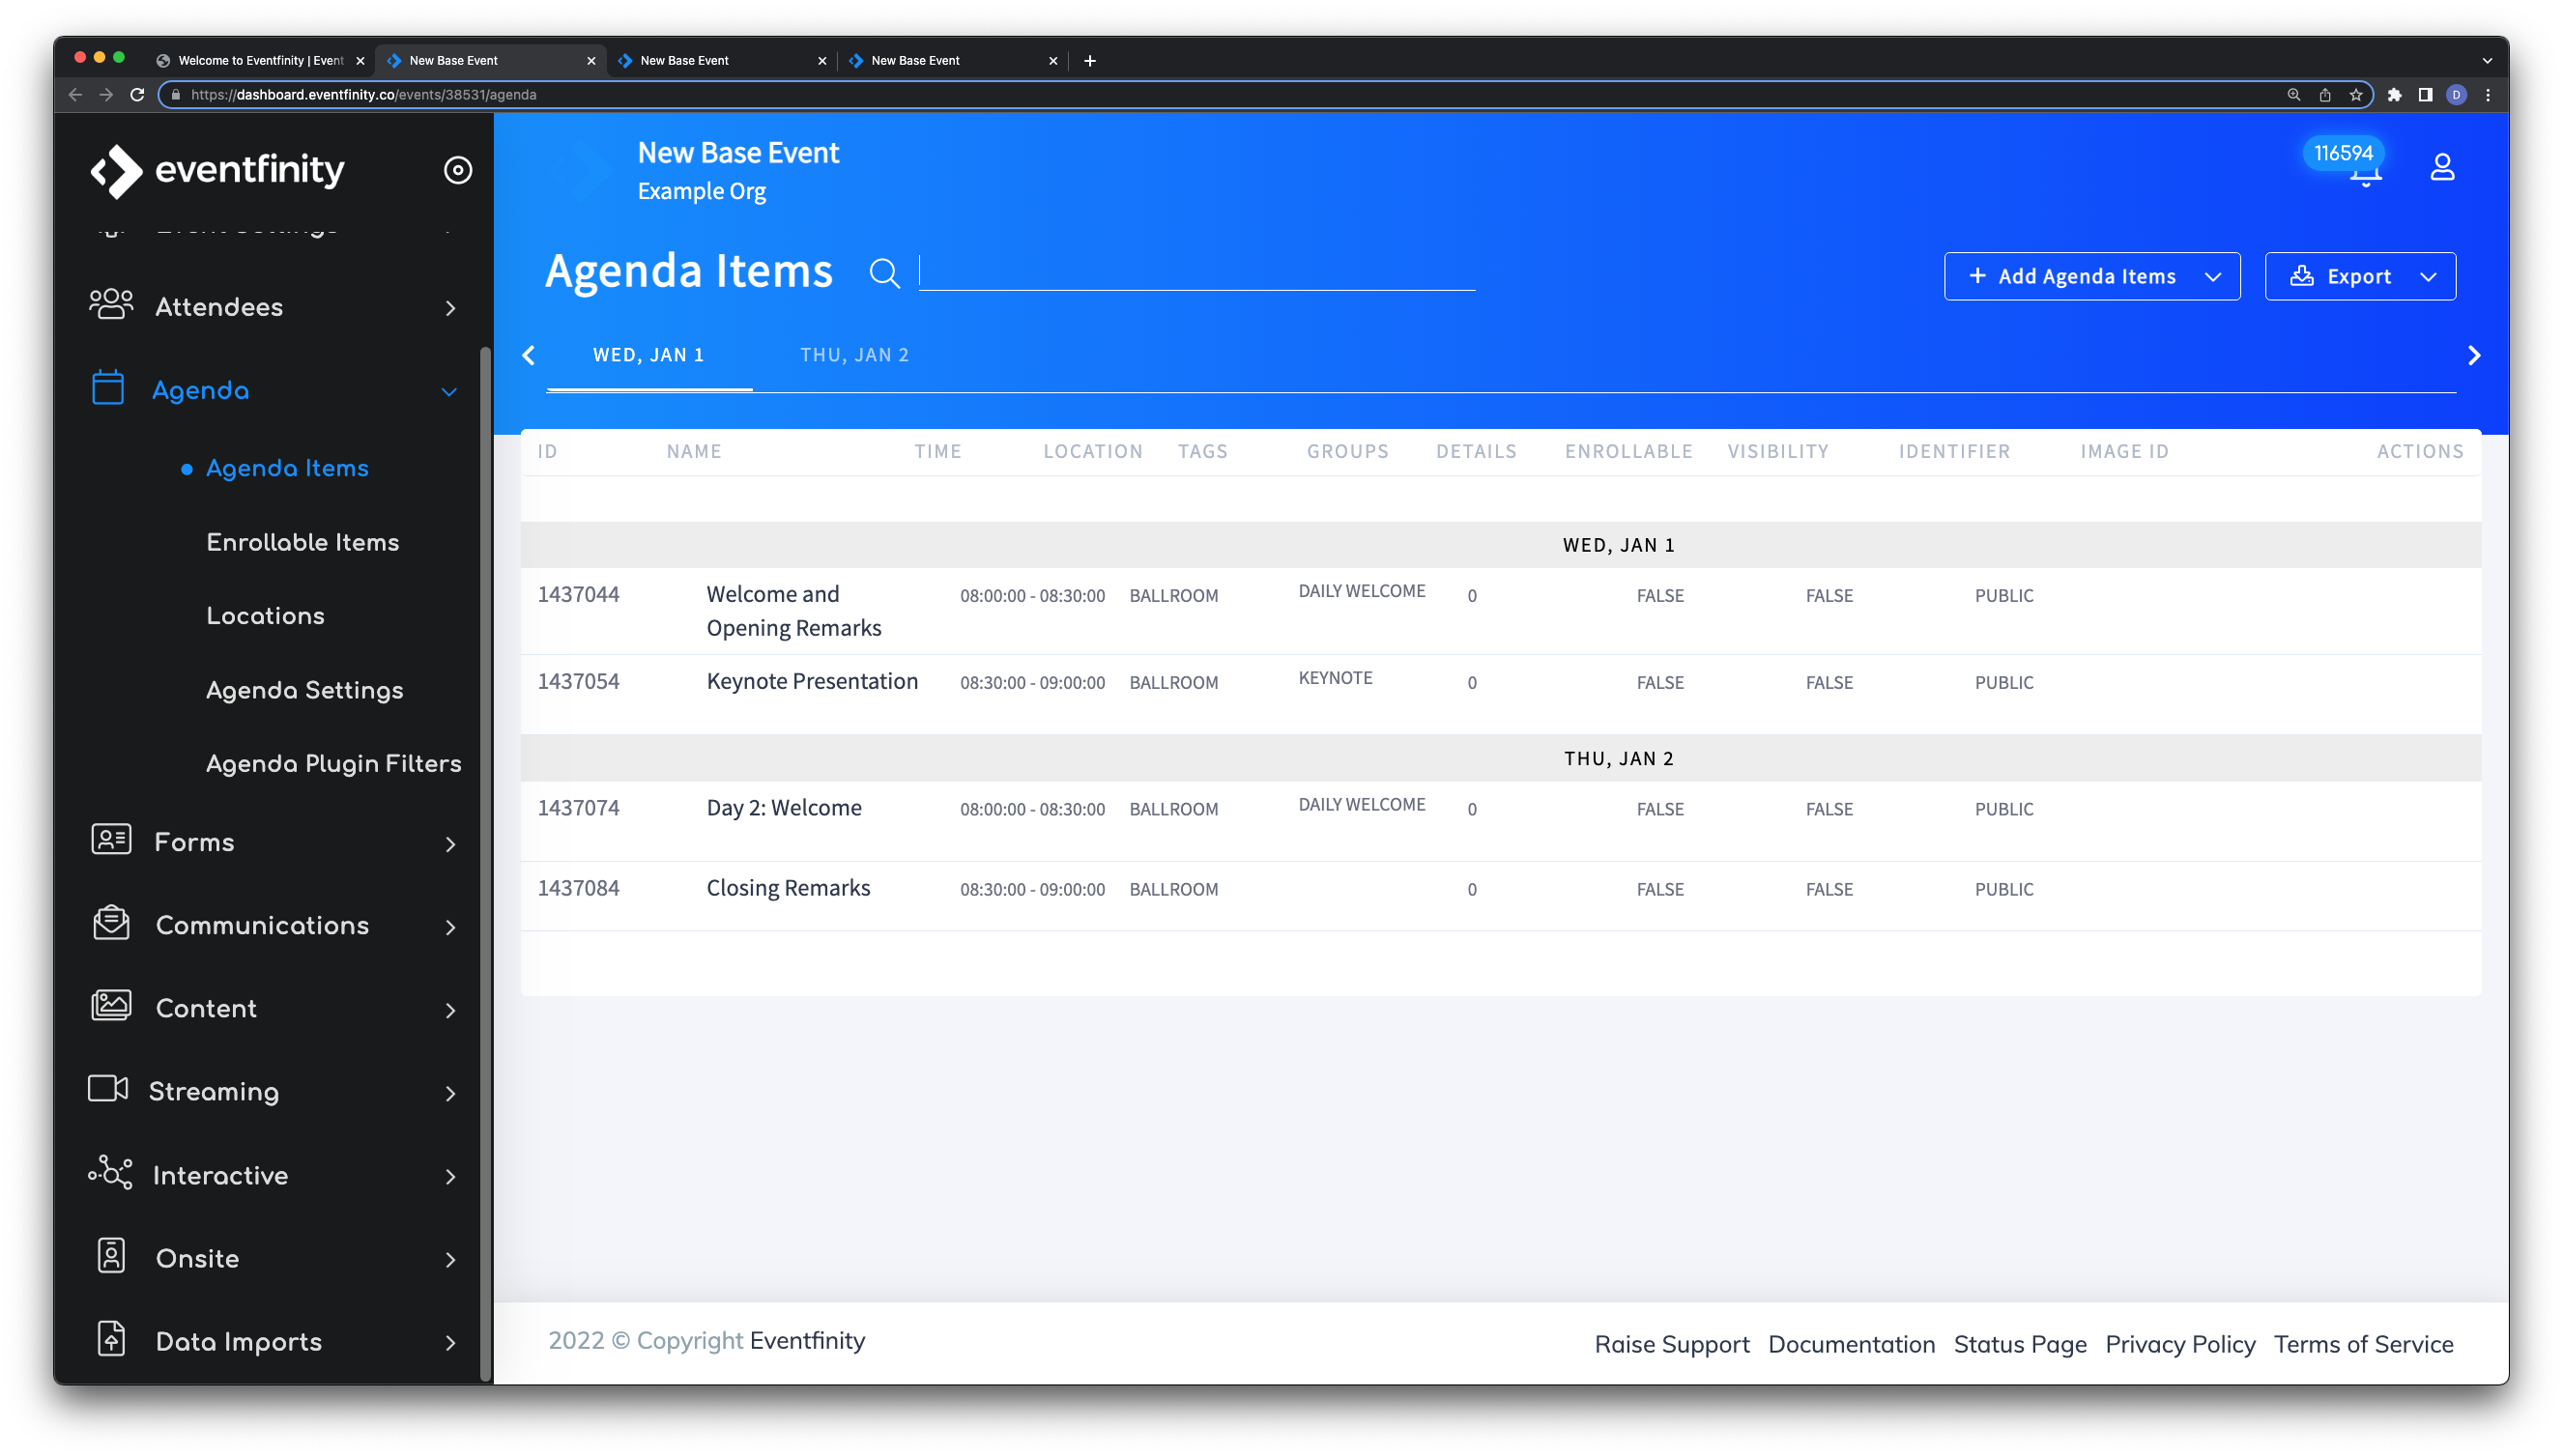
On Dashboard go to Agenda > Agenda Items
You can list, search, sort, and view different info about your event's sessions in the Agenda Items dashboard. As part of the examples in the template, there are 4 example agenda items.

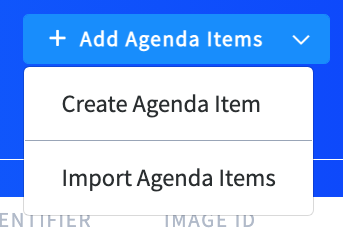
Add new agenda items by clicking + Add Agenda Items. This is found on the top right of this Agenda Item Index Page.

This gives you two options:

- Create Agenda Item will take you to a full, blank agenda item form
- Import Agenda Items will take you to the Importer page in Dashboard
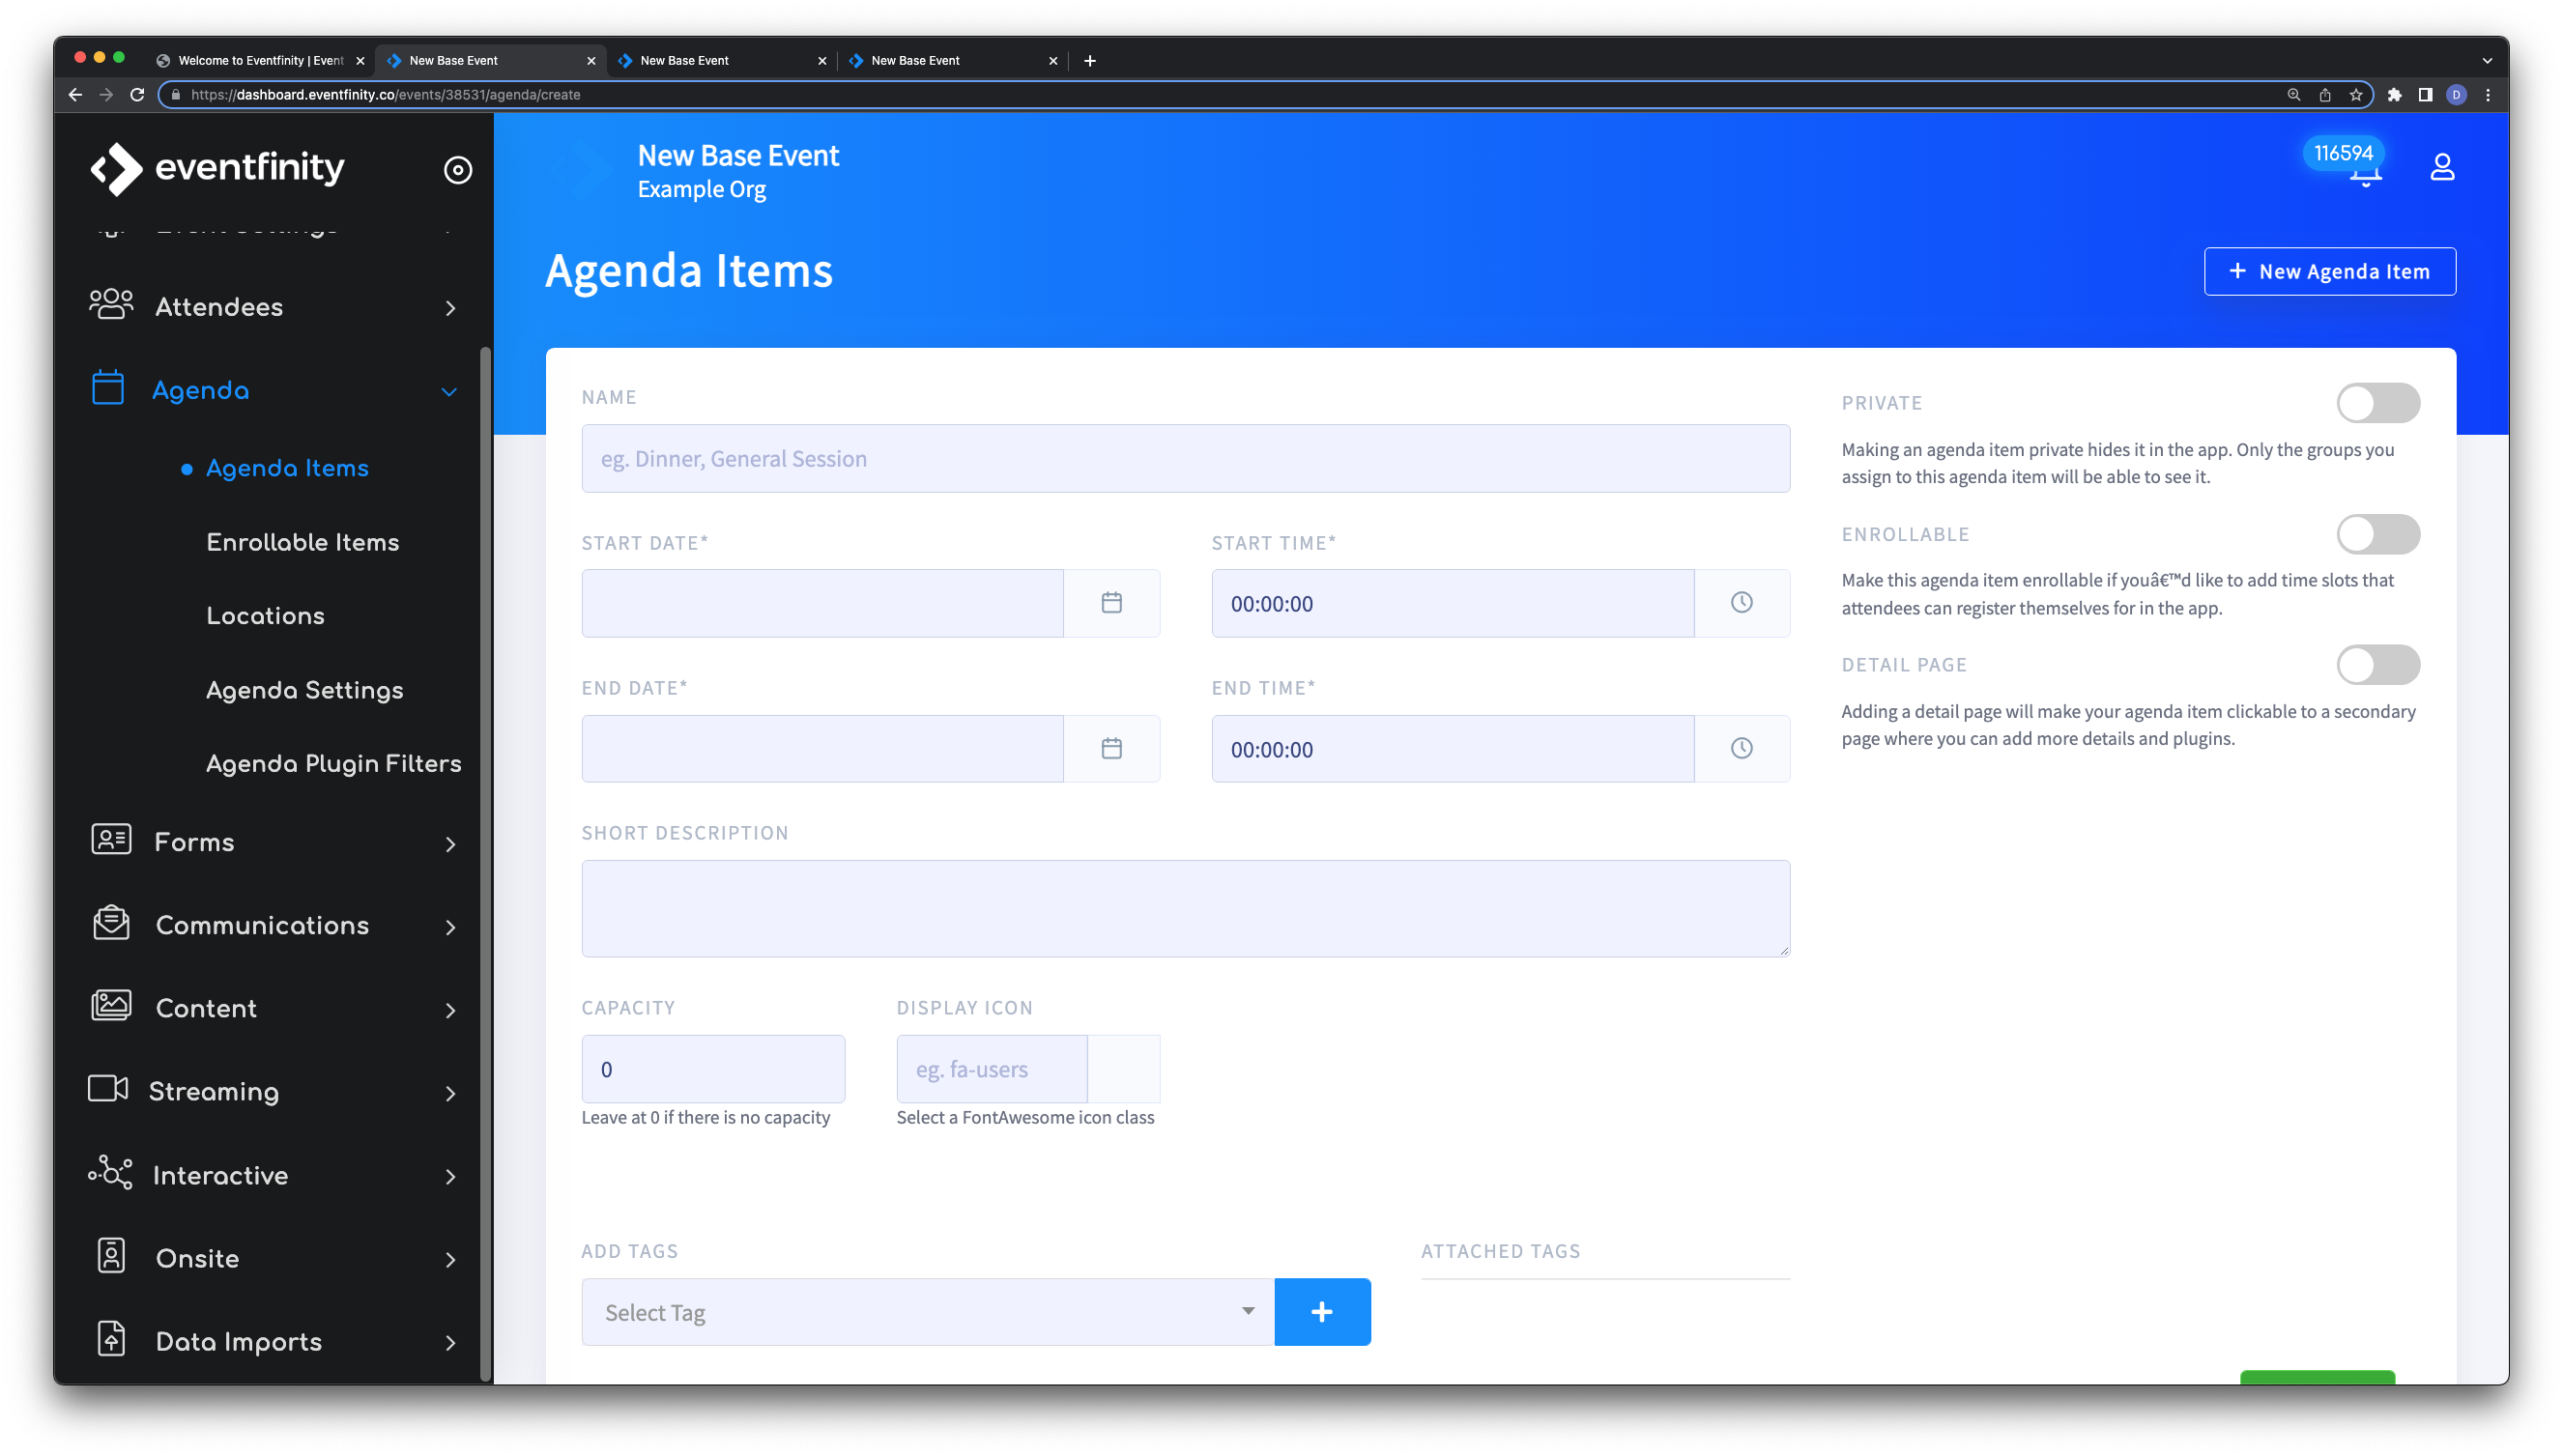
For now, we'll cover how to "Create Agenda Item". Once that option here is selected, we will be brought to the Agenda Item Edit page that is blank.

Agenda items must have: title, start date, end date, start time, and end time.
All the options here that can be completed are:
- NAME - (Required) this field will appear as the title of the agenda item on the front end.
- START DATE & START TIME - (Required)
- END DATE & END TIME - (Required)
- SHORT DESCRIPTION - the information listed here will show on the front end within the Agenda Item.
- CAPACITY
- DISPLAY ICON - FontAwsome icons can be entered here to use to represent this Agenda Item. In most events, this is not used and an actual image is obtained to use for each Agenda Item.
- ADD TAGS - Here tags can be added and there are options under Agenda Settings to allow agenda items to be filtered by attendees. These tags can also be seen on the frontend.
- Toggles for:
- PRIVATE - making an agenda item private enables groups to have specified agendas.
- ENROLLABLE - toggling this will enable this Agenda Item to be an enrollable item
- DETAIL PAGE - toggling this will enable a "see more" option on the agenda item to house additional indepth information or other plugins. When this is selected, a 2nd tab will be avaliable on Dash for this agenda item.
Once this inital Ageda Item creation page is completed and the green SAVE button on the bottom right is clicked, we will be brought to the Agenda Item Edit page where we can either edit existing informaiton or continue to add more information.

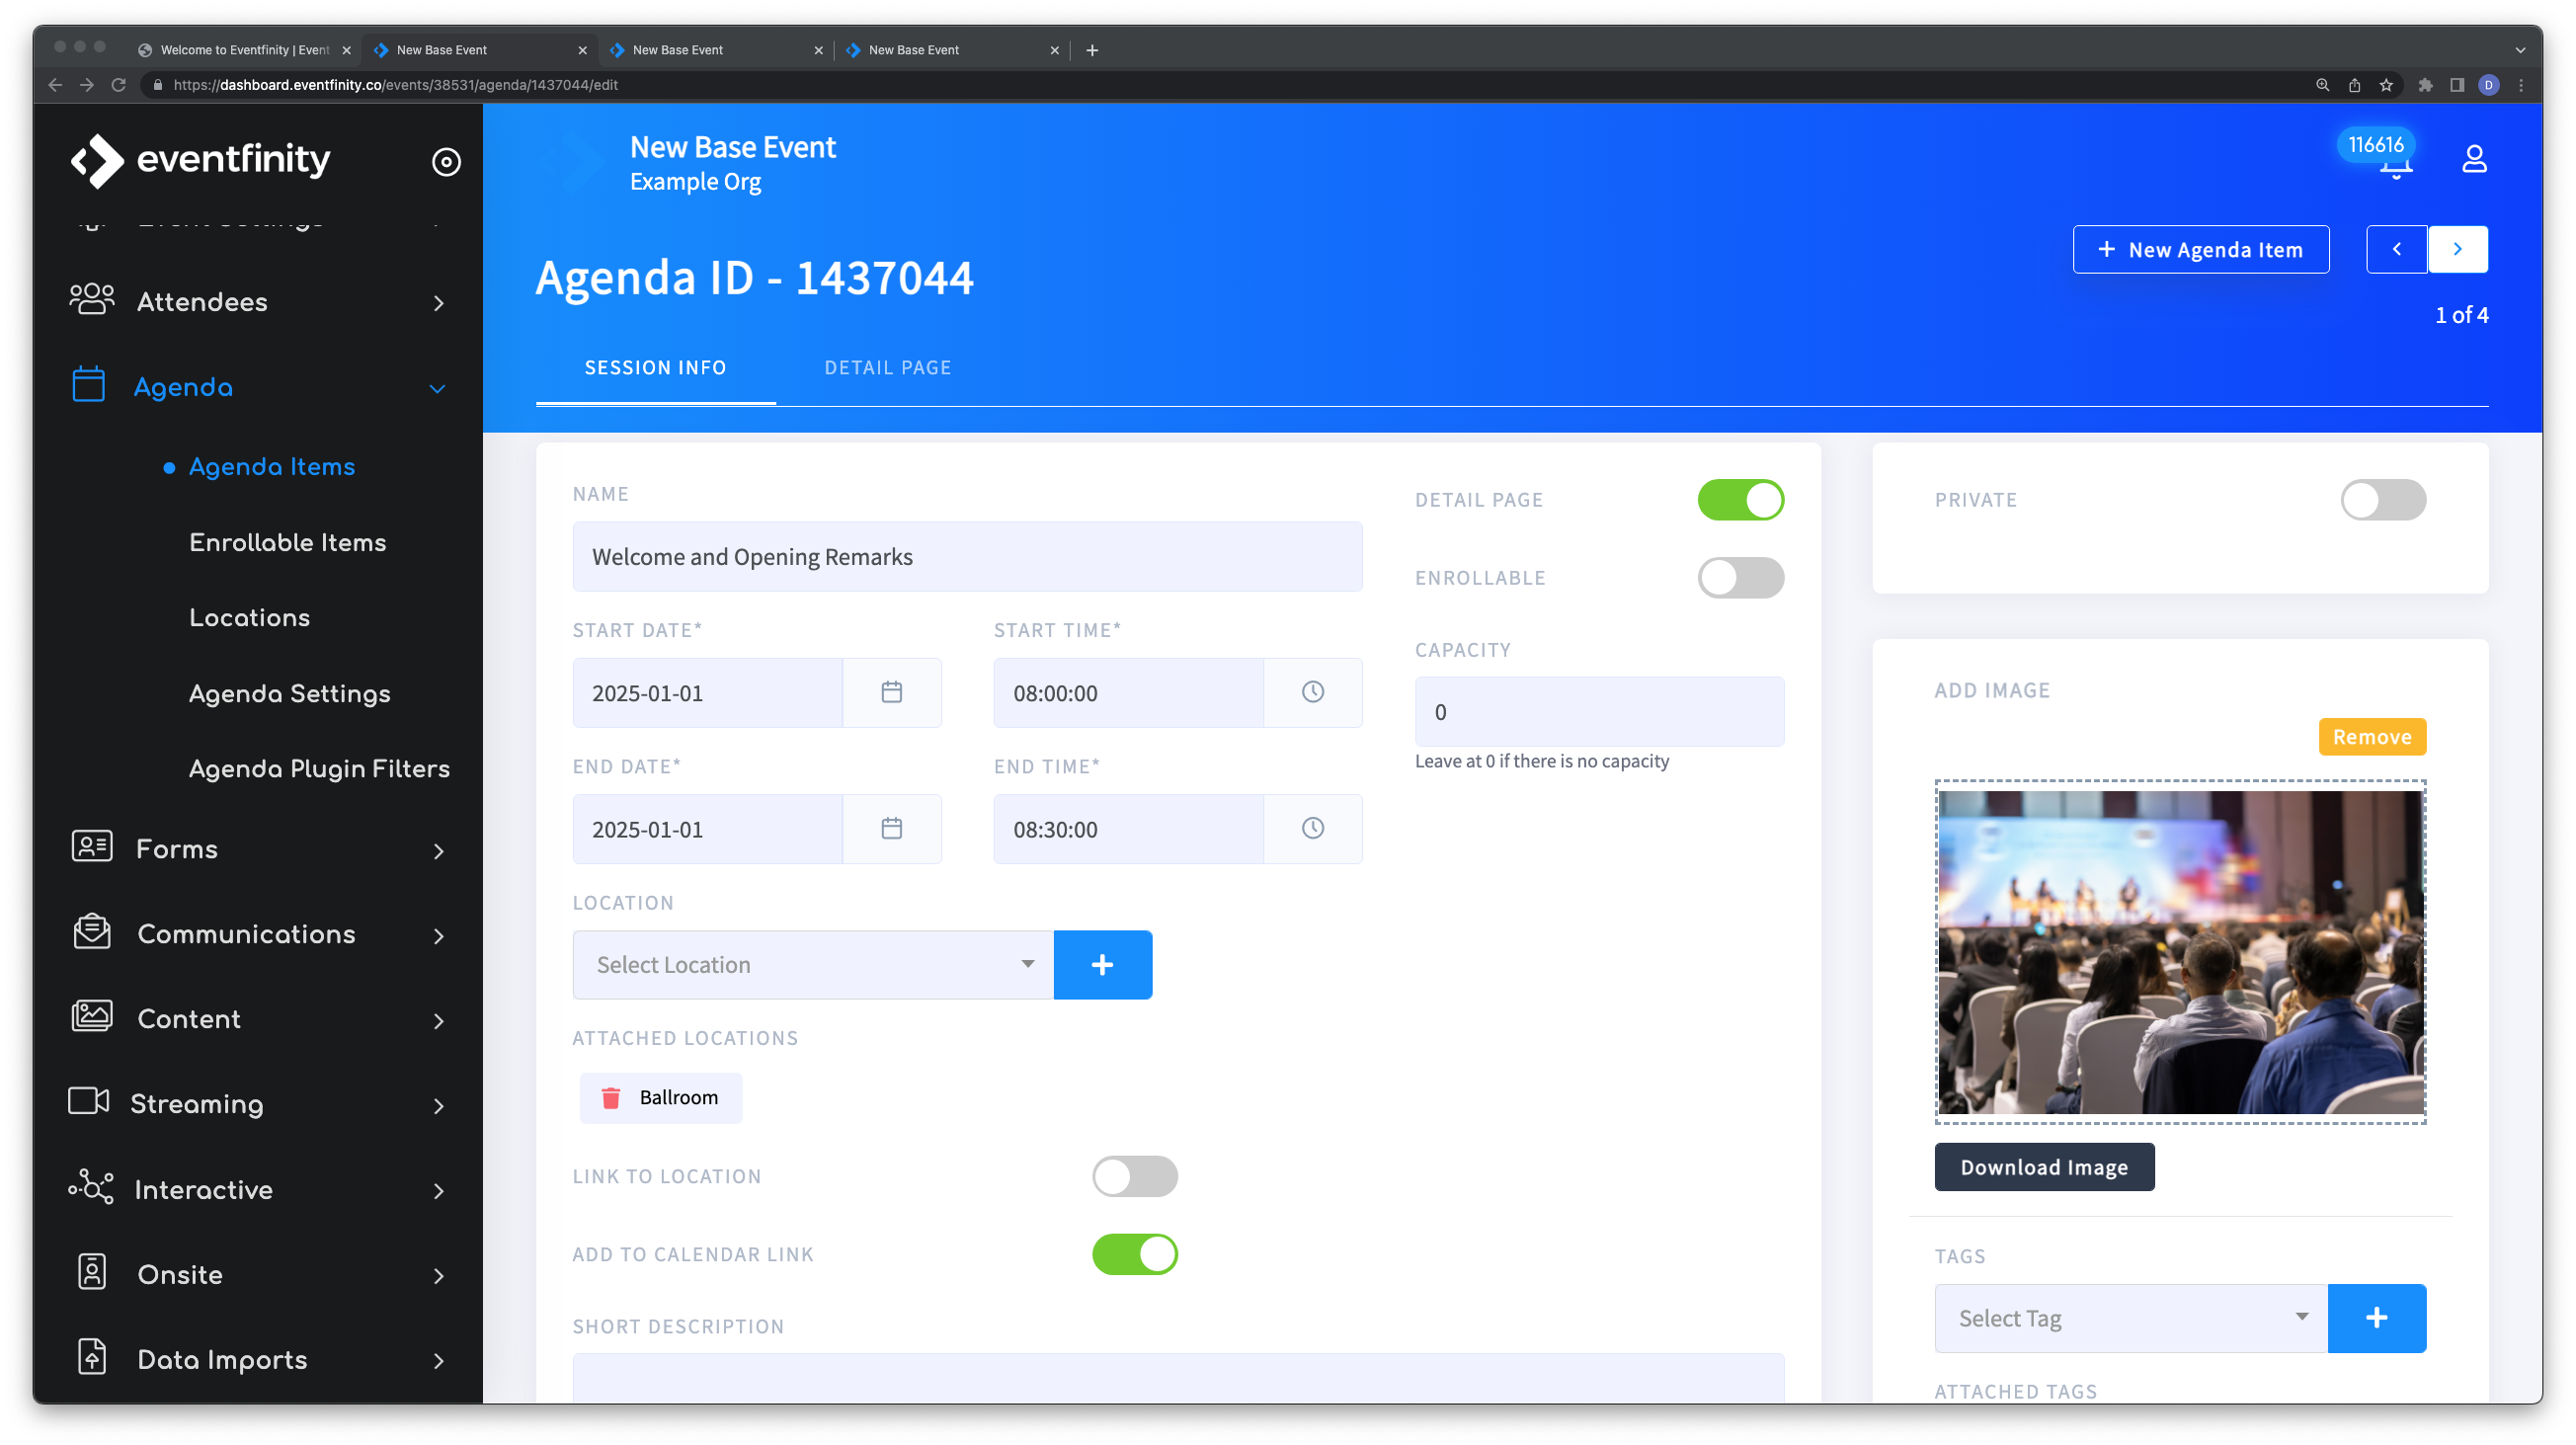
In the screenshot above, we're looking at the Agenda Edit page for the "Welcome and Opening Remarks" agenda item. You'll notice that here I've toggled on DETAIL PAGE and there is now also a DETAIL PAGE tab that can be accessed on the top of the page. We'll dive into this more below.
Other new options only seen on this page are:
- LOCATION
- LINK TO LOCATION
- ADD TO CALENDAR LINK
- ADD IMAGE
- PLUGIN
- SPEAKERS
- and an ADVANCED section
