Avatar Overview
Published February 8, 2024
Overview
Attendee avatars are a feature of Eventfinity that allows event attendees to associate an image with their profile. Avatars are most commonly used for badging and in directories. These images can be attached to profiles by adding to the individual profile, bulk uploading, attendee upload, and through API integration. Additionally, attendees can upload or change their avatar on a form. This article will review these processes.
First, a Word About File Sizes
When preparing images for the web, including attendee avatars, it's crucial to optimize them for quick loading. Ensure your images are 'Saved for Web'—a feature available in Photoshop—or adjust them to be at 72 dpi (dots per inch). Keep the dimensions modest; for profile pictures, a maximum of 800x800 pixels is usually sufficient. Opt for the JPEG format over PNG to reduce file size. By adhering to these standards, image files should generally be under 1MB, facilitating faster loading of the directory without compromising on quality.
Uploading Avatars to Attendee Profile
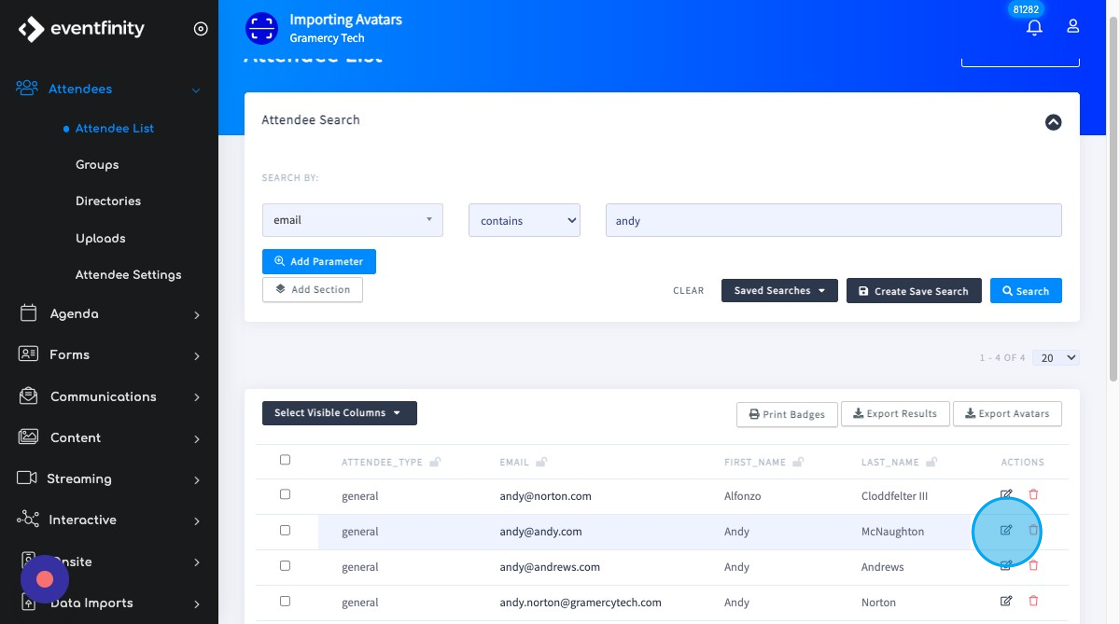
1. Navigate to Attendees | Attendee List, locate the attendee, and click the edit icon.
2. Under BADGING & SECURITY, drag and drop an image file to upload an attendee avatar. You can also click inside the frame and navigate to the file location.
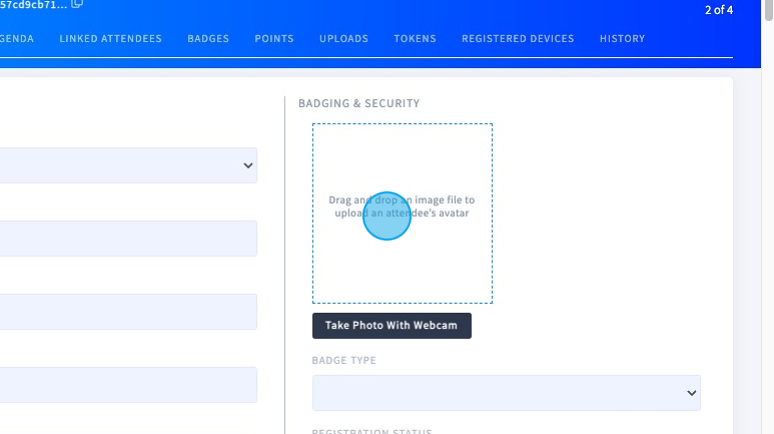
3. Once the photo is uploaded, you can crop and rotate the image. Click Save to apply the image to the profile.

Bulk Uploading Avatars to Attendee Profile
Step One - Prepare the Files
1. Begin by determining a constant file naming convention that is descriptive, accurate, and consistent for all images. For example lastname_firstname_photo abney_dave_photo.jpg
IMPORTANT: this naming convention will require uploading as a custom associated with the attendee field later in this process. (See Step Three)
2. Make sure all images are web-safe (see above) and under 1MB in size. A best practice is to crop all images in a square format or 1:1 ratio.
3. Once the images are ready, compress the image into a flat file. A flat file is a compressed file that contains files without any nested directories or folders. In other words, all the files are flat or at the same level in the file hierarchy, without any subfolders.
Step Two - Create a Custom Field in Attendee Settings
Based on your naming convention in step one, you will want to create a custom field in Attendee Settings.
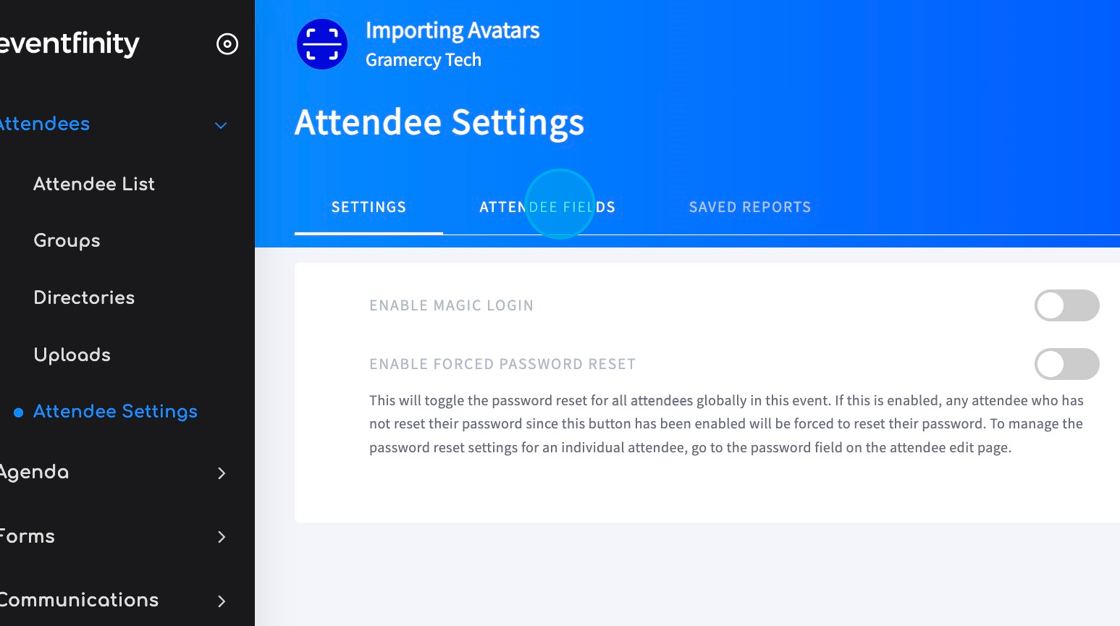
1. Navigate to Attendees | Attendee Settings and click the ATTENDEE FIELDS tab.
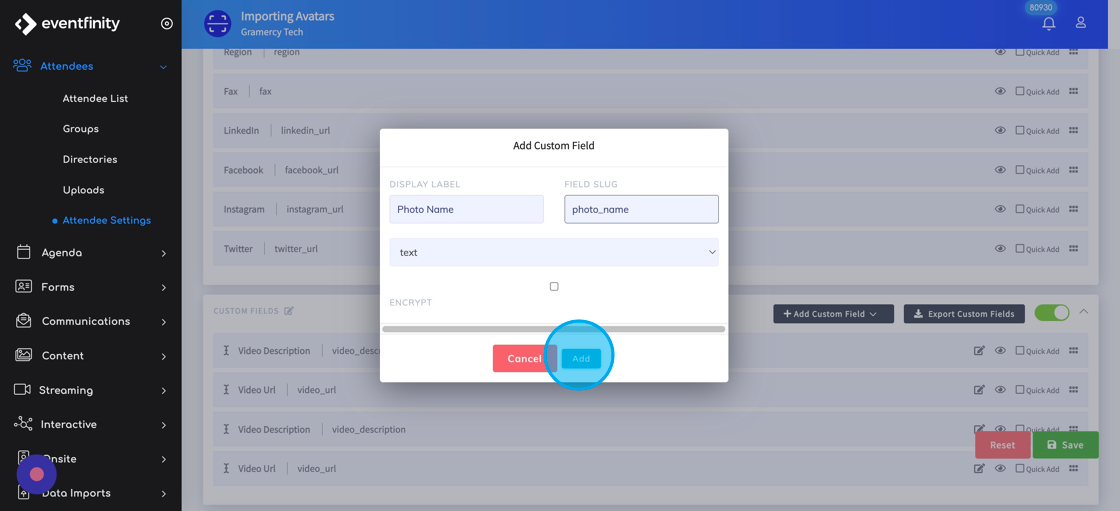
2. Scroll down and click Add Custom Field and select Quick Add Custom Field
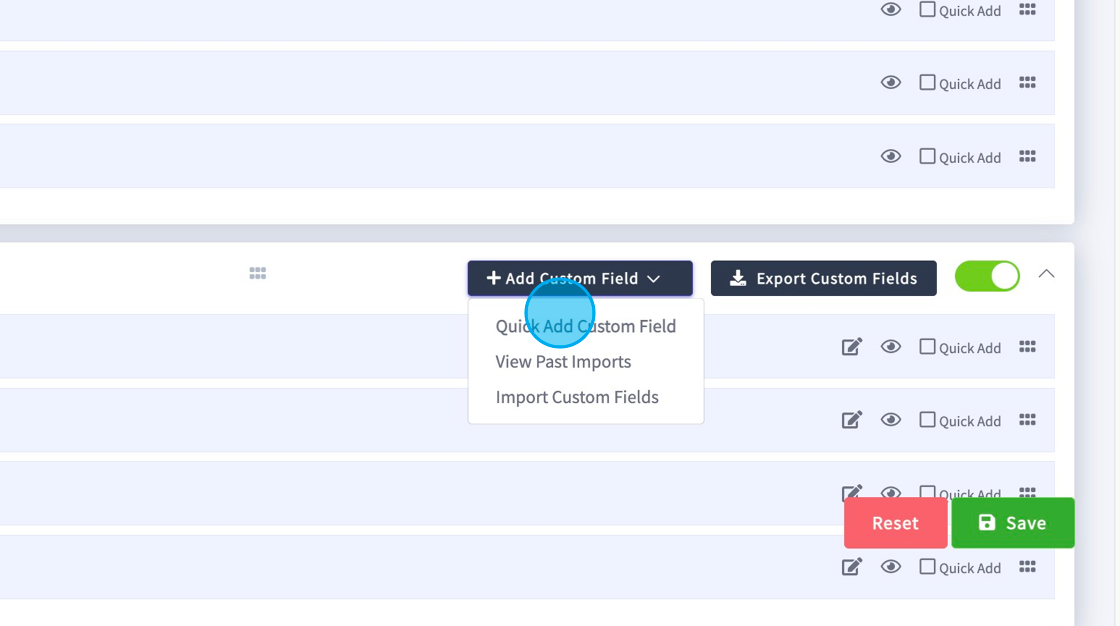
3. Set the DISPLAY LABEL and FIELD SLUG. (Reminder: Field slugs should be lower-case, and contain no spaces or special characters.) Leave the field type as text, and click Add.
Step Three - Create a Spreadsheet for Import
This step will associate the avatar (custom attendee field added in Step Two) file name with the attendee.
1. If the attendees are already in Dashboard you can export the attendee data and add the custom field and data to that spreadsheet. Go to step four.
2. If there are no attendees, create a spreadsheet of all attendees. At a minimum, the spreadsheet columns must have the following column/slug headings:
- first_name
- last_name
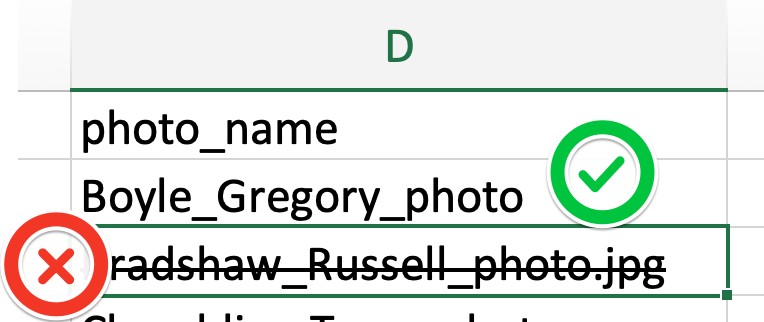
3. Add a column for the custom attendee field, including the associated data
IMPORTANT: Do not include the file extension in the custom field name
4. Upload the spreadsheet as outlined in Importing Attendees
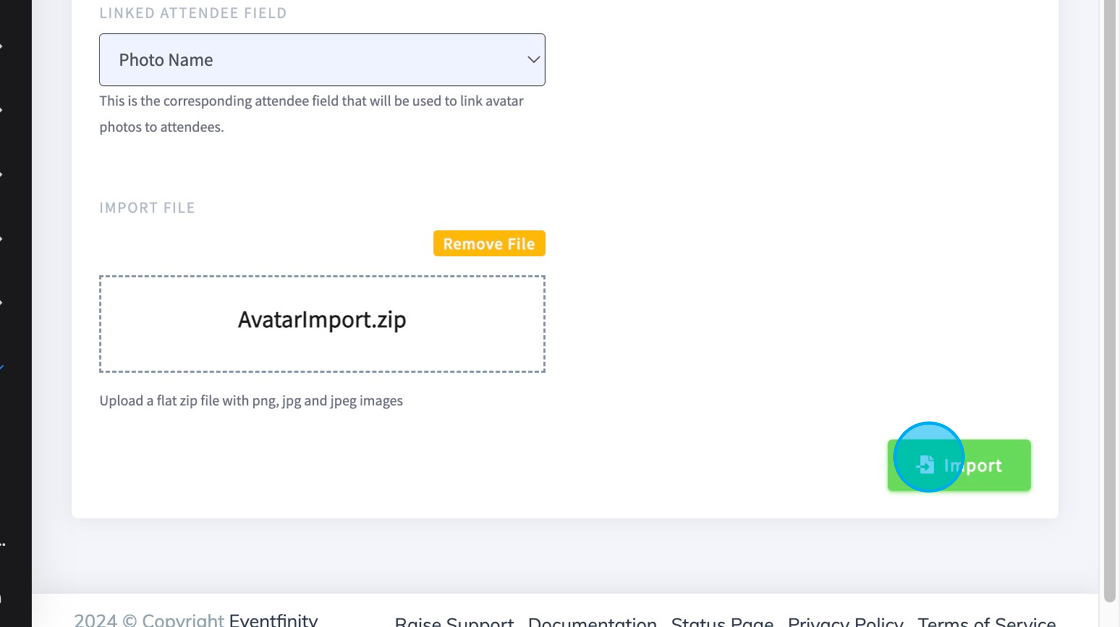
Step Four - Import the Compressed Avatar Files
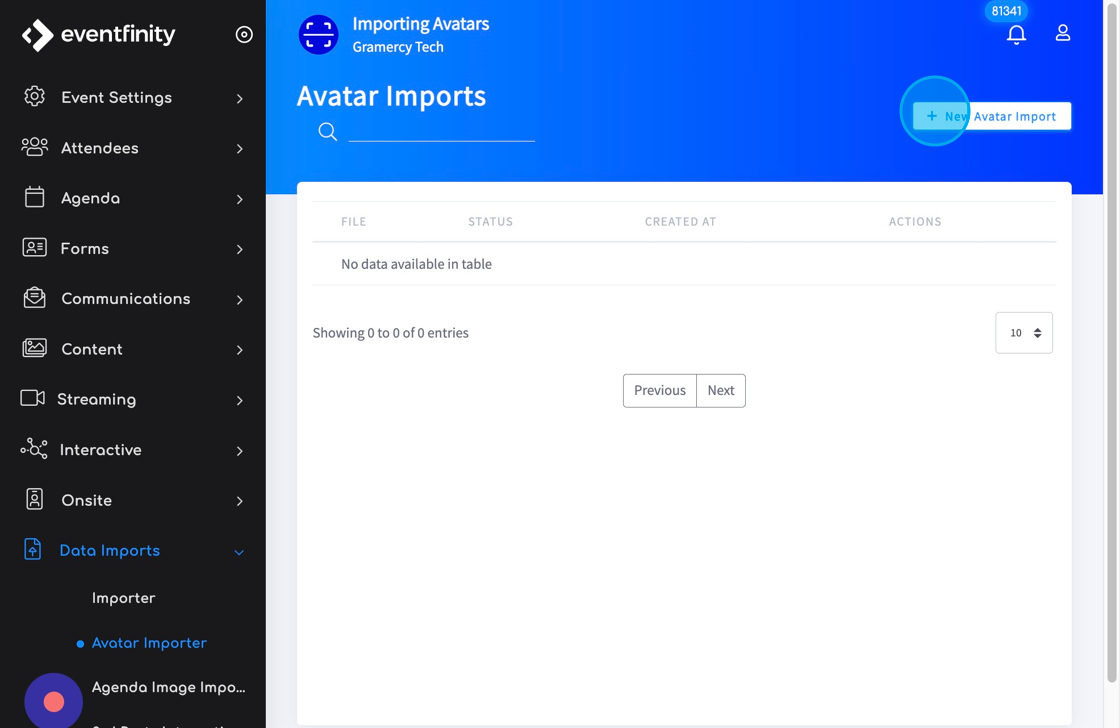
1. Navigate to Data Imports | Avatar Importer and click + New Avatar Import
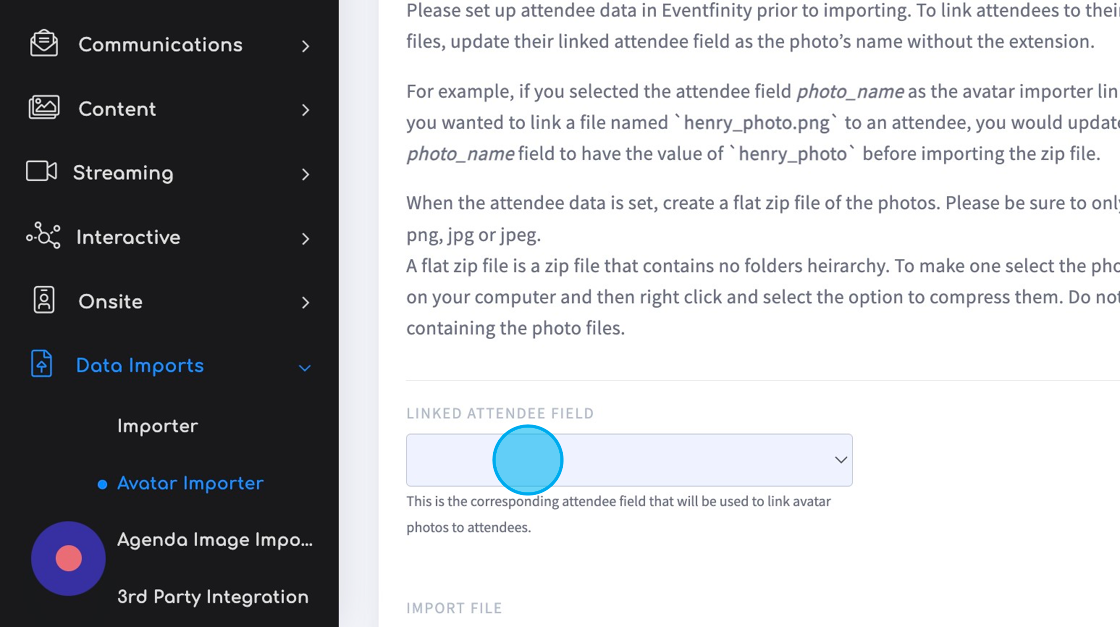
2. Select the custom field that contains the custom attendee field with the avatar name
3. Click Import
4. Once the import completes, check Dashboard on the backend or a Directory on the front end to confirm avatars are imported correctly.
Uploading an Avatar on a Registration or Profile Update Form
For instructions on how to set up a user avatar on a form see Edit My Profile Form
Uploading an Avatar using a Third-party Integration
For clients using a Third-party Integration, the file size and cropping recommendations at the beginning of this article should be shared with the client and users. To upload, simply pair the 3rd-party avatar field with the EVENTFINITY KEY user avatar.
Wrapping Up
That’s it! Enjoy your favorite tasty snack or beverage and add your Avatar Uploader badge to your LinkedIn profile page.