Importing Avatars from Another Event
Created September 5, 2024
Overview
Attendee avatars are a feature of Eventfinity that allows event attendees to associate an image with their profile. Avatars are most commonly used for badging and in directories. Occasionally, there may be a need or request to export avatars from one event to another. There are several ways to accomplish this. This article will review these processes.
Option One - Clone the Event
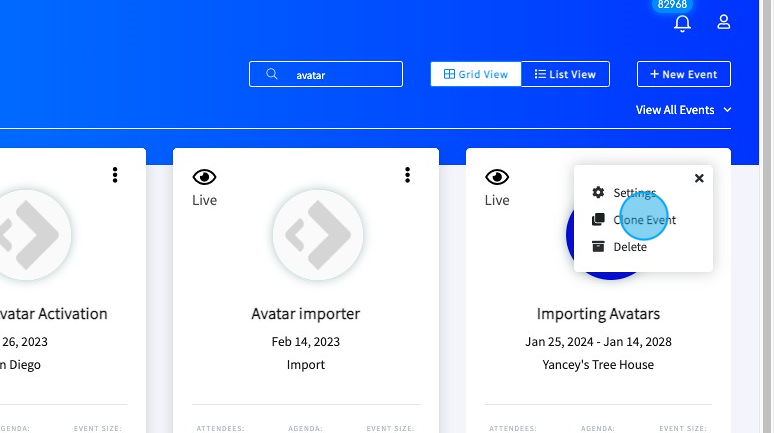
1. Select the event with the original avatars and select Clone Event
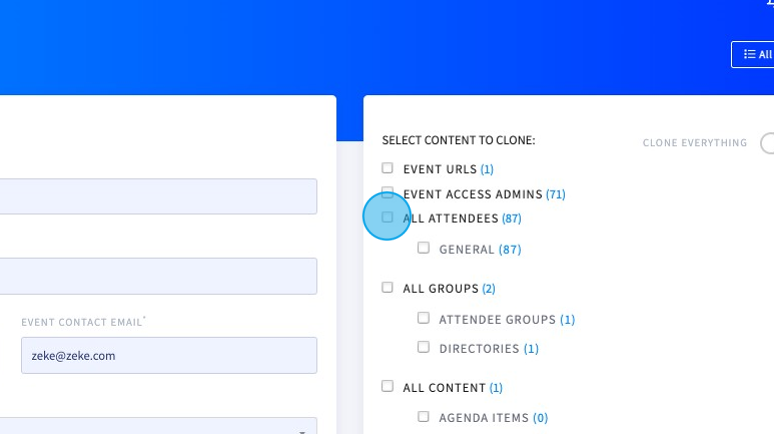
2. To just clone attendees and their avatars, select the All Attendees box
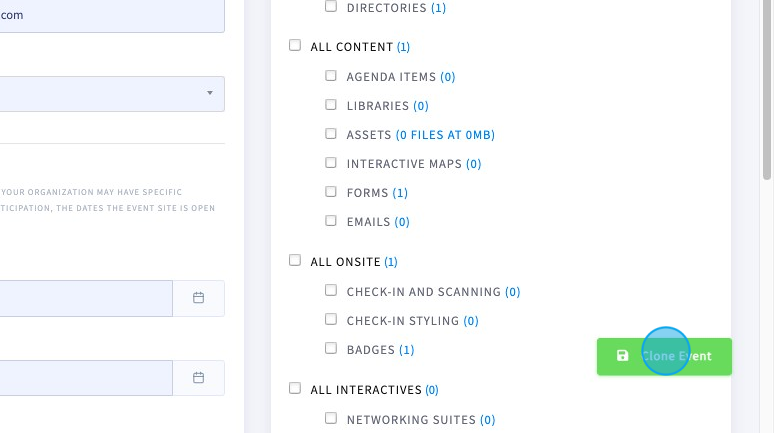
3. Click Clone Event
That’s it. Your attendees and their avatars are now in your new cloned event.
Option Two - Manually Export and Import
Manually exporting avatars from one event to a new event begins with a download of attendee data from the original event, and then using that data to append a new export/import sheet for the new event.
Step One - Export the Original Avatars
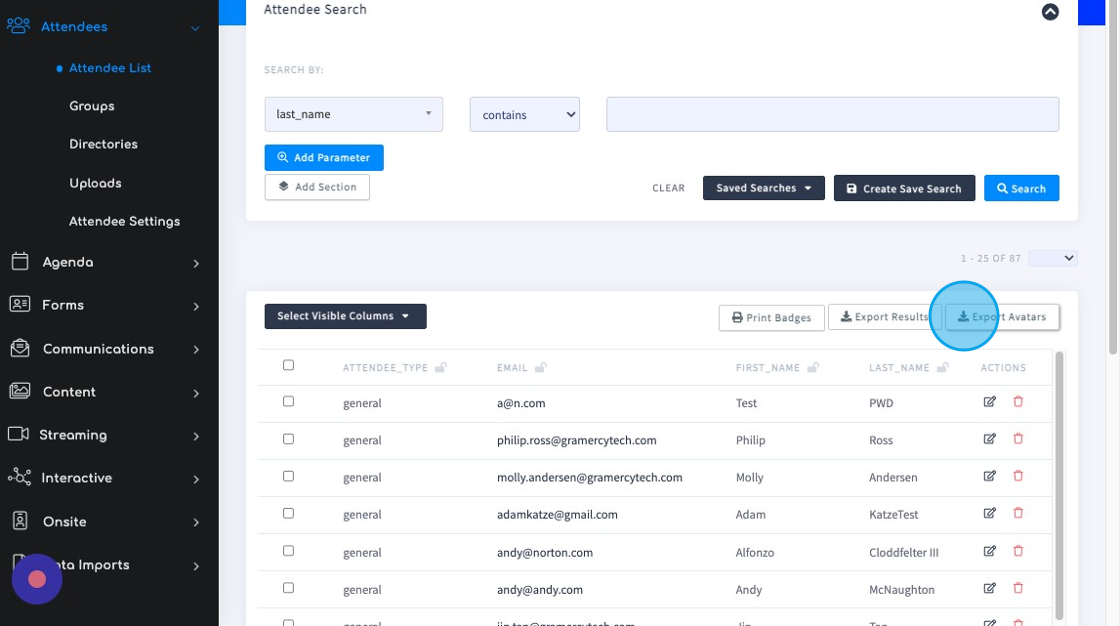
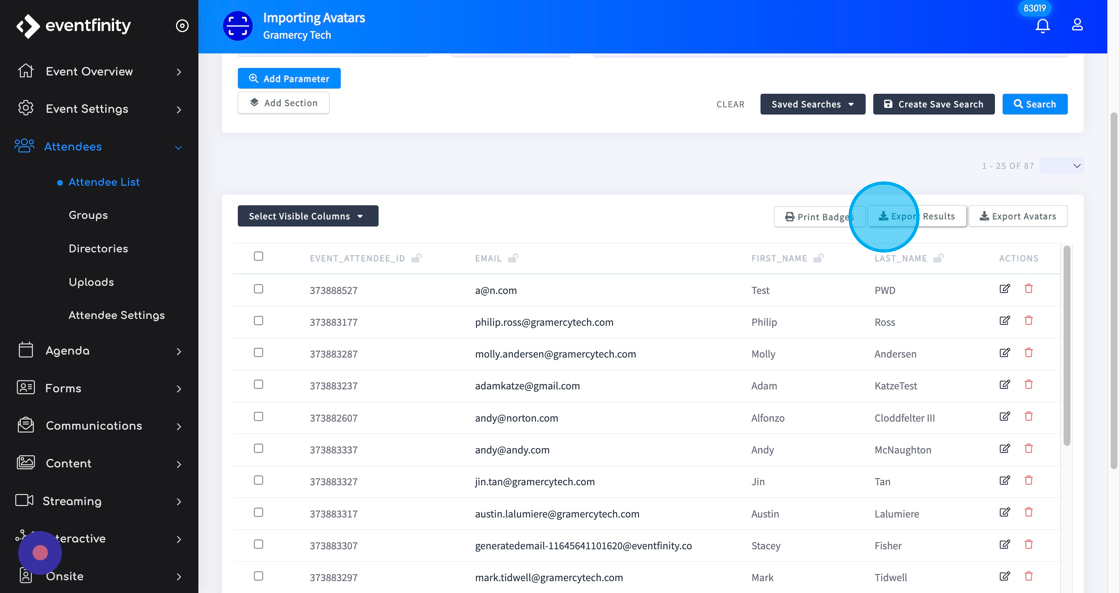
1. In the event with the avatars you wish to copy to a new event, go to Attendees | Attendee List and click Export Avatars. This will export all avatars into a compressed folder in your default or selected custom download folder.
The avatar files are exported using a First Name_Last Name_Attendee ID naming convention. We will use this information to associate the exported avatar to the attendee profile in the new event.
Step Two - Create an Avatar Export/Import Sheet for the New Event
Creating the import sheet involves adding the user_avatar_file_name from the original event as a custom field attendee data in the event the avatars were exported from.
To accomplish this, we first need to create an avatar export/import sheet and use a formula to link the original system user_avatar_file_name to the attendees in the new event.
1. Open the Attendees | Attendee Settings page in the event you wish to export the avatars from. Set the visible field settings to EVENT ATTENDEE ID, EMAIL, FIRST NAME and LAST NAME. Click Export Results.
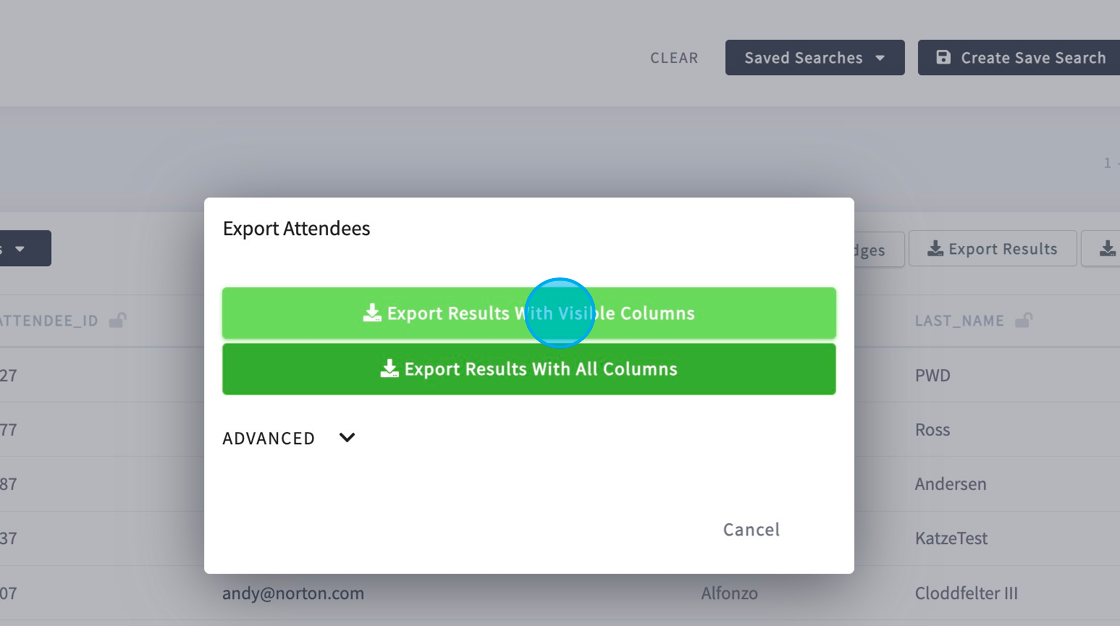
2. On the popup modal, select “Export Results with Visible Columns” to save to your default
Step Three - Edit the Avatar Import Sheet
Since the avatar file name does not export, the file name must be created to link the photos to the attendees. In this step, we will edit the sheet exported from the new event in step two and add a formula to compile the exported avatar file names for import.
In the avatar export in step one, the files are exported using this naming convention
- First Name_Last Name_Attendee ID.type
- Example: Sylvester_Belnap_0544512.jpeg
1. Open the exported CSV file downloaded from the new event in step two in a spreadsheet editor - Google Sheets, Excel, Numbers, etc.
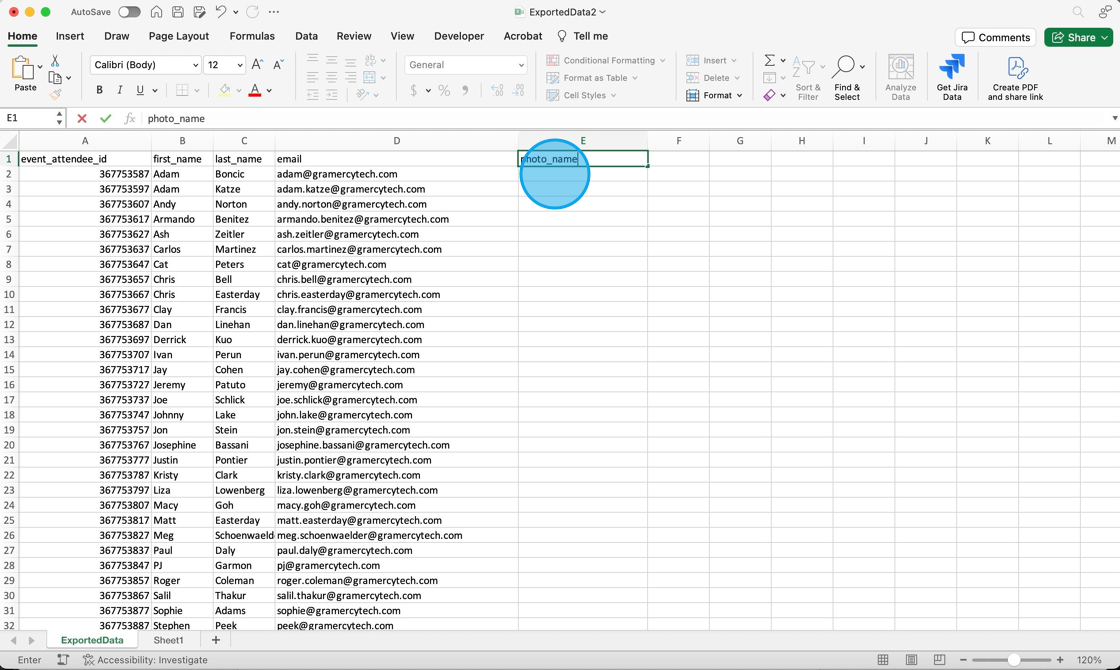
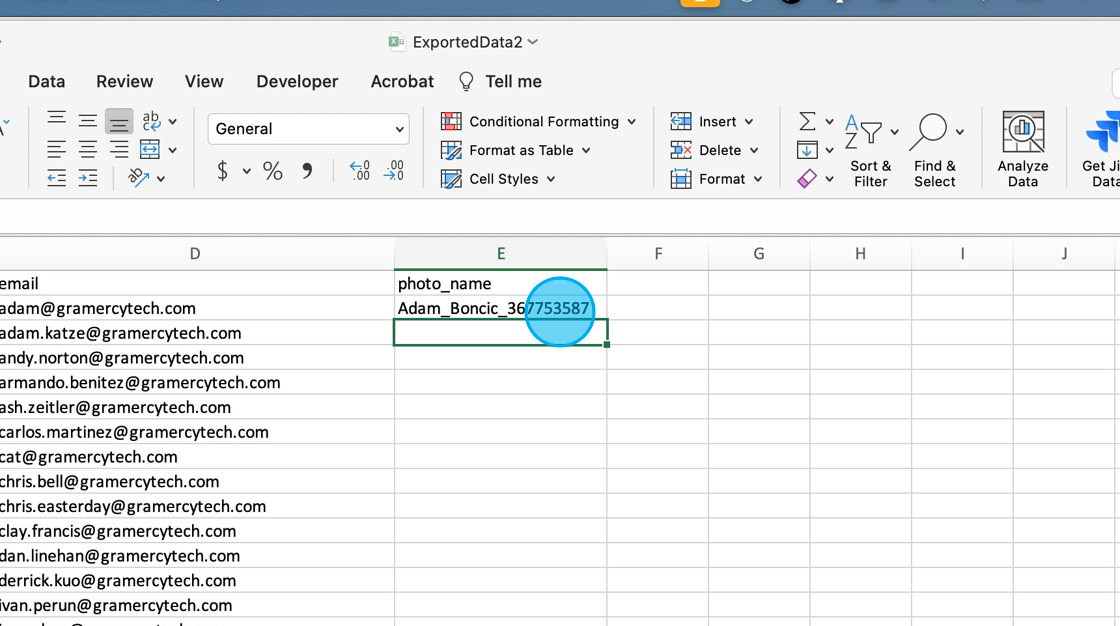
2. Create a new custom field slug in the first blank column on the right (typically column E). In this example, we will use “photo_name” as the slug.
3. Next we will create a formula to create an avatar file name that will match the exported avatar file names.
The formula, using underscores as separators, combines “first_name” with “last_name” and then appends the event attendee ID on the end.
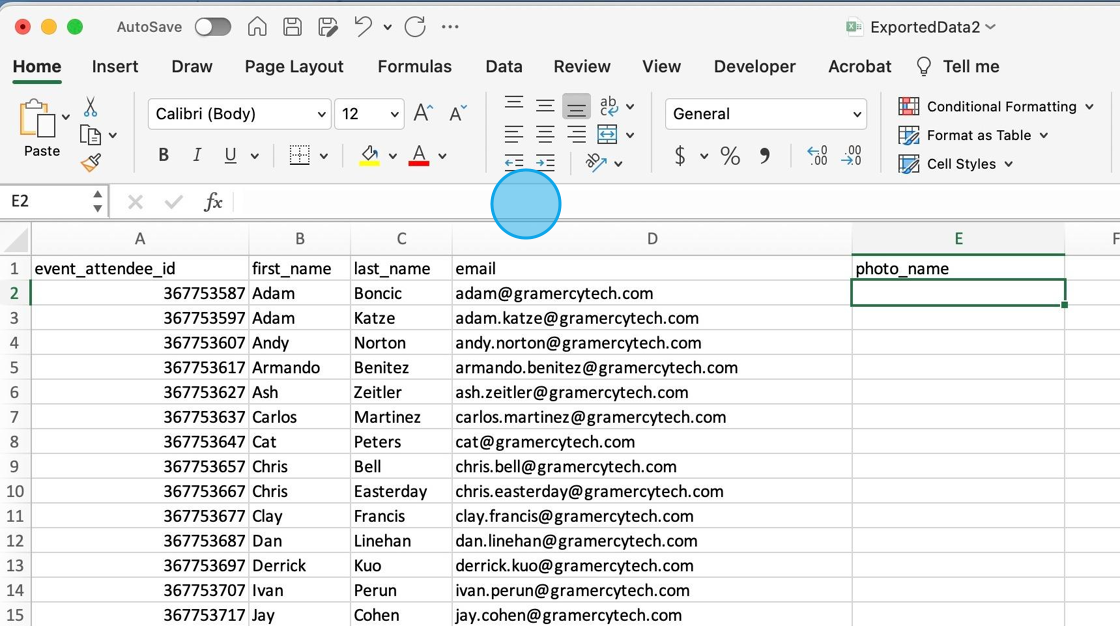
Click in the first blank field under the new slug and type =B2&"_"&C2&"_"&A2 in the formula bar and hit enter.
4. Confirm the formula is correct and the slug matches the exported file name from the downloaded avatars folder in step one - firstname_lastname_eventattendeeid
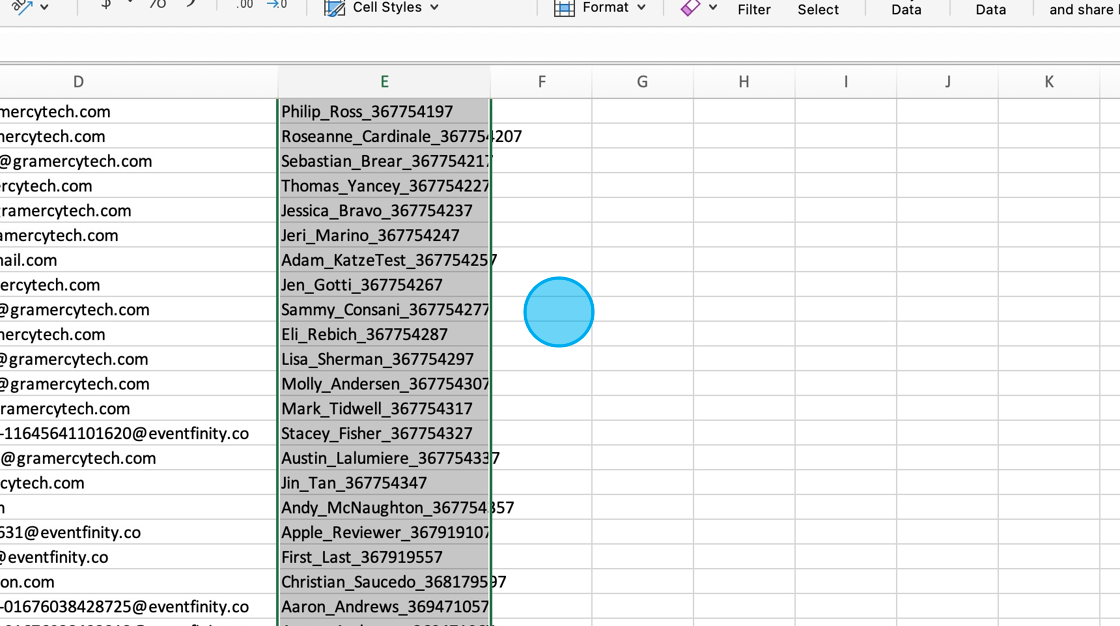
5. Now copy and paste the formula in the remaining roles and save the spreadsheet
6. Since the photo_name field contains formulas, we need to copy the values for the final import. In this example, we are copying the entire column E.
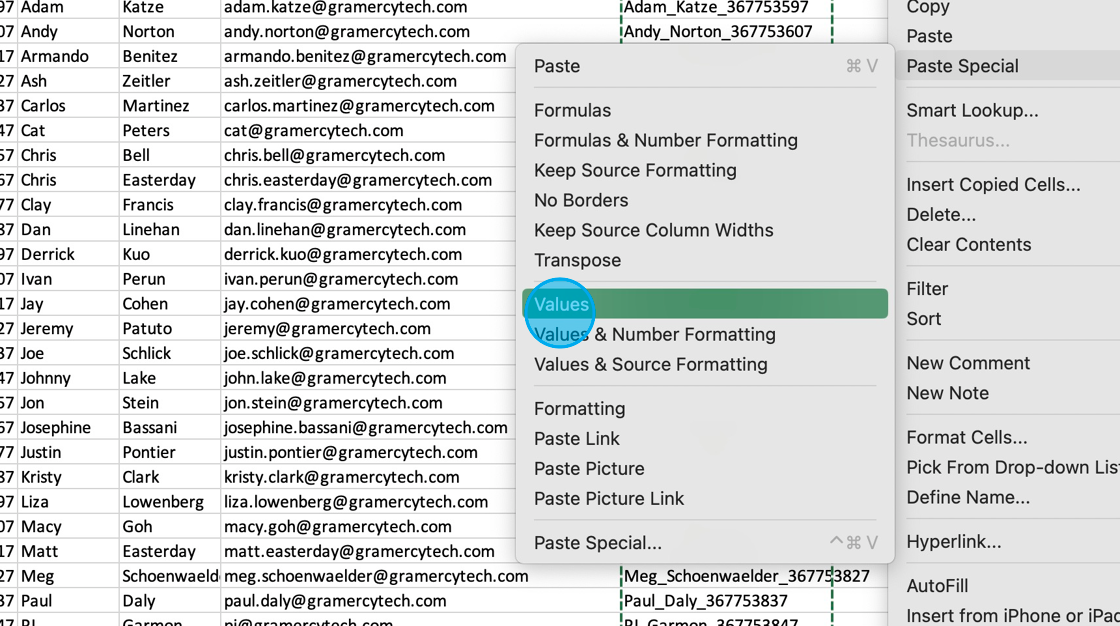
7. Next, paste only the values into column F
8. Now that we have the values of the avatar name copied, minus the formula, we can delete column E which contains the formula.
9. Save the file for import.
Step 4 - Upload the avatars and avatar file name.
Congratulations, you are now ready to upload your new attendee data and exported avatars. Please reference Avatar Overview for these steps.
orting Avatars from Another E

