Notifications Overview
Updated January 9, 2024
Overview
Push notification functionality is a key feature of Gramercy Tech mobile apps. Event managers leverage notifications to send important reminders, links to surveys and content, and more.
Additionally, event managers can use Eventfinity’s reporting features to measure app engagement and communication effectiveness.
Before these features can be used, the app needs permission. Mobile apps and browsers require the user's permission to access and send notifications for several important reasons, primarily related to user privacy, security, and a positive user experience.
This article will review the setting up and sending of a message, notification permissions workflow, the various engagement reports, and how to troubleshoot notification issues.
Table of Contents
- Creating Notifications
- Push Notification Permissions
- Native App Notifications
- iOS Troubleshooting Native App Notifications
- Enabling Progressive Web App (PWA) Notifications
- Troubleshooting PWA Notifications
- Additional Administrative Resources
- Engagement Reporting
Creating Notifications
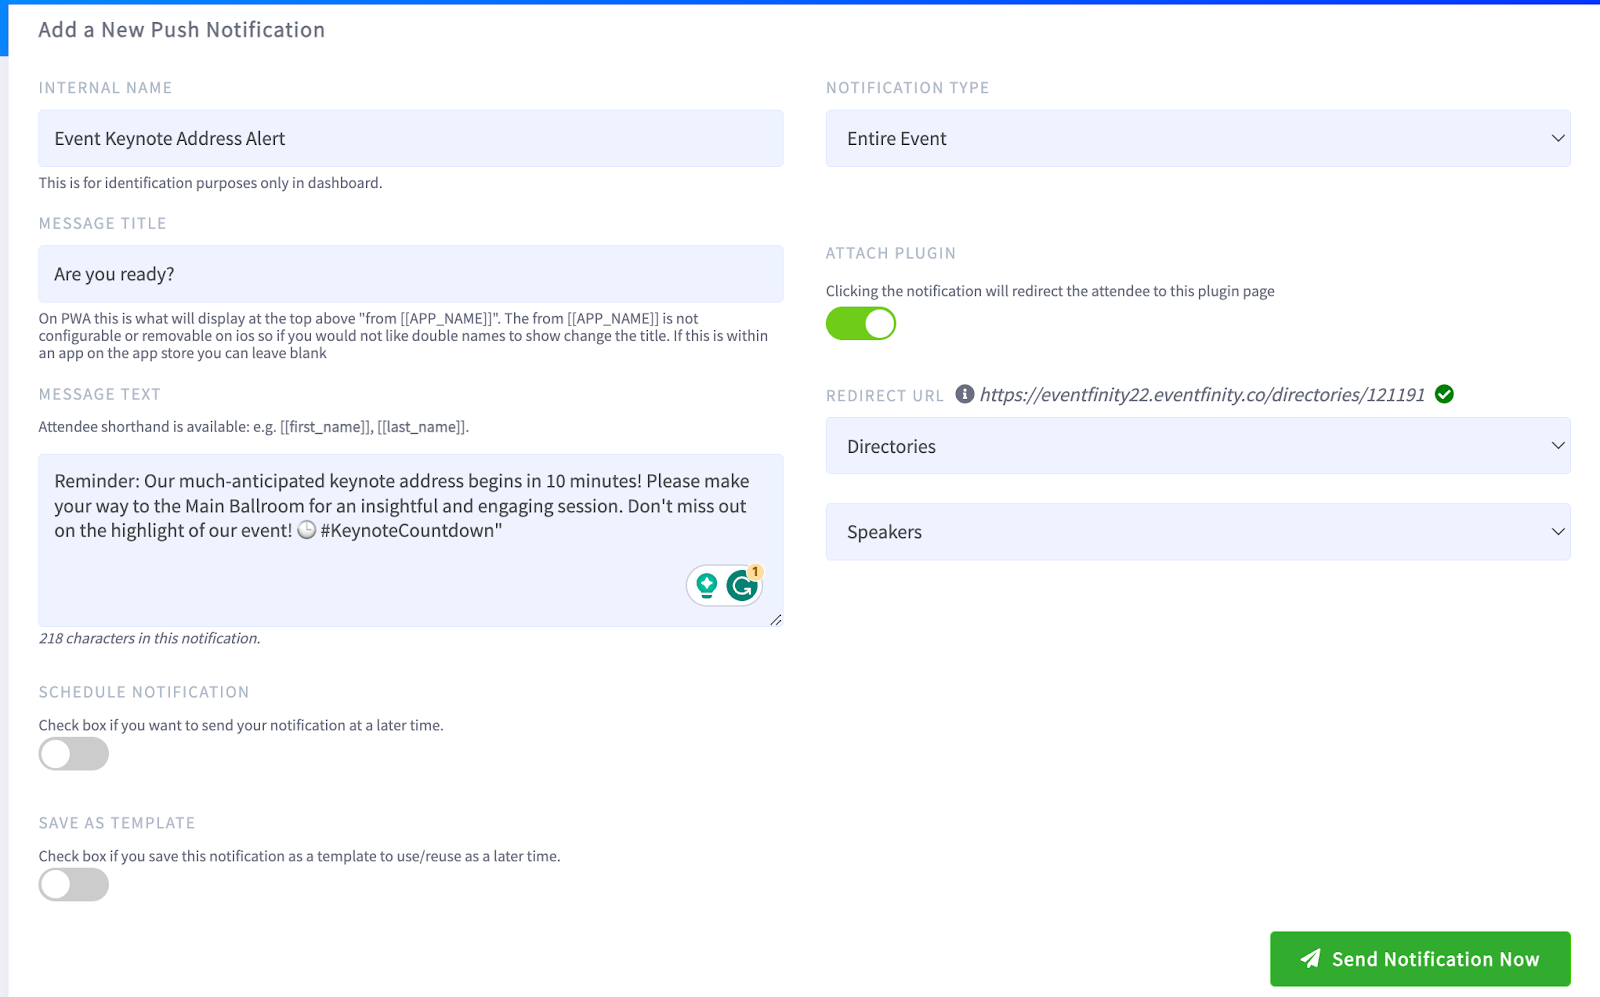
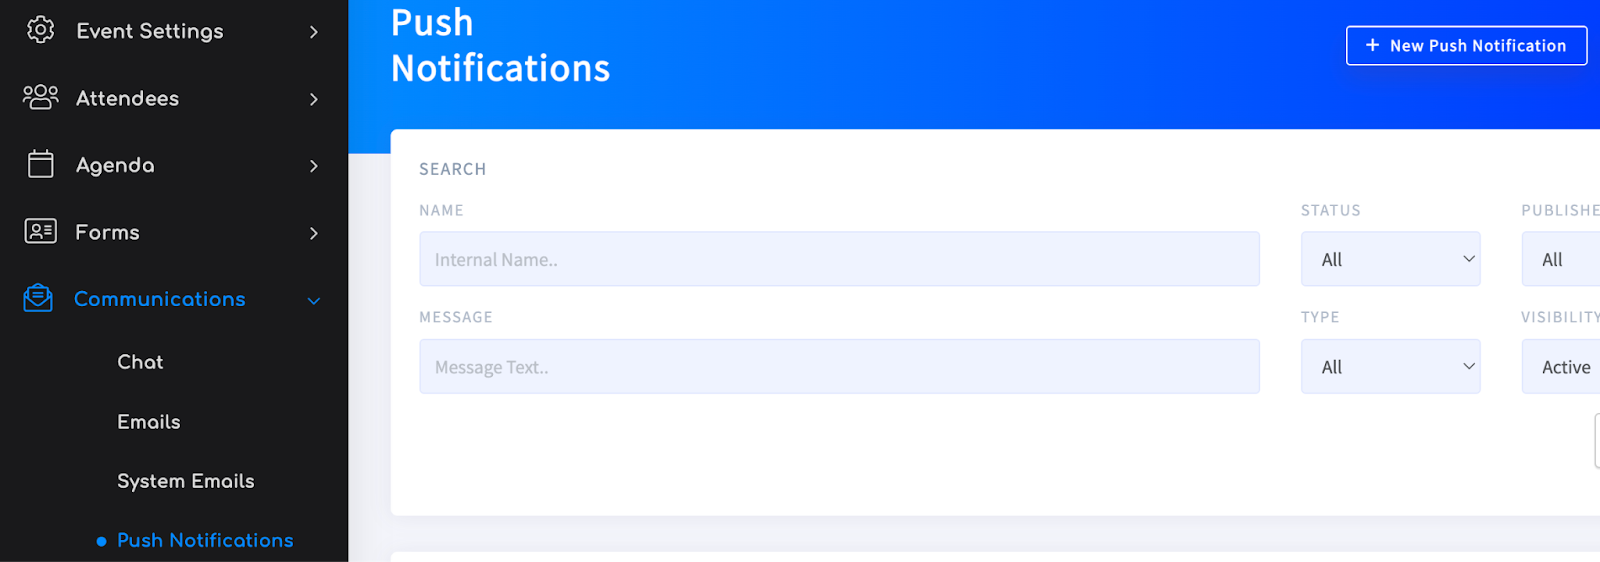
- To create a notification, open Communications | Push Notifications and click the + New Push Notification button.
- Give the notification a title using the INTERNAL NAME field. This field will not be a part of the actual notification but can be helpful in notification reporting and historical searches.
- Choose your audience with the NOTIFICATION TYPE select tool. The three options are to individual attendees, groups, or the entire event.
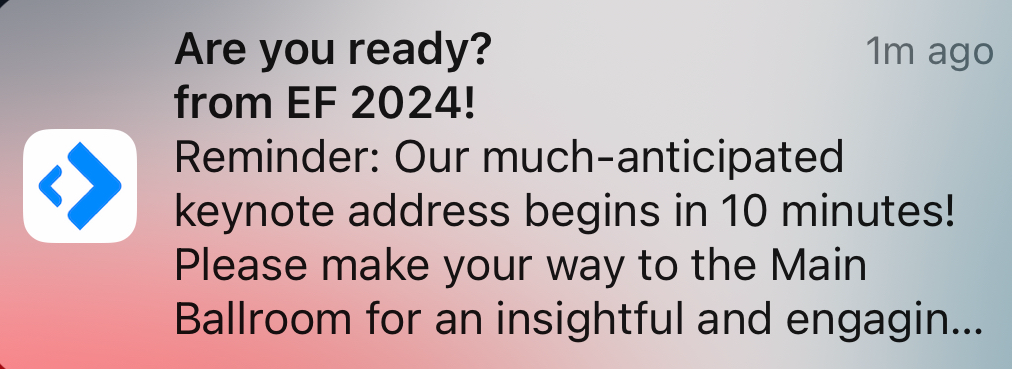
- If your event has a PWA you can provide a MESSAGE TITLE that will appear in the device notification. In this example, the message title is Are you ready? If nothing is entered here, the message will default to Important Message.
- Enter your MESSAGE TEXT.
- You can ATTACH PLUGINS if you would like to have the user redirected to a specific page in the app when the message is tapped from the Notifications menu.
- If you wish to schedule the notification to be sent at some point in the future, set the date and time with the SCHEDULE NOTIFICATION toggle.
- If you wish to send the notification later but need flexibility on the date and time, choose SAVE AS TEMPLATE.
- If you are ready to send now, click the Send Notification Now button, and confirm the send.
Related: App Alerts and Notifications Character Counts
Granting Push Notification Permissions
Eventfinity offers two types of event mobile applications, native and progressive web applications (PWA).
A native app is designed for a particular operating system (like iOS or Android) and is typically downloaded and installed from app stores. Gramercy Tech’s native apps include Eventfinity Live and customer containers. In contrast, a PWA is accessed through a web browser, offering cross-platform compatibility. PWAs are designed to work offline and are responsive to different screen sizes, providing a more accessible and versatile user experience without installing an app store.
App device notifications are messages or alerts generated by a native or progressive web application to inform users about specific events, updates, or interactions related to the app. Depending on the device and platform, device notifications can include pop-up alerts, sounds, badges, or banners.
Enabling Native App Notifications - Eventfinity Live and Custom Containers (iOS only)
- After logging in to EF Live or a custom container, the user is presented with a list of events available to the user based on the user’s email address.
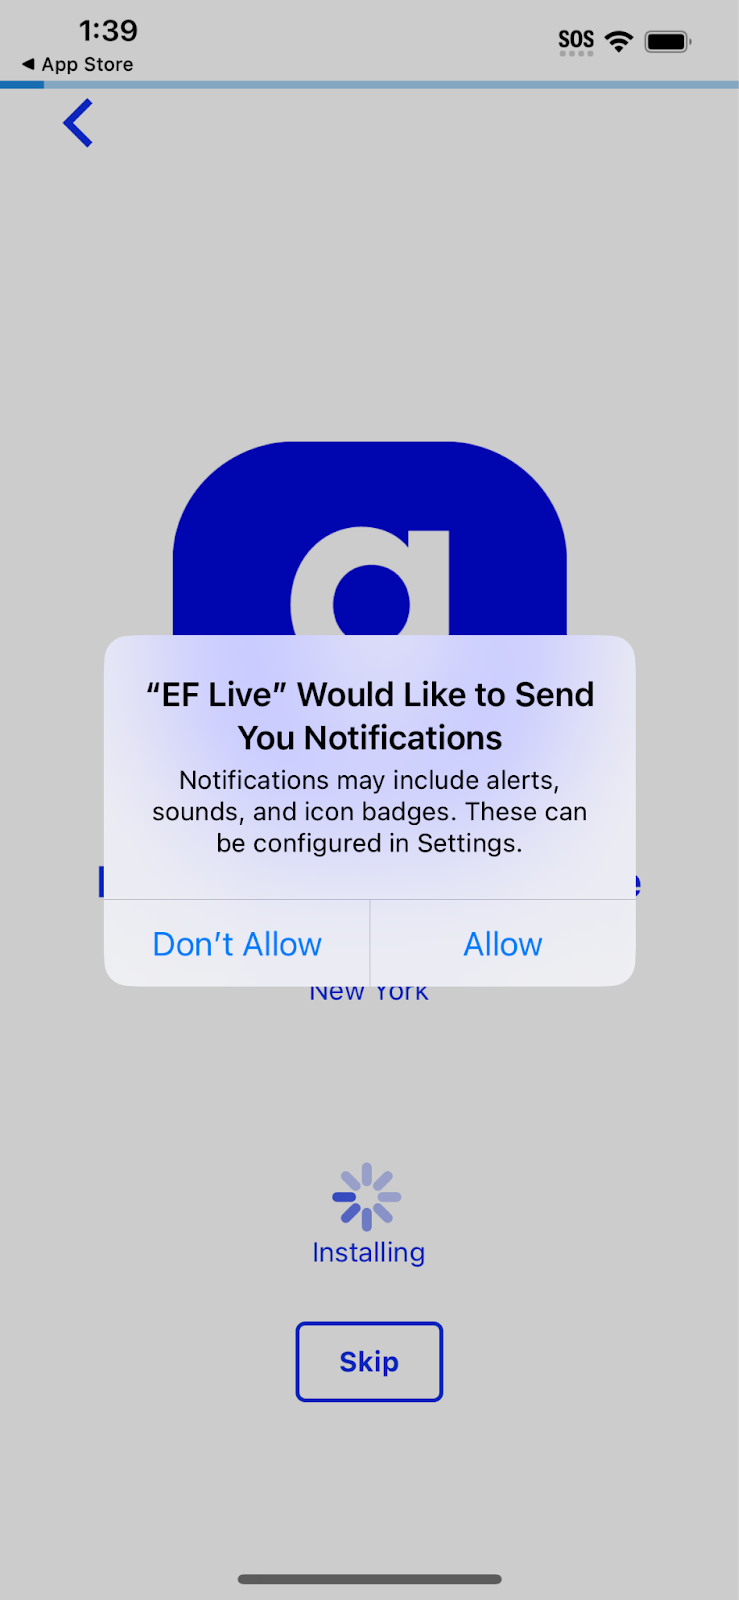
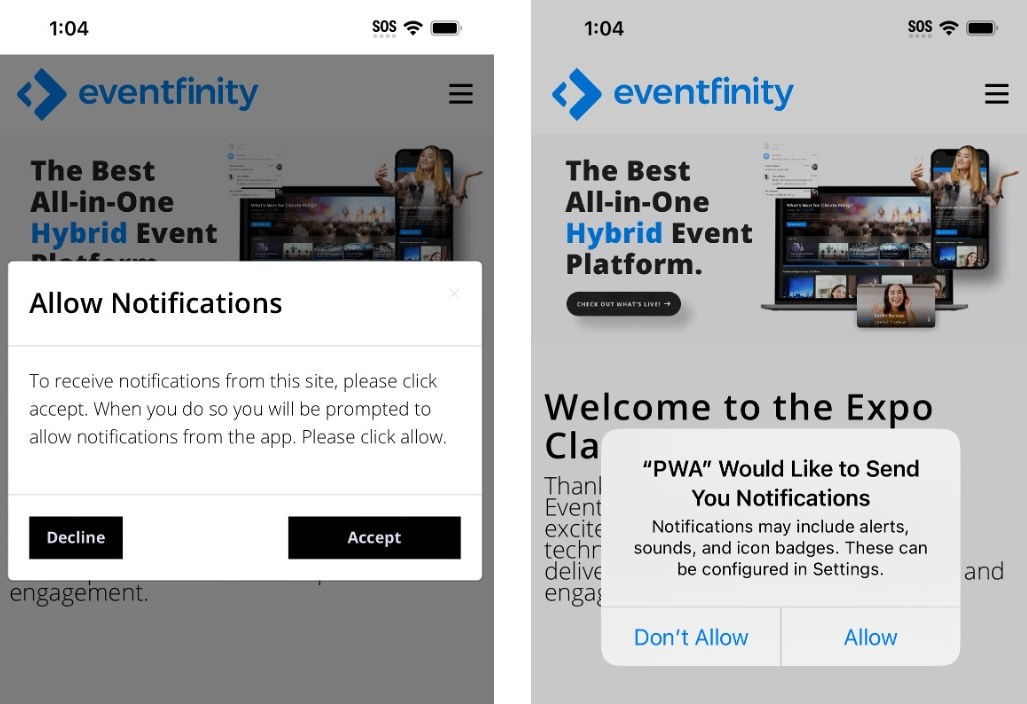
- After selecting an event, an iOS permission message dialogue box is presented to the user. To enable notifications, the user should select Allow.
- Device notification alerts will not be received if this button is dismissed or Don’t Allow is selected.
iOS Troubleshooting Native App Notifications
If a user is not receiving notifications follow these steps to get it working
- Validate that the user has the most recent App available for download from the app store
- On the iPhone, go to Settings | Notifications. Scroll to the event and make sure notifications are enabled.
- If not enabled, toggle the notifications on.
- Log out of the app
- Log back in - and device notifications will now be enabled.
Enabling Progressive Web App (PWA) Notifications
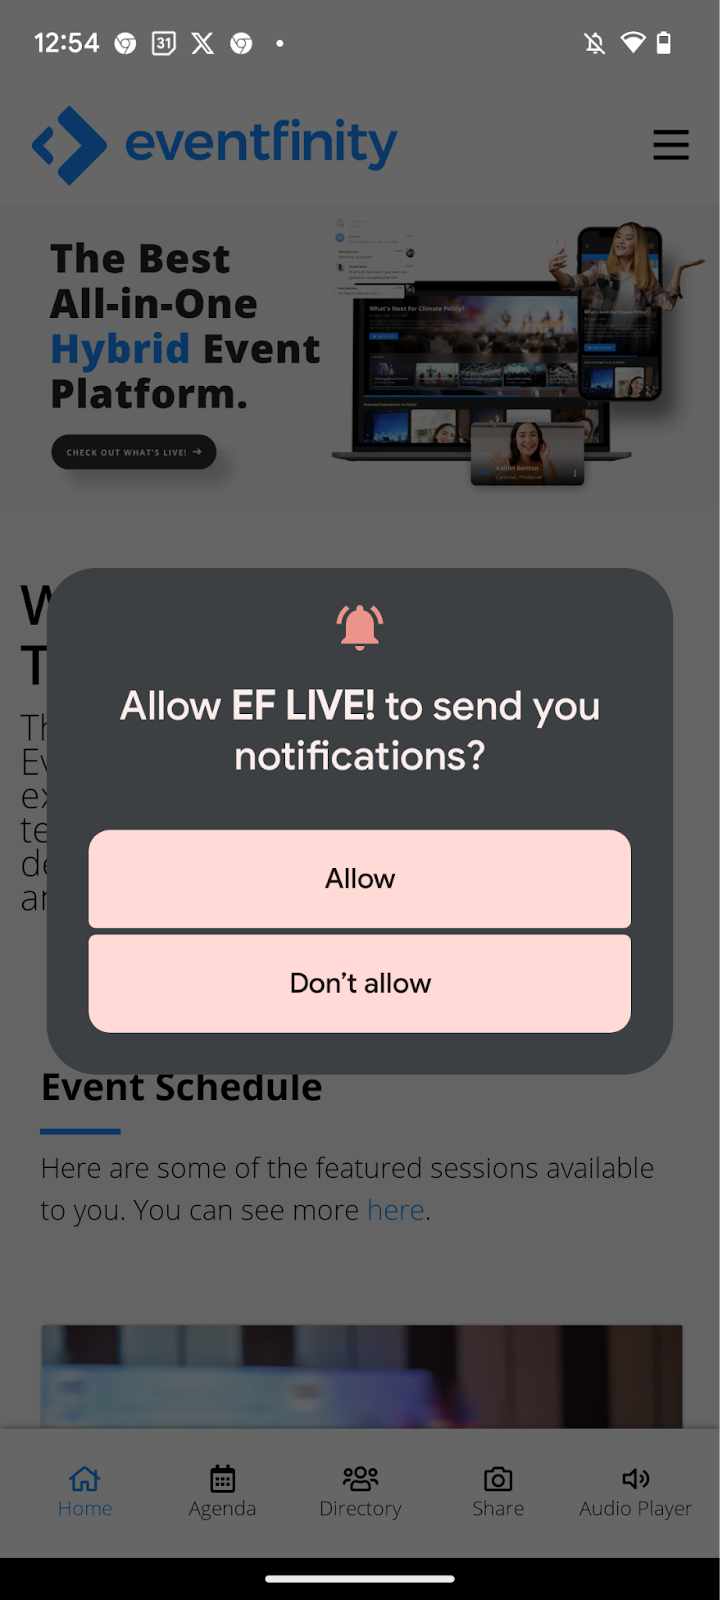
- Android users will see a permission message dialogue box. To enable notifications, the user should select Allow.
- iOS users will see two permission message dialogue boxes. To enable notifications, the user should select Allow on both popups.
Troubleshooting PWA Notifications
If a user is not receiving notifications follow these steps to resolve.
Android
- Go to Settings | Notifications | App Settings and make sure the notifications are turned on
- If not turned on, uninstall the PWA and reinstall, making sure to allow the notifications when prompted
Apple
- Go to Settings | Notifications | and scroll to the PWA and make sure notifications are allowed.
- If not turned on, toggle Allow Notifications on and adjust any settings as desired.
- You can also turn on notifications by scrolling down to the PWA app (in settings) and edit the individual app.
- If there are still issues, try deleting the PWA and reinstalling it, making sure to allow the notifications when prompted each time.
Additional Administrative Resources
In individual attendee profiles, there is a Registered Devices tab. This tab contains two sections that can show if an individual user has accepted push notifications.
Registered Devices: This section is populated when a user accepts notifications for a native app, meaning Eventfinity Live, or a custom container. It gives a timestamp of when notifications were accepted (created at) the OS version, OS name, and device brand. 
Web Push Subscriptions: Scrolling down under Registered Devices, Web push subscriptions are populated only when notifications are allowed on a PWA app. The Test button can be used to send a one-time notification to a PWA to troubleshoot notification issues.
NOTE: The delete buttons should be used only by back-end developers for troubleshooting.

Engagement Reporting
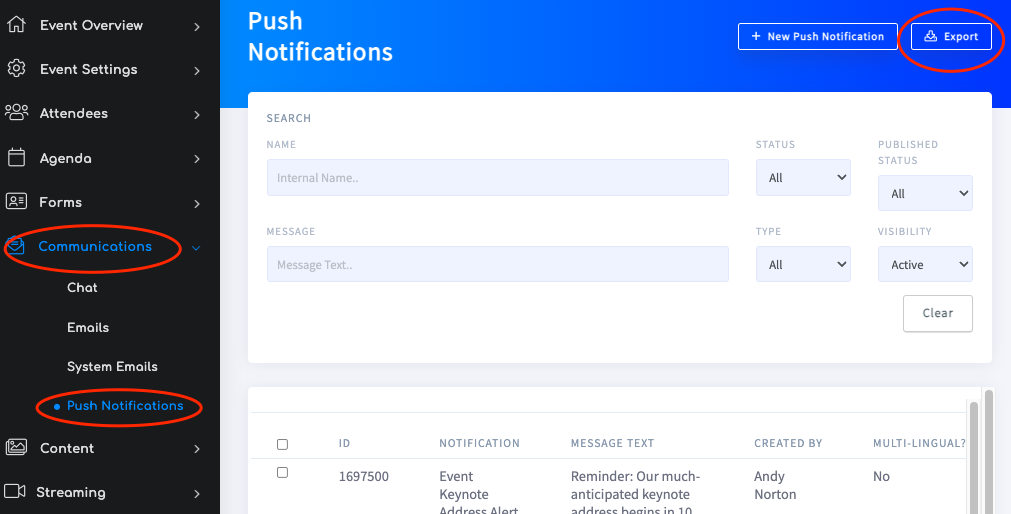
- Communications | Push Notifications Export Report: The export button found on the top right of the Push Notifications page exports a Microsoft Excel file to the user's default download location. The report contains:
- Notification ID number
- Internal name
- Type - individual, group, entire event, social stream tagged user
- Message text
- Send Date
- Send time captured in Coordinated Universal Time (UTC)
- Send ID - Captures group IDs for groups, attendee event ID for individually tagged users (both individual messages and social stream tags). This field will be blank for notifications sent to the entire event.
- Attendee List | Attendee | History | App Notifications: This report is found on individual attendee profile pages under the history tab. On the page, a snapshot of the last five notifications is displayed by default and a quick view of the message text, sent time, read time, and a yes/no read indicator. Additionally, there is a download icon that exports a Microsoft Excel file for all notifications that are sent to a user. That report contains:
- First name
- Last name
- Message text
- Created at - indicating sent time
- Updated at - indicating read time
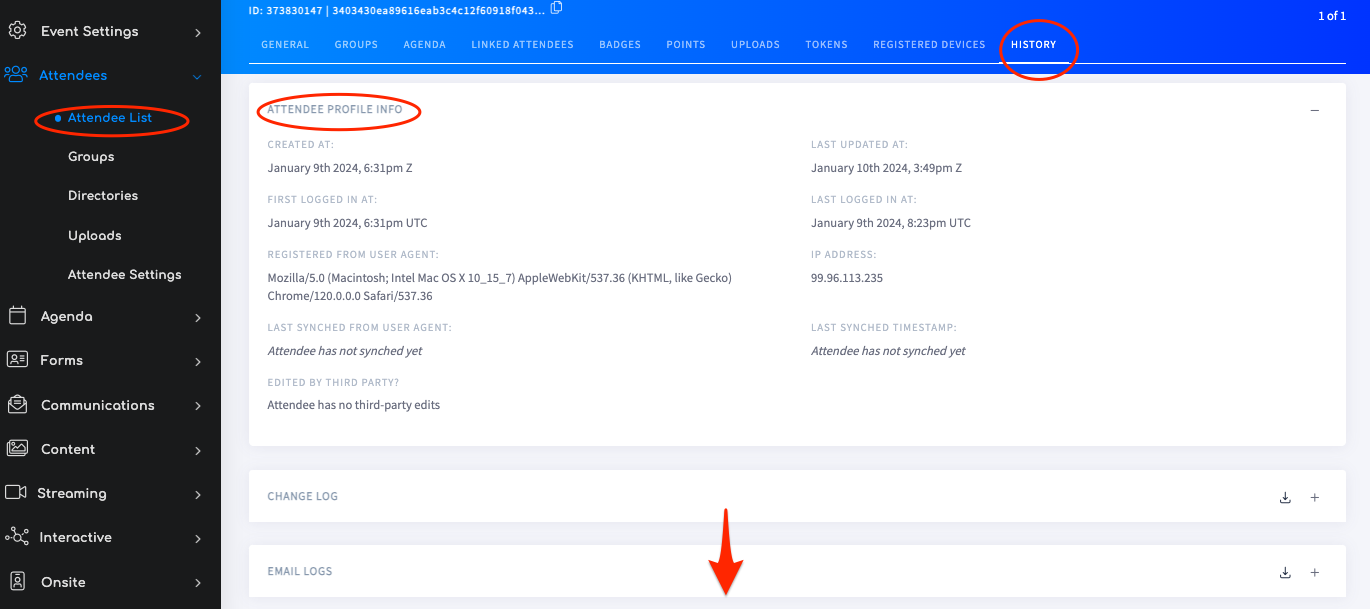
scroll down to APP NOTIFICATIONS


